As an Amazon Associate, we may earn from qualifying purchases. Links in this article may be affiliate links.
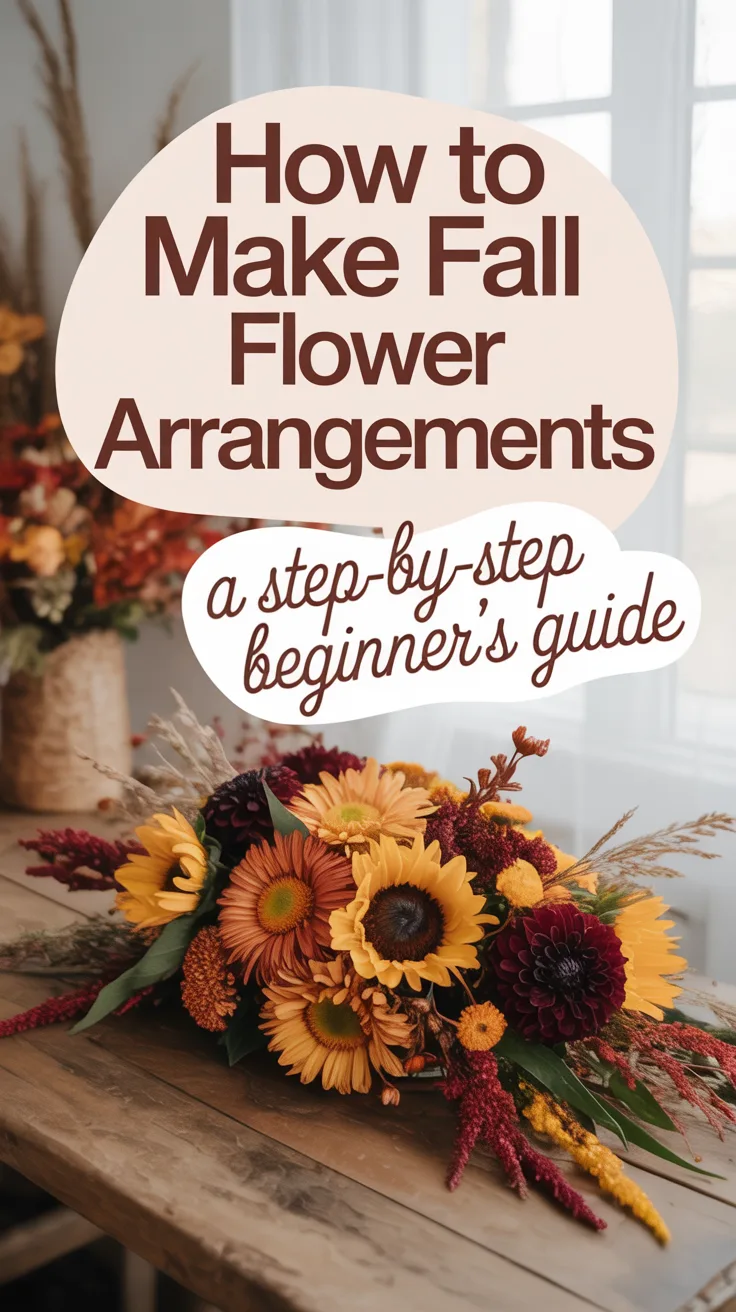
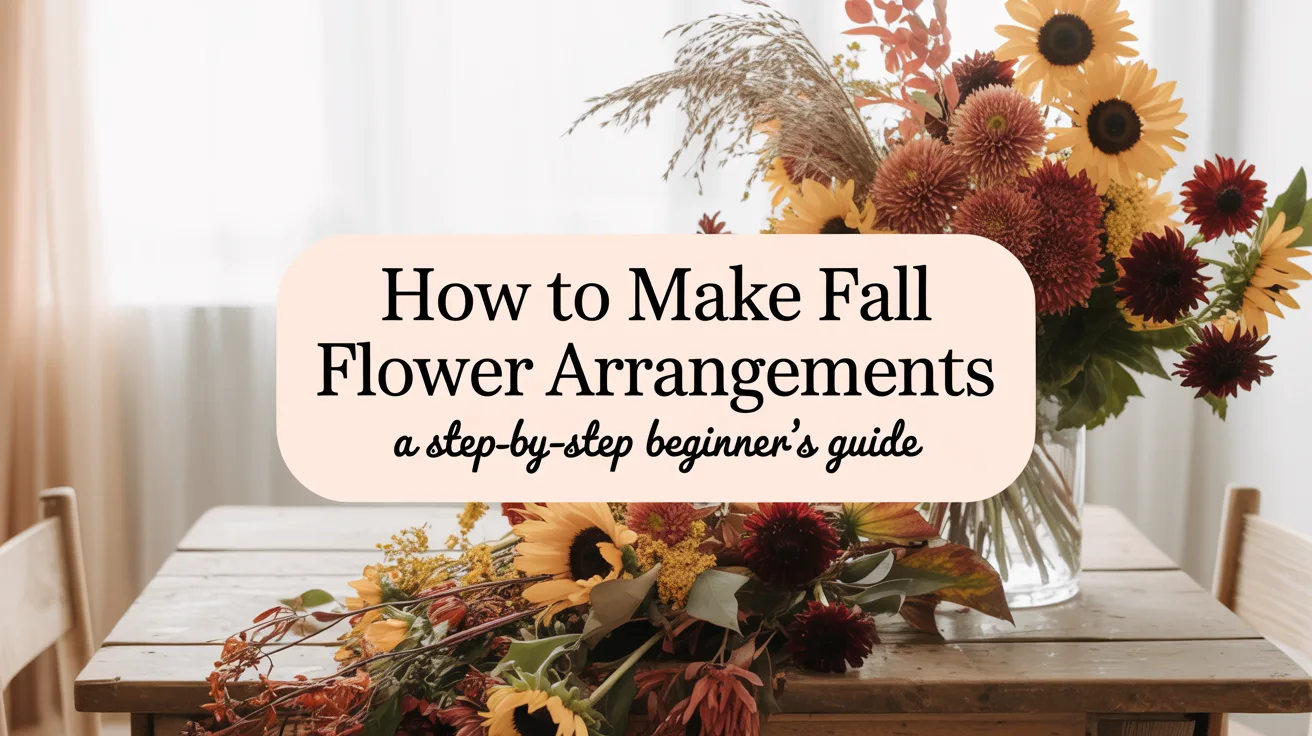
Introduction to Fall Flower Arrangements
There’s something magical about the way autumn transforms our world into a canvas of warm, rich colors. As a floral enthusiast who’s spent years experimenting with seasonal arrangements, I’ve found that fall flower arrangements offer a unique opportunity to bring that outdoor magic inside our homes. When I created my first autumn centerpiece years ago (a rather lopsided affair with too many sunflowers!), I discovered the joy of working with the season’s bounty.
Fall arrangements aren’t just decorative elements—they tell the story of the season through vibrant chrysanthemums, golden sunflowers, and textural elements like dried grasses and berries. Whether you’re looking to create a stunning centerpiece for Thanksgiving dinner or simply want to add a touch of autumn warmth to your living space, learning how to craft these seasonal displays is a rewarding skill.
I remember being intimidated by the process at first, but I’ve learned that creating beautiful fall flower arrangements is actually quite accessible, even for beginners. Let me walk you through everything you need to know to create arrangements that capture autumn’s essence.
Selecting the Right Flowers for Fall

Choosing seasonal blooms is the foundation of any successful arrangement. I once made the mistake of trying to force spring tulips into a fall design—let’s just say the colors clashed terribly! Through trial and error, I’ve discovered these seasonal stars work beautifully:
- Chrysanthemums (Mums): These are the workhorses of fall arrangements. Available in bronze, burgundy, purple, and gold, they last for weeks and create instant autumn vibes.
- Sunflowers: Nothing says fall quite like these cheerful blooms. I love using smaller varieties for arrangements as they’re easier to work with than the giant garden types.
- Dahlias: These complex, geometric flowers add sophistication to any arrangement. The deep burgundy and purple varieties are particularly stunning for fall.
- Celosia: With their velvety, brain-like texture, these add fascinating visual interest. The deep red and orange varieties perfectly complement other fall flowers.
- Asters: These daisy-like flowers bring a lighter, airier feel to balance heavier blooms.
- Marigolds: Inexpensive and long-lasting, their golden and orange hues embody autumn’s palette.
Don’t forget to incorporate foliage and textural elements:
- Oak and maple leaves: I collect these from my yard, looking for ones just beginning to change color.
- Wheat, millet, and dried grasses: These add height and movement.
- Berries: Hypericum berries, rose hips, or bittersweet add pops of color and texture.
- Branches: Curly willow or birch branches create architectural interest.
Pro Tip: I always include at least 30% greenery and textural elements in my fall flower arrangements. They’re less expensive than flowers and create the natural, abundant look that makes fall designs special.
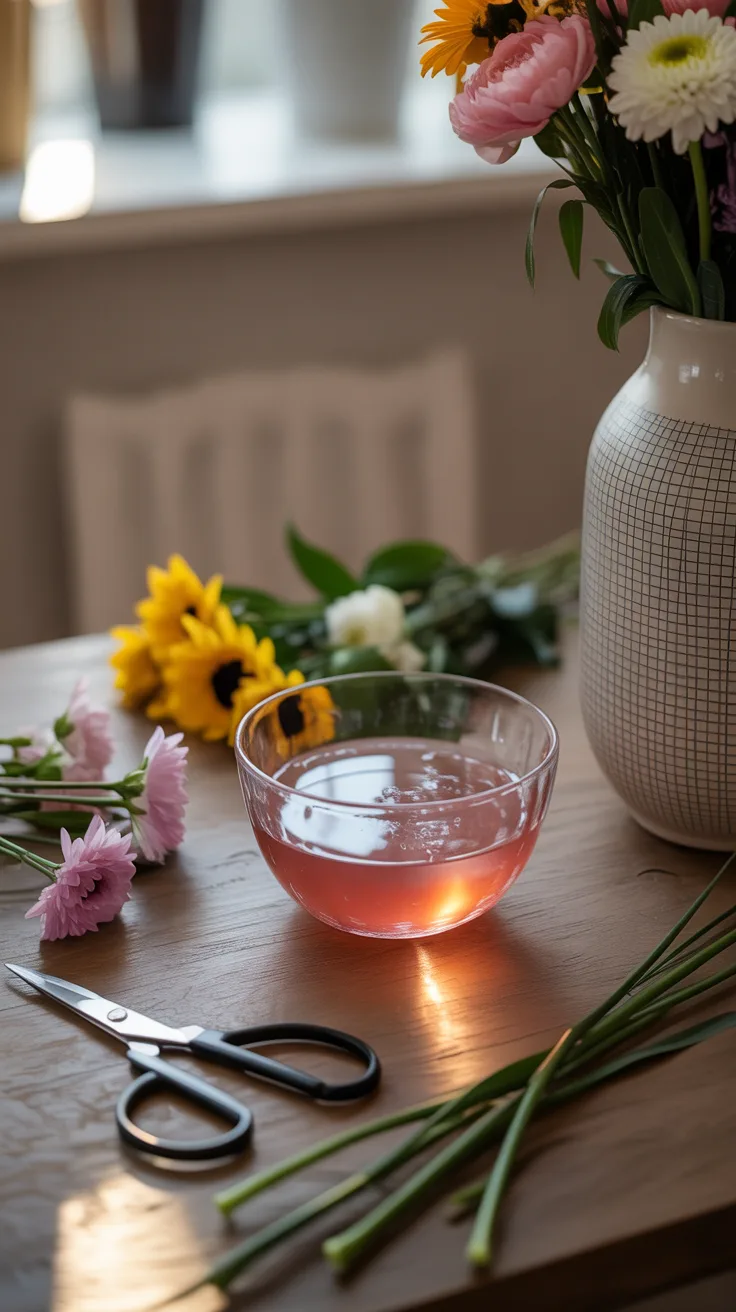
Essential Tools and Materials

Before I start arranging, I gather everything I need. I learned this the hard way after once having to pause mid-arrangement to search for scissors, only to return to wilting flowers!
- Cutting tools: Sharp pruning shears or floral scissors are essential for clean cuts that help flowers last longer.
- Containers: Look beyond traditional vases—I’ve used hollowed pumpkins, wooden boxes, vintage pitchers, and even old boots for unique fall displays. You can find a variety of unique flower containers online.
- Floral foam or chicken wire: These help secure stems in place. I prefer soaked floral foam for traditional arrangements and chicken wire for more natural, loose designs.
- Floral tape: Creates a grid across wide-mouthed containers to hold stems in place.
- Waterproof tape: Essential when using unconventional containers like pumpkins or wooden boxes.
- Floral preservative: Extends the life of your arrangement.
- Clippers or secateurs: For cutting woody stems and branches.
- Bucket of water: For conditioning flowers before arranging.
Pro Tip: I always keep a clean towel nearby when creating arrangements. It helps manage drips and spills, and I can wrap it around containers when transporting finished arrangements to avoid water damage to furniture.
Step-by-Step Guide to Creating Your Arrangement
Creating a beautiful fall arrangement doesn’t have to be complicated. Here’s my foolproof process that I’ve refined over years of both successes and failures:
- Condition your flowers: Remove all foliage that would sit below the waterline. Cut stems at a 45-degree angle and place them in cool water for at least a few hours, ideally overnight. This step dramatically improves longevity—I once skipped it for a rush arrangement, and the flowers wilted within a day!
- Prepare your container: If using floral foam, soak it completely in water mixed with floral preservative, then cut to fit your container. For wider containers without foam, create a grid with floral tape across the opening to support stems.
- Establish the framework: Begin with greenery and branches to create the basic shape and size of your arrangement. I typically make an asymmetrical triangle shape, with taller elements on one side gradually descending to shorter elements on the other.
- Add focal flowers: Place your largest, most dramatic flowers (like sunflowers or large mums) at the focal points of your arrangement. I usually position these slightly lower than the highest point of greenery.
- Fill in with secondary flowers: Add medium-sized blooms like smaller mums, dahlias, or asters to fill spaces between focal flowers.
- Add texture and detail: Incorporate berries, seed pods, or smaller flowers to add dimension and interest. These elements should fill any remaining gaps and add visual complexity.
- Final touches: Step back frequently to assess your arrangement from all angles. Add or remove elements as needed for balance. I often find I need to add more flowers to the sides that aren’t immediately visible when I’m working.
Pro Tip: Always arrange your flowers about 1.5 times higher than your container’s height for proper proportion. My early arrangements often looked stunted because I cut stems too short!
Caring for Your Fall Flower Arrangements
After putting so much effort into creating your arrangement, you’ll want it to last as long as possible. I’ve learned these maintenance practices make a significant difference:
- Change water regularly: Every 2-3 days, gently remove the arrangement, discard the old water, clean the container, and refill with fresh water and preservative. This prevents bacterial growth that causes premature wilting.
- Trim stems: When changing water, re-cut the stems at an angle to improve water uptake.
- Remove spent blooms: Pluck out any flowers that have begun to wilt to keep the arrangement looking fresh and prevent ethylene gas from affecting other blooms.
- Mist occasionally: A light misting helps hydrate petals in dry indoor environments. I do this every morning for arrangements in my home.
- Mind the environment: Keep arrangements away from direct sunlight, heat sources, and ripening fruit (which releases ethylene gas that speeds flower deterioration).
Pro Tip: Add a penny to the water for an antibacterial boost, or use a capful of vodka instead of commercial flower preservative. Both work surprisingly well—I’ve extended the life of arrangements by nearly a week using these tricks!
Common Mistakes to Avoid
Through plenty of trial and error (and some truly unfortunate arrangements), I’ve identified these common pitfalls that beginners should watch out for:
Overcrowding the arrangement: When I first started, I tried to use every flower I purchased, resulting in cluttered, chaotic arrangements. Give each bloom space to shine. You can always save extra flowers for a smaller arrangement elsewhere.
Ignoring proportion: The arrangement should be in proportion to its container. A good rule of thumb is that flowers should extend about 1.5 to 2 times the height of the container and 1.5 times the width.
Using too many colors: My early attempts often looked like a rainbow explosion! Limit your palette to 3-4 complementary colors for a more sophisticated look. For fall, I stick to combinations like burgundy/orange/gold or purple/bronze/cream.
Forgetting about depth: Placing all flowers at the same depth creates a flat, uninteresting arrangement. Position some blooms deeper in the arrangement and others extending outward for a more dynamic, professional look.
Neglecting conditioning: Skipping the step of properly conditioning flowers before arranging them significantly reduces their lifespan. Those extra few hours of preparation make a huge difference.
Pro Tip: If your arrangement looks too uniform or “perfect,” it probably needs more variety in height, depth, and texture. The most appealing fall flower arrangements have a slightly wild, natural quality that mimics how plants grow in nature.
Conclusion
Creating beautiful fall flower arrangements is as much about the process as the result. There’s something deeply satisfying about gathering seasonal blooms and transforming them into a display that captures autumn’s essence. I find it’s a wonderful way to slow down and connect with the changing seasons.
Don’t be discouraged if your first attempts aren’t perfect—mine certainly weren’t! Each arrangement you create will teach you something new about balance, color, and composition. The beauty of floral design is that it’s both an art and a skill that improves with practice.
I encourage you to experiment with different containers, flower combinations, and styles to discover what speaks to you. Whether you’re creating a centerpiece for a special occasion or simply bringing the beauty of fall indoors, the arrangements you create will add warmth and life to your space during this magical season.
Frequently Asked Questions
What flowers are best for fall arrangements?
The best flowers for fall arrangements include chrysanthemums, sunflowers, dahlias, celosia, asters, and marigolds. Don’t forget to incorporate seasonal elements like colorful foliage, berries, wheat, and dried grasses for authentic autumn texture and dimension.
How can I make my flower arrangements last longer?
To extend the life of your arrangements, condition flowers properly before arranging, change the water every 2-3 days, re-cut stems when changing water, remove spent blooms promptly, keep arrangements away from direct sunlight and heat sources, and use floral preservative in the water.
What are some creative container ideas for fall arrangements?
Think beyond traditional vases! Consider hollowed-out pumpkins or gourds, wooden boxes or crates, vintage pitchers or teapots, copper vessels, woven baskets lined with plastic, or even hollowed apples for mini arrangements. These unconventional containers enhance the seasonal feel of your fall arrangements.