Introduction
There’s something magical about fall that makes me want to transform my home into a cozy autumn retreat. The rich colors, the crisp air, and the changing leaves all inspire me to get creative with my decor. But here’s the thing—I’ve learned that creating beautiful fall flower decor doesn’t require a trip to the craft store or a big budget. In fact, some of my favorite seasonal decorations have been made with items I already had lying around the house!
I remember one year when I was determined to decorate for fall but had already spent my monthly budget. Looking around my home with fresh eyes, I discovered a treasure trove of potential decor materials. That’s when my passion for homemade fall flower decorations really took off. Today, I’m excited to share some of my favorite techniques for creating stunning seasonal displays using things you probably already have at home.
Gathering Your Materials
The first step in creating homemade fall flower decor is to take inventory of what you already have. I like to think of this as a treasure hunt around my own home. You’d be surprised at what can be repurposed into beautiful seasonal decorations!
Here’s what to look for:
- Containers: Mason jars, wine bottles, tin cans, teacups, wooden boxes, baskets, or even hollowed-out gourds
- Natural elements: Pinecones, acorns, dried leaves, branches, twigs, dried berries
- Flowers: Fresh flowers from your garden, dried flowers from previous arrangements, or even artificial flowers
- Fabric and ribbon: Burlap, twine, yarn, ribbon scraps, lace
- Candles: Pillar candles, tea lights, or votives
- Seasonal produce: Mini pumpkins, gourds, apples, or dried corn
- Miscellaneous: Old picture frames, wire hangers (for wreath forms), wine corks
Pro Tip: Before buying anything new, challenge yourself to “shop” your home first. Check your garage, attic, and junk drawers—I once found the perfect brass candlesticks buried in a box of holiday decorations that worked beautifully in my fall centerpiece!
I’ve found that gathering materials is half the fun. Last year, I took my kids on a nature walk specifically to collect interesting leaves, pinecones, and branches. Not only did we get some fresh air, but we came home with a bounty of free decor materials that made our projects feel even more special.
Creating a Simple Fall Centerpiece
A centerpiece is often the focal point of your fall decor, and it doesn’t have to be complicated. I’ve created some of my favorite centerpieces in less than 15 minutes using items I already had on hand.
Here’s how to create a simple yet stunning fall centerpiece:
- Choose your base: A wooden tray, a shallow bowl, a cake stand, or even a piece of burlap can work as your foundation
- Add height and structure: Place candles of varying heights, small vases with flowers, or a larger focal piece like a decorative pumpkin
- Layer in natural elements: Scatter pinecones, acorns, or fall leaves around your central pieces
- Add your flowers: Incorporate fresh or dried flowers in fall colors—sunflowers, mums, or even branches with berries work beautifully
- Fill in gaps: Use smaller items like mini pumpkins, tea lights, or additional foliage to fill any empty spaces
Pro Tip: When arranging your centerpiece, follow the “odd number rule”—grouping items in sets of three or five creates more visual interest than even-numbered groupings. I learned this the hard way after several arrangements that just didn’t look quite right!
One of my favorite centerpieces came together when I was hosting a last-minute dinner party. I grabbed a wooden cutting board, placed three mason jars of different sizes filled with water and snippets from my garden, surrounded them with mini pumpkins and tea lights, and scattered some fall leaves around the arrangement. My guests couldn’t believe I hadn’t spent hours preparing it!
Designing a Fall Wreath
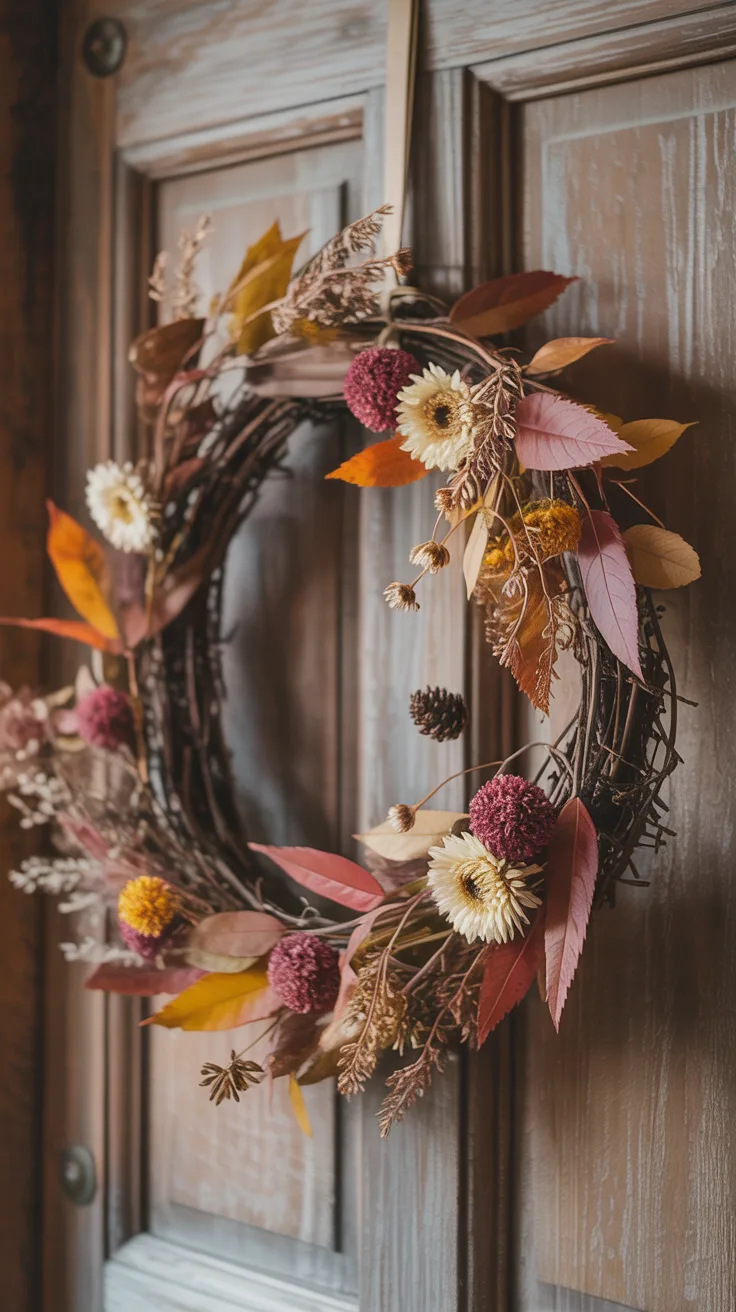
A fall wreath adds instant seasonal charm to your front door or interior walls. The first wreath I made was admittedly a bit lopsided, but I’ve perfected my technique over the years. The best part? You can make a beautiful wreath without spending a dime.
Follow these steps to create your own fall wreath:
- Create or find a wreath form: Reshape a wire hanger into a circle, use a cardboard cutout, or repurpose an old wreath by stripping it down
- Prepare your base: Wrap your form with ribbon, yarn, burlap, or even strips of fabric from old clothes
- Gather your decorative elements: Dried flowers, fall leaves, small pinecones, acorns, or berries
- Arrange before attaching: Lay out your design before gluing to ensure balanced placement
- Secure elements: Use hot glue, wire, or twine to attach items to your wreath form
- Add a hanging loop: Create a loop from ribbon, twine, or wire for hanging your wreath
Pro Tip: When designing your wreath, create a focal point on one side rather than distributing elements evenly all the way around. This asymmetrical approach creates more visual interest and actually looks more professional. I discovered this trick after making several wreaths that looked a bit too “perfect” and therefore less natural.
My most complimented wreath was made entirely from materials gathered during a family hike—colorful leaves, interesting seed pods, and some wild berries attached to a grapevine wreath form I’d saved from a previous project. The total cost was zero, but the sentimental value was priceless!
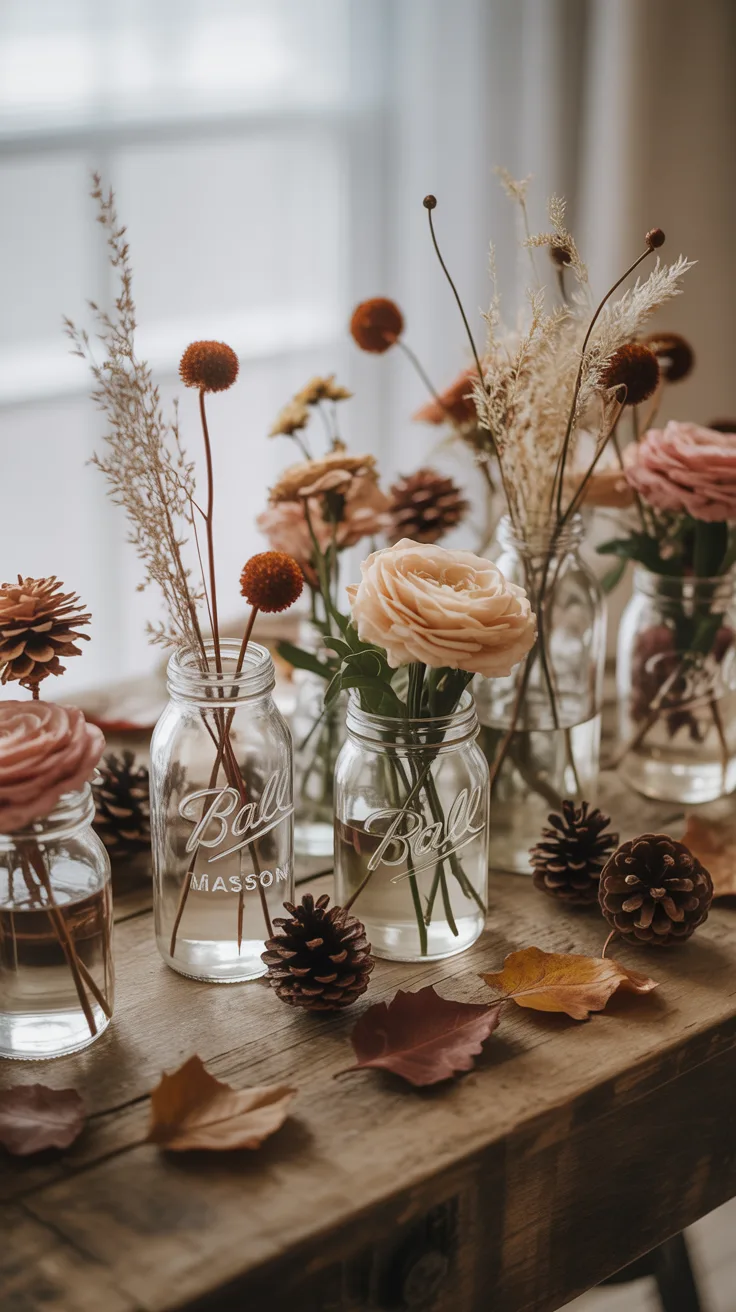
Decorating with Mini Pumpkins and Flowers
Mini pumpkins and gourds are fall decorating powerhouses! They’re inexpensive (or free if you grow them), versatile, and instantly evoke the season. Combining them with flowers creates magical displays that can transform any space.
Try these mini pumpkin and flower combinations:
- Pumpkin vases: Hollow out mini pumpkins and insert small containers of water with fresh flower stems
- Pumpkin garland: Thread twine through small pumpkins and intersperse with dried flowers for a mantel display
- Tiered displays: Stack pumpkins of decreasing size and top with a small floral arrangement
- Table runners: Alternate mini pumpkins, gourds, and small flower arrangements down the center of your table
- Pumpkin place cards: Write guests’ names on mini pumpkins and add a small flower or sprig of greenery
Pro Tip: To extend the life of your pumpkin displays, give them a quick bath in a solution of 1 part bleach to 10 parts water before decorating. This prevents mold and keeps them looking fresh longer. I learned this after sadly watching a beautiful arrangement rot within days!
Last Thanksgiving, I created individual place settings by hollowing out tiny pumpkins, inserting votive candles, and surrounding each with a wreath of dried flowers. The warm glow they cast during our evening meal created such an intimate atmosphere that it’s now become a family tradition.
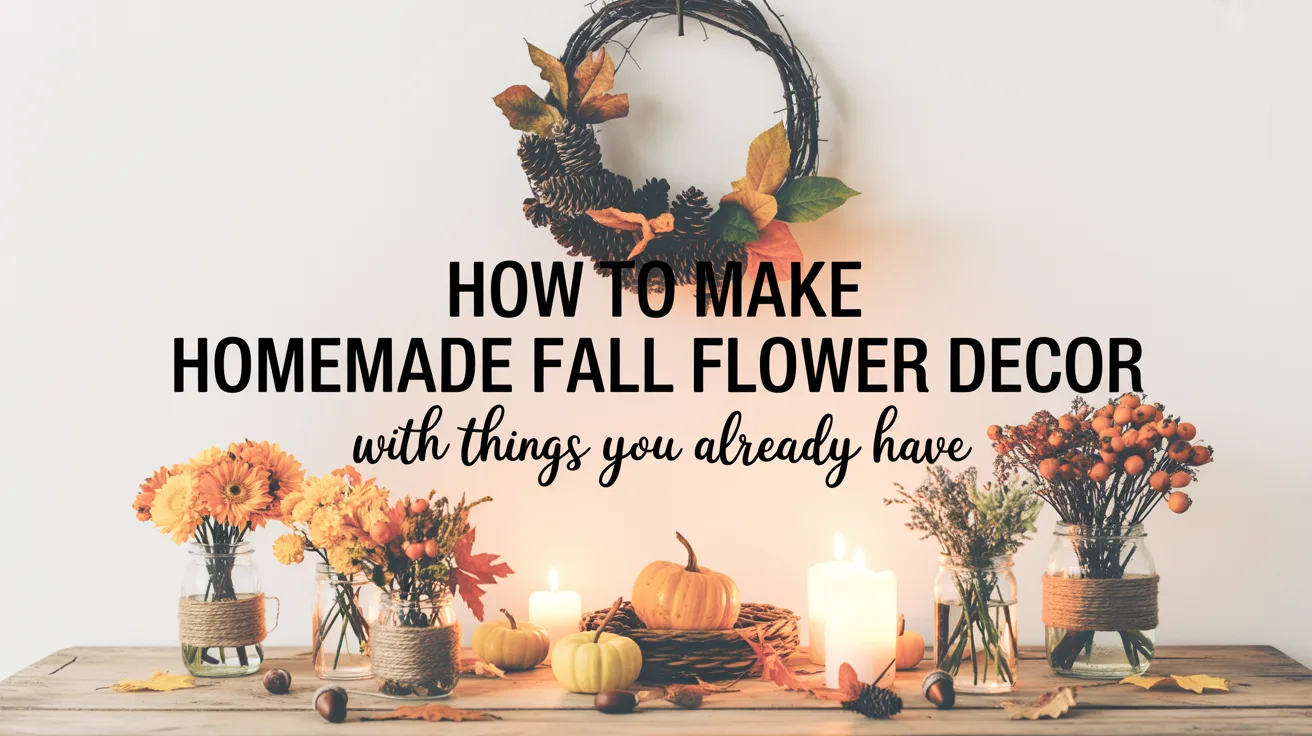
Upcycling Jars for Floral Displays
Don’t throw away those empty jars! Glass jars of all shapes and sizes make perfect vessels for fall flower arrangements. I’ve accumulated quite a collection over the years, from pasta sauce jars to fancy olive oil bottles, and they’ve become my go-to containers for seasonal displays.
Here’s how to transform ordinary jars into extraordinary fall decor:
- Clean thoroughly: Remove labels and adhesive (a paste of baking soda and oil works wonders)
- Decorate the exterior: Wrap with twine, burlap, lace, or fall-colored ribbon
- Add texture: Glue on acorns, small pinecones, or pressed leaves
- Create sets: Group similar jars in different sizes for a cohesive look
- Fill with seasonal elements: Add water and fresh flowers, or keep dry for arrangements of dried flowers, wheat, or branches
Pro Tip: For a rustic amber glow, coat the inside of clear jars with a mixture of yellow and brown craft paint diluted with water. Swirl it around to coat the interior, then drain and let dry. When you place a candle inside, it creates a warm, antique effect. I discovered this technique by accident when trying to tint jars for a wedding, and now I use it regularly for fall decor!
One of my favorite jar displays came from a set of baby food jars my neighbor was about to recycle. I cleaned them, wrapped them with different fall-colored yarns, and arranged them on my windowsill with single stems of dried flowers. The way the light filtered through them created beautiful patterns on my kitchen counter throughout the day.
Frequently Asked Questions
What are some alternative materials for fall flower decor?
If you’re short on traditional materials, get creative! Coffee filters can be dyed with tea or coffee and shaped into flowers. Old book pages can be rolled into paper flowers. Even colorful fallen leaves can be preserved with glycerin (one part glycerin to two parts water) and incorporated into arrangements. I once used dried citrus slices in a fall arrangement when I was short on flowers, and they added wonderful color and texture.
How can I preserve my fall flower arrangements?
To extend the life of fresh flowers, change the water every 2-3 days and add a drop of bleach to prevent bacterial growth. For dried arrangements, keep them away from direct sunlight to prevent fading and spritz them lightly with unscented hairspray for protection. I’ve had dried arrangements last for several seasons when properly cared for!
What flowers are best for fall decor?
While sunflowers, mums, and dahlias are fall classics, don’t overlook what’s available in your own garden or neighborhood. Hydrangeas dry beautifully, ornamental grasses add wonderful texture, and even branches with interesting shapes can form the backbone of a fall arrangement. Some of my most unique arrangements have included unexpected elements like kale leaves or branches with crabapples still attached.
Can I use artificial flowers for these projects?
Absolutely! High-quality artificial flowers can be a great investment, especially for wreaths or arrangements you want to reuse. I often mix artificial and natural elements—perhaps artificial flowers with real pinecones and acorns. The key is to choose artificial flowers with realistic coloring and texture. I’ve found that slightly “imperfect” artificial flowers actually look more natural than perfectly symmetrical ones.
How do I choose a color scheme for fall decor?
While traditional fall colors (orange, red, yellow) are always beautiful, don’t feel limited by them. I’ve created stunning fall arrangements in monochromatic schemes (all white or cream with different textures), as well as unexpected combinations like deep purple with copper accents. Let your home’s existing color palette guide you—if your living room has blue accents, consider incorporating blue pumpkins or berries into your fall decor for a cohesive look.
