Introduction
There’s something magical about a miniature Christmas village that captures the essence of the holiday season. I’ve been creating these festive displays for over a decade now, and I’m excited to share my experience with you. Creating your own DIY Christmas village display isn’t just economical—it’s a wonderful way to express your creativity and build a holiday tradition that your family will look forward to each year. I still remember my first attempt—a wobbly arrangement on my coffee table that nearly toppled when my cat jumped up! But with each passing year, my displays have become more elaborate and stable. In this guide, I’ll walk you through everything you need to know to create a charming Christmas village display that will delight visitors and become a cherished part of your holiday decorations.

Choosing the Right Location for Your Village
Finding the perfect spot for your Christmas village display is crucial for both visibility and practicality. When I first started, I made the mistake of placing mine on a narrow shelf—big mistake! After knocking over buildings every time I walked by, I learned some valuable lessons.
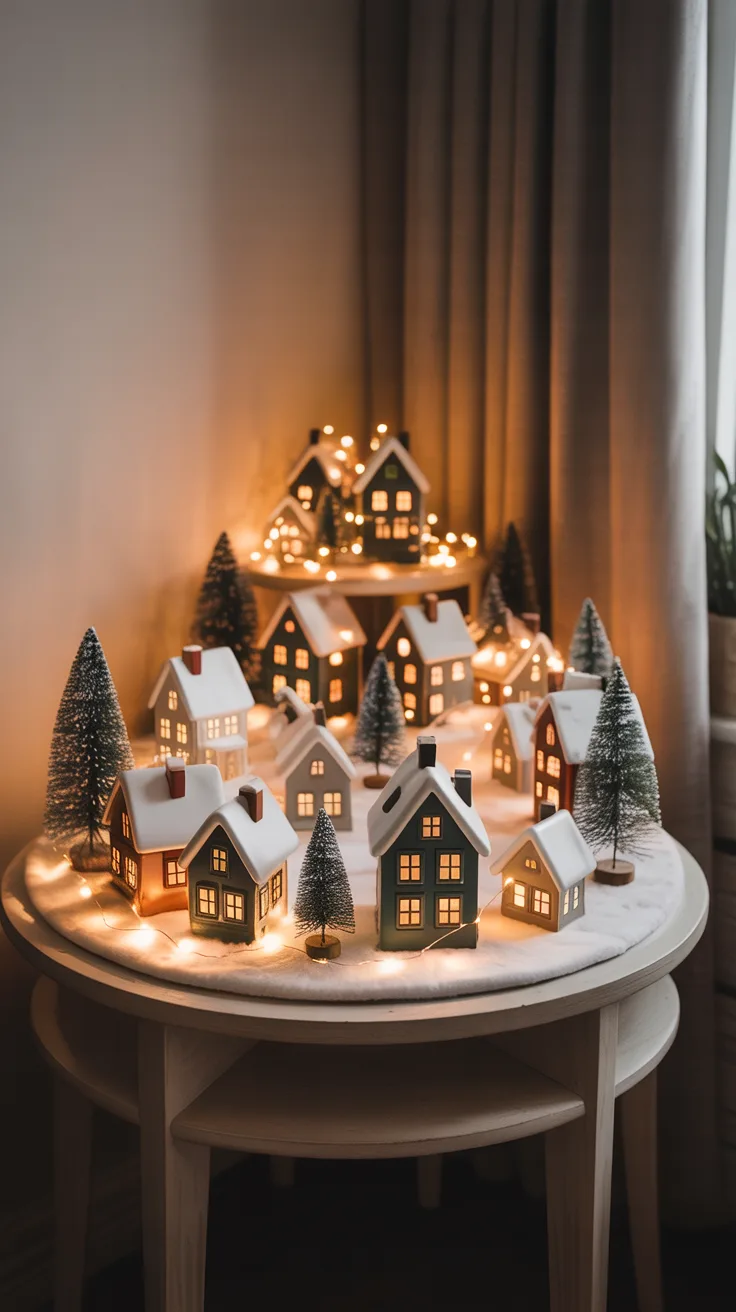
Look for a location that offers enough depth and width for your collection. Mantels work beautifully if they’re deep enough, but don’t overlook bay windows, bookshelves with cleared spaces, or even a dedicated side table. I’ve found that a corner table often works best as it provides a natural backdrop for your scene.
Consider foot traffic patterns in your home. My second display was placed in our hallway, and it didn’t survive the first holiday party! Choose an area where people can admire your village without accidentally bumping into it.

View on AmazonAs an Amazon Associate, I earn from qualifying purchases.

View on AmazonAs an Amazon Associate, I earn from qualifying purchases.
Pro Tip: Always check for nearby electrical outlets before finalizing your location. Nothing is more frustrating than creating the perfect arrangement only to discover your lights can’t reach a power source. I now keep a small extension cord in my Christmas decoration box specifically for this purpose.
If you have pets or small children, consider elevated locations or areas that can be roped off or protected. My cat’s fascination with the “tiny people” taught me this lesson the hard way!
Gathering Essential Materials
Before diving into assembly, I always make sure I have everything I need. There’s nothing worse than getting halfway through your display only to realize you’re missing a key component. Here’s what I recommend gathering:
- Village buildings and figurines – These can be store-bought or handmade
- Base materials – Plywood, foam insulation boards, or sturdy cardboard
- Snow material – Cotton batting, artificial snow, or white felt
- Landscape elements – Mini trees, bushes, rocks, mirrors (for ponds/lakes)
- Lighting – String lights, LED tea lights, or specialized village lighting kits
- Elevation materials – Styrofoam blocks, small boxes, books (for creating levels)
- Adhesives – Hot glue gun, double-sided tape, white craft glue
- Decorative accents – Miniature wreaths, tiny gift packages, mini candy canes
- Tools – Scissors, craft knife, ruler, pencil

View on AmazonAs an Amazon Associate, I earn from qualifying purchases.

View on AmazonAs an Amazon Associate, I earn from qualifying purchases.
Pro Tip: I save foam packaging throughout the year specifically for my Christmas village. It’s perfect for creating hills and varying terrain, and it’s free! Just cover it with your snow material, and no one will know it’s recycled packaging.
Creating a Base for Your Display
A solid foundation is essential for a successful Christmas village display. I learned this the hard way when my first attempt on a tablecloth resulted in buildings sliding around like they were on an ice rink!
For smaller displays, a single piece of foam insulation board (available at hardware stores) works wonderfully. For larger displays, I use plywood cut to size. The key is having something rigid enough to support your village without sagging in the middle.
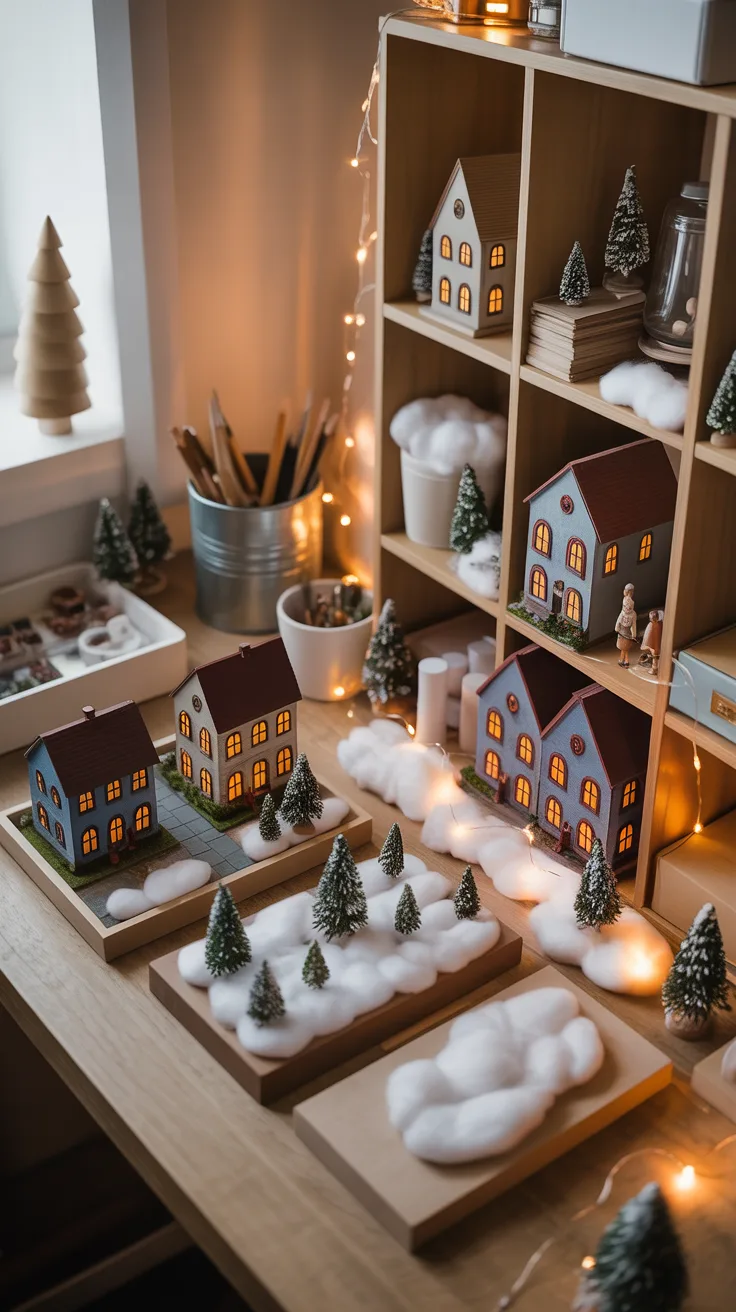
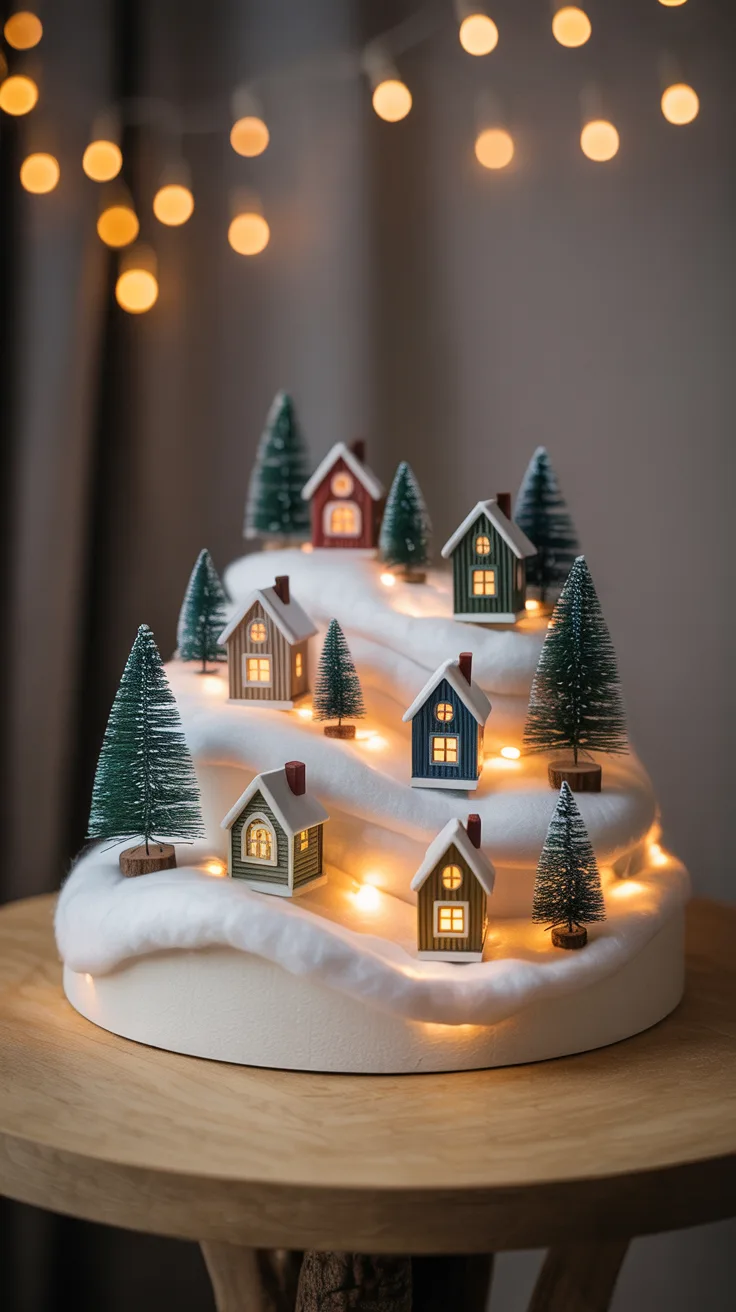
Once you have your base, consider the topography of your village. Real towns aren’t flat, and your village will look more interesting with varying heights. I create hills and valleys using stacked foam, books covered with fabric, or even upside-down bowls under my snow material.
Speaking of snow, you have several options. Cotton batting provides a fluffy, cloud-like appearance but can be a bit messy. White felt offers a cleaner solution but with less texture. My personal favorite is a combination: a layer of felt for the base with strategic tufts of cotton batting to create snowdrifts.

View on AmazonAs an Amazon Associate, I earn from qualifying purchases.

View on AmazonAs an Amazon Associate, I earn from qualifying purchases.
Pro Tip: Before covering your base, draw out a rough plan of where buildings, roads, and landscape features will go. I even mark where electrical cords need to run. This planning stage saves so much time and frustration later!
For a more finished look, I wrap the edges of my base with festive ribbon or fabric that complements my holiday decor. This simple touch makes the entire display look more polished and intentional.
Arranging the Village Pieces
The arrangement of your village pieces can make or break your display. I’ve found that following a few design principles creates the most appealing results:
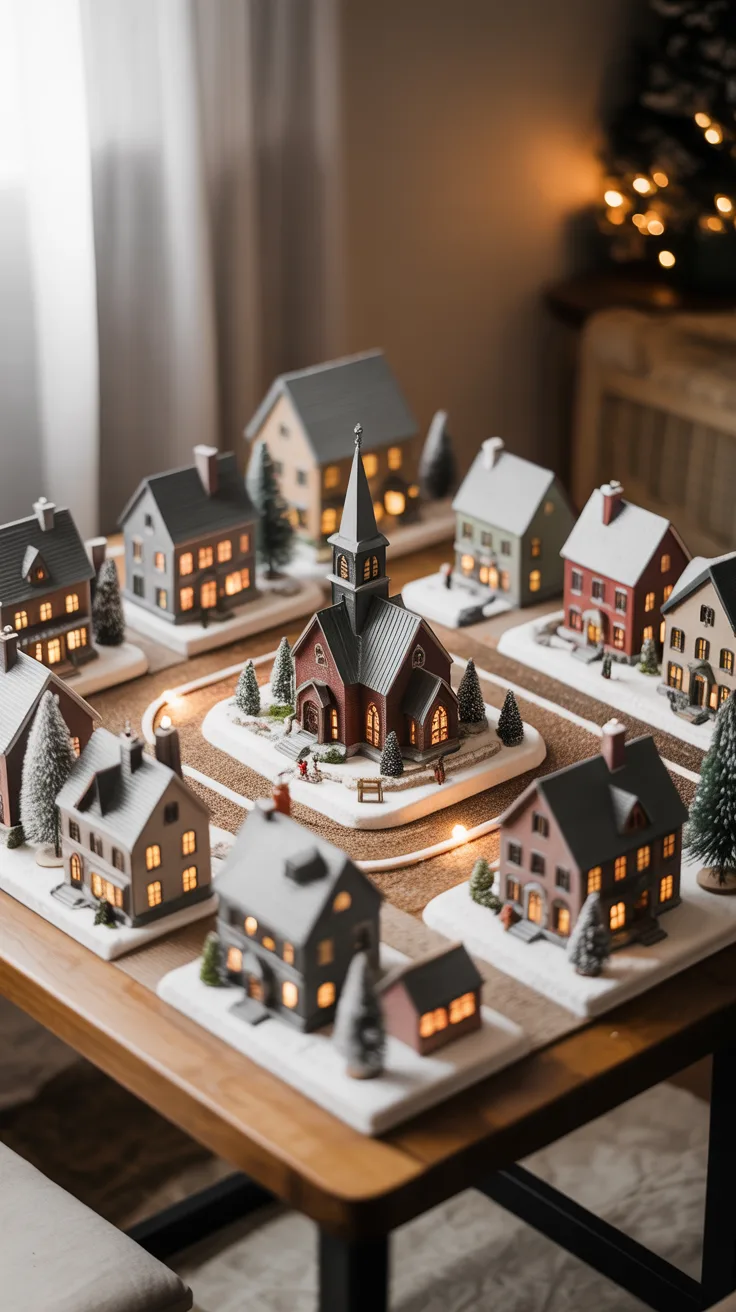
- Create a focal point – Perhaps a church, town square, or special building that draws the eye
- Vary the heights – Place taller buildings toward the back and smaller ones in front
- Group similar buildings – Create distinct “neighborhoods” (residential, commercial, recreational)
- Leave breathing room – Resist the urge to overcrowd; empty space creates realism
- Consider scale – Keep proportions consistent between buildings, people, and accessories
I always start by placing my largest buildings first, then work my way down to the smallest accessories. This approach helps me balance the overall composition before getting caught up in the tiny details.
Roads and pathways are essential for creating a sense of connectivity in your village. I use black or brown felt cut into strips for roads, and fine sand or crushed cinnamon for walking paths. The pathways should lead somewhere logical—connecting buildings and creating a sense of movement through your display.
Pro Tip: Take photos of your arrangement each year so you can remember what worked well. I keep these photos with my Christmas decorations, which saves me time when setting up the following year. It also helps me see how my village has evolved over time!
Incorporating Lighting and Special Effects
Lighting transforms a nice Christmas village display into a magical one. I still remember the first time I got the lighting right—the way my daughter’s face lit up was worth all the effort!
Start with the buildings that have built-in lighting. Position them strategically, considering where their cords will run. I drill small holes in my base board to thread cords underneath, keeping them hidden from view.
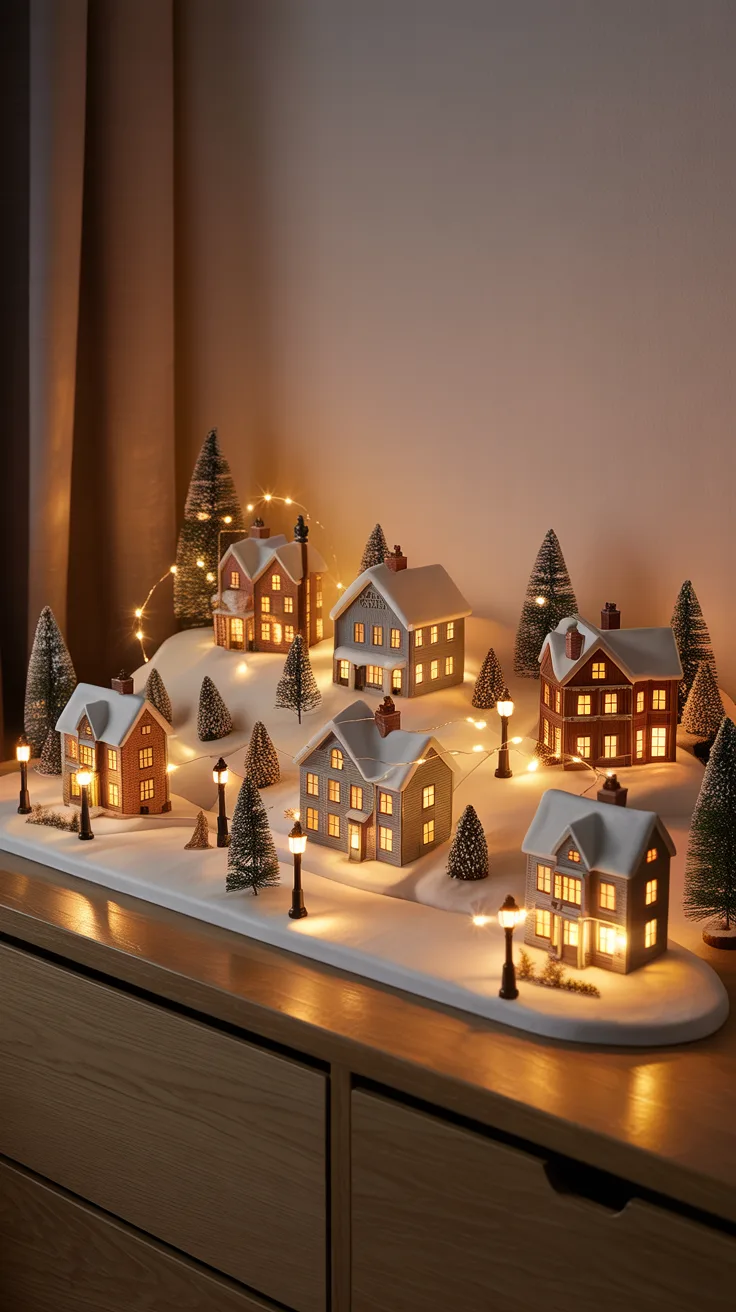
String lights woven throughout the display create a wonderful ambient glow. I prefer warm white LED lights for a cozy feel, but multi-colored can work well for a more playful village. Tuck the wires under your snow material, leaving just the bulbs exposed.
For buildings without built-in lighting, small battery-operated tea lights work wonders. I place them inside buildings after cutting small holes in the bottom (never the sides or decorative areas). The flickering versions create an especially realistic effect.
Don’t limit lighting to buildings alone. Miniature lampposts along your pathways, tiny string lights on village trees, or even a subtle spotlight on your focal point can add dimension.
Pro Tip: Connect your village lights to a timer. This not only saves electricity but also preserves the life of your light bulbs. I set mine to turn on at dusk and off at midnight, which means I never have to remember to manage them manually.
For special effects, consider adding a mirror “pond” that reflects your lights, or use cotton batting pulled thin to create smoke coming from chimneys. A small fan placed strategically can even make lightweight snow material move slightly, creating the illusion of a gentle breeze.
Maintaining Your Christmas Village Display
Once your masterpiece is complete, maintaining it throughout the season ensures it continues to delight. After my cat knocked over half my village one year, I learned some valuable preservation techniques!
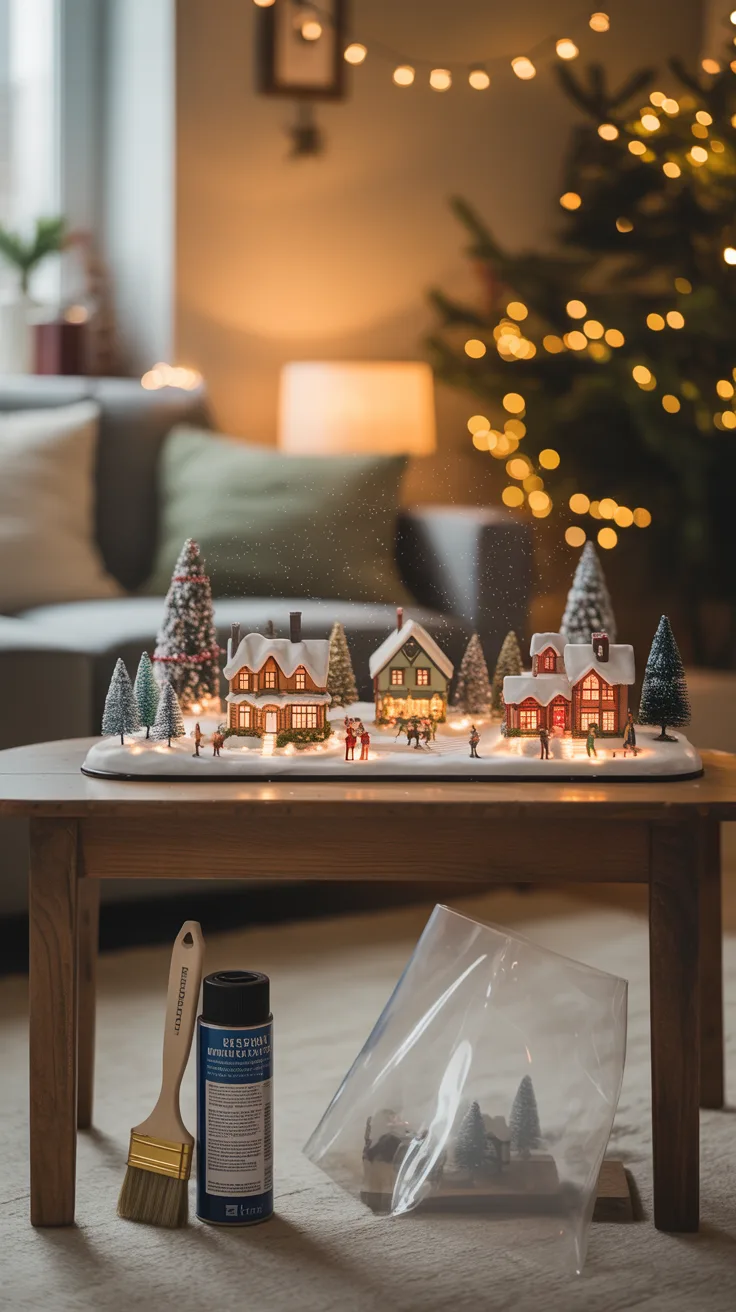
Dust is the primary enemy of any display. I keep a small, soft paintbrush nearby for gentle dusting of delicate pieces. For more accessible areas, a can of compressed air works wonders without disturbing your careful arrangement.
Check your lights regularly for any that have burned out. Having a few replacement bulbs on hand makes quick fixes possible without a trip to the store during the busy holiday season.
If you have pets or curious children, consider a clear plastic cover for times when you can’t supervise. I’ve used clear plastic storage containers with the bottom cut out as protective “domes” over particularly precious sections.
Keep a small repair kit with glue, extra snow material, and basic tools nearby. Little accidents happen, and being able to make quick repairs keeps your display looking its best.
Pro Tip: Take photos of your display from multiple angles before disassembling it. These will be invaluable when you set up next year, and they also make wonderful memories to look back on as your collection grows and changes over time.
Frequently Asked Questions
What is the best material to use for a base?
In my experience, foam insulation board is the ideal base material for most displays. It’s lightweight yet sturdy, easy to cut to size, and you can pin items directly into it. For very large displays, I recommend plywood for additional stability, though it’s heavier and harder to work with.
How can I safely incorporate lighting into my display?
Safety should always be your priority. I recommend using LED lights whenever possible as they generate less heat. Keep all connections away from your snow material (which can be flammable), and never leave your display illuminated when you’re not home. Using a surge protector with all your village lights plugged into it gives you a single switch for the entire display and provides electrical protection.
What are some tips for storing my village pieces after the holidays?
Proper storage extends the life of your collection tremendously. I wrap each building individually in acid-free tissue paper, then place them in plastic storage containers with dividers. For particularly delicate pieces, I use bubble wrap. I store all accessories in labeled zip-top bags. Always store in a climate-controlled area—extreme temperatures or humidity can damage paint and materials over time.
How do I start a village collection on a budget?
I built my collection gradually over many years. Start with a few key pieces and add to your collection annually. After-Christmas sales are perfect for finding discounted pieces. Also consider thrift stores, garage sales, and online marketplaces where people sell partial collections. You can even mix and match different brands and styles if you arrange them in separate “neighborhoods” within your display.
Can I create a themed village that isn’t traditional?
Absolutely! While traditional Alpine or Victorian villages are common, I’ve seen wonderful themed villages including beach towns, western frontiers, and even fairy tale settings. The key is consistency within your theme. My neighbor creates a wonderful “Christmas in Paris” village complete with a miniature Eiffel Tower that steals the show every year!