
Introduction
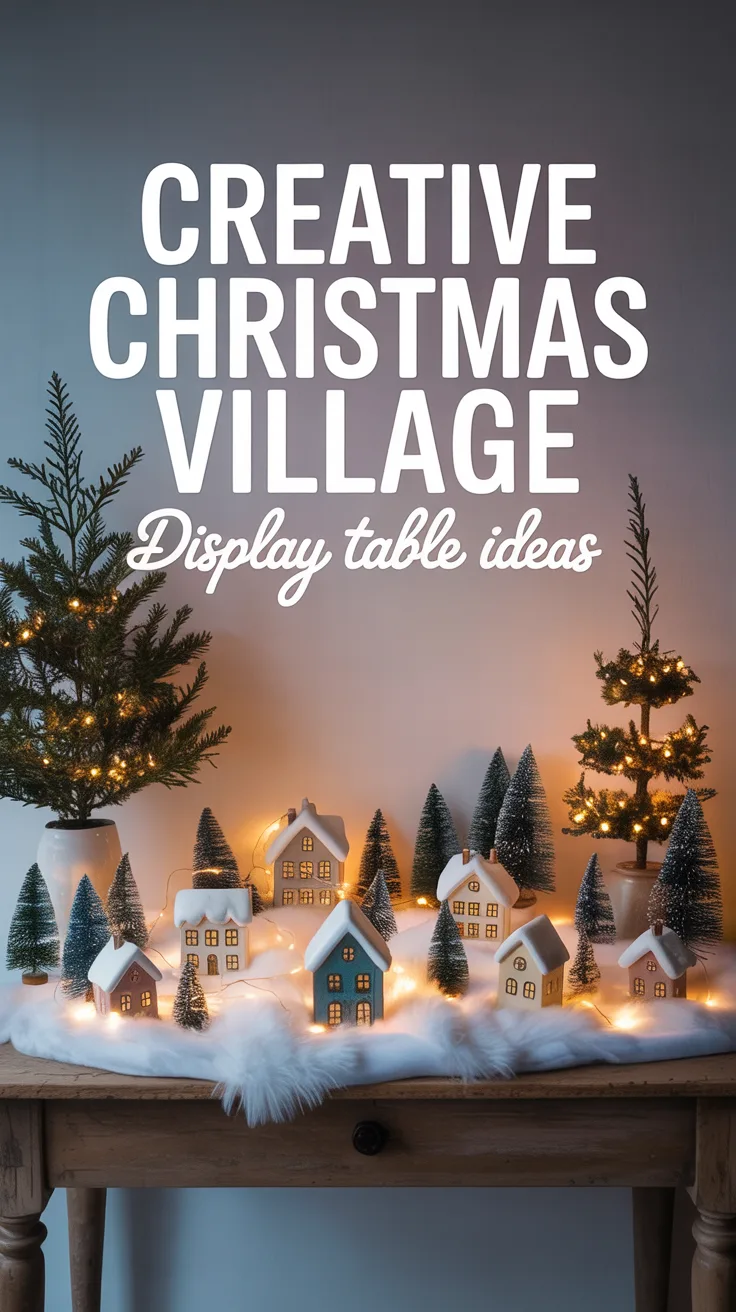
There’s something magical about setting up a Christmas village display that brings out the child in all of us. I’ve been creating these miniature winter wonderlands for over a decade, and I still get that same flutter of excitement when I unpack my collection each year. Whether you’re a seasoned collector or just starting out, finding the perfect table and creating an enchanting arrangement can transform your holiday décor from ordinary to extraordinary. In this article, I’ll share my tried-and-true tips for creating a Christmas village display that will captivate your guests and become a cherished tradition in your home.
Choosing the Right Table for Your Display
The foundation of any great Christmas village display starts with selecting the right table. I learned this the hard way when I once tried to set up my growing collection on a wobbly card table—disaster struck when my cat jumped up and sent buildings tumbling like dominoes!
When choosing your display surface, consider both the size of your collection and the available space in your home. I recommend measuring your area before shopping for a table. For larger collections, a rectangular folding table works wonders and can be stored away after the holidays. If space is limited, consider a corner table that maximizes a typically underutilized area.
Height matters too. I prefer tables around 30 inches high, which allows both adults and children to appreciate the details without straining. For added dimension, I’ve found that multi-level displays create visual interest. You can achieve this by placing sturdy boxes of different heights under your tablecloth or investing in a tiered display stand.
Pro Tip: Don’t overlook unconventional options! One year when I was short on space, I transformed my piano top into a stunning village display by laying a protective cloth first, then adding batting for snow. Bookshelves, mantels, and even window sills can serve as creative display locations.
The table’s stability is crucial—especially if you have curious pets or small children. Ensure your table can support the weight of your collection, particularly if you have ceramic or porcelain pieces that tend to be heavier than resin ones.
Creating a Layout for Your Christmas Village

Planning your village layout before placing a single piece will save you frustration and create a more cohesive display. I always start by sketching a rough plan, considering focal points and creating a natural flow throughout the village.
Here’s my step-by-step approach to designing a captivating layout:
- Begin with a clean, flat surface covered with white batting, felt, or even a simple white sheet to create a snowy base
- Position larger buildings at the back and gradually work forward with smaller structures
- Create “neighborhoods” or themed sections (downtown shopping area, residential neighborhood, park, etc.)
- Add elevation using foam risers or stacked books covered with snow material
- Incorporate a central focal point, like a town square or church
- Leave space for pathways between buildings where figurines will “walk”
- Consider the placement of electrical outlets if using corded lights
One mistake I made early on was cramming too many buildings together. I’ve learned that negative space is just as important as the pieces themselves. Your village needs “breathing room” to look realistic and allow viewers to appreciate each element.
Pro Tip: Take photos of your display each year before dismantling. These photos will serve as helpful references for future setups and document how your collection evolves over time.
Incorporating Lighting and Special Effects
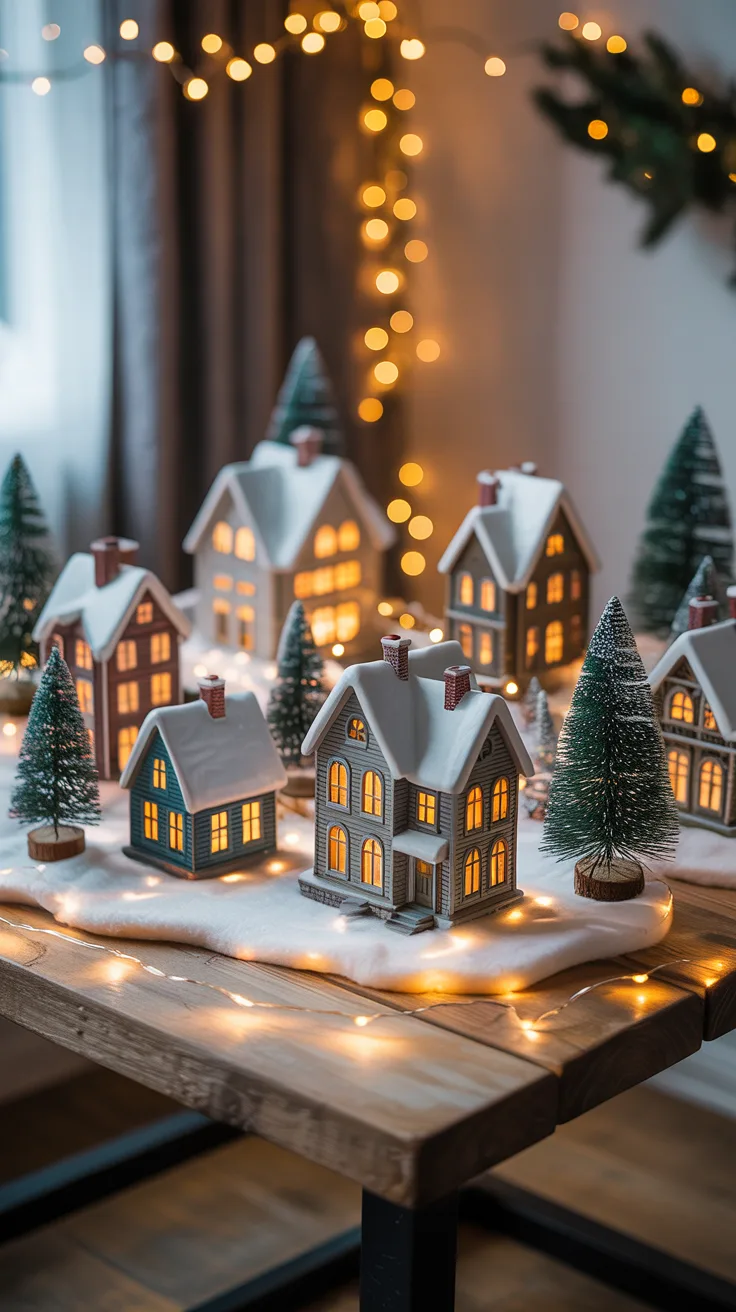
Lighting transforms a Christmas village display from pretty to magical. I still remember the “aha” moment when I first added proper lighting to my village—the warm glow emanating from tiny windows completely changed the atmosphere!
Here are my favorite lighting techniques to bring your village to life:
- Use cotton batting with embedded LED string lights underneath for a glowing snow effect
- Position small LED tea lights inside buildings that don’t have internal lighting
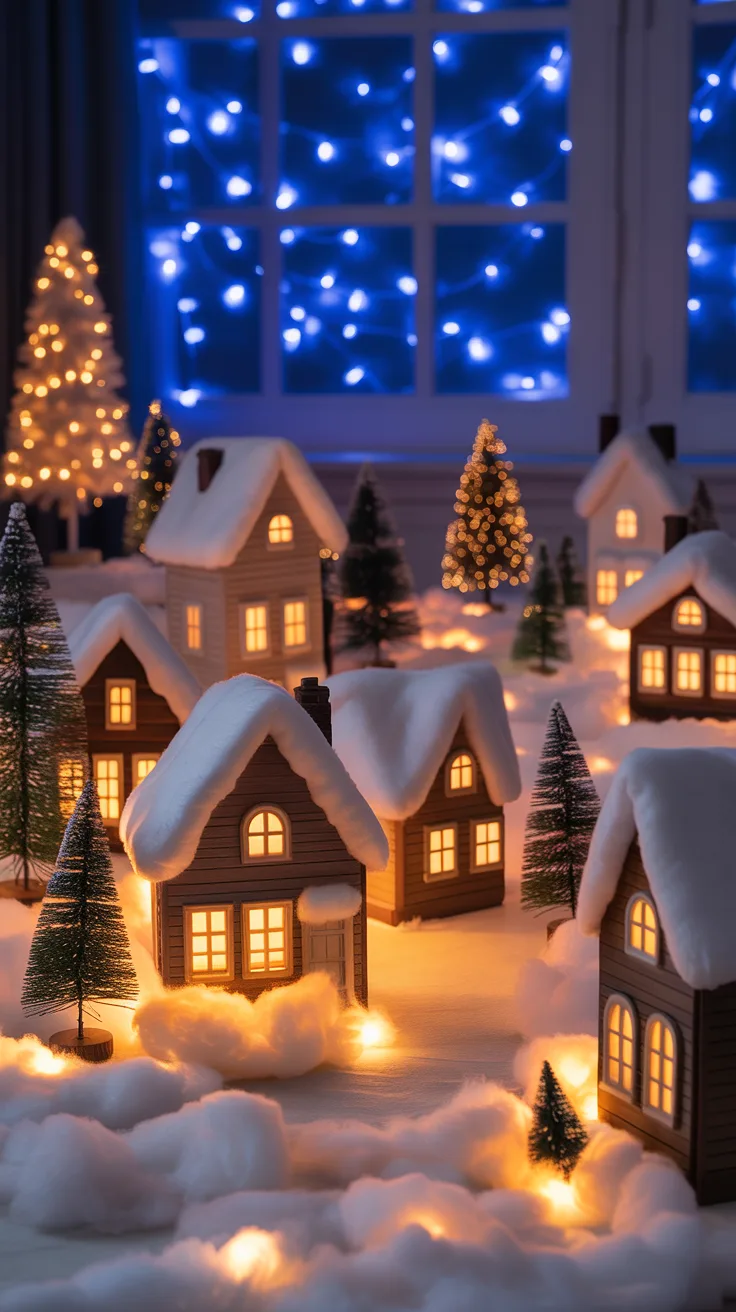
- Add a string of blue mini lights behind the display as a night sky backdrop
- Incorporate fiber optic trees for a twinkling forest effect
- Use a small mirror with blue lights underneath to create an ice skating pond
- Place a small fan nearby to gently move lightweight elements like trees or flags
Safety is paramount when adding lighting. I always use LED lights rather than traditional incandescent bulbs, as they generate less heat and reduce fire risk. If using electrical components, be careful not to overload outlets, and keep cords hidden and secure.
Pro Tip: Install a simple remote-controlled power strip for your display. This allows you to turn the entire village on and off without reaching behind your carefully arranged scene—a convenience you’ll appreciate daily!
Adding Personal Touches to Your Display
What makes a Christmas village display truly special are the personal touches that reflect your family’s personality and traditions. These unique elements transform a generic village into a meaningful representation of your holiday spirit.
Here are some of my favorite ways to personalize a display:
- Incorporate family heirlooms or special ornaments among the village pieces
- Add miniature versions of your family’s hobbies (tiny skiers, musicians, or bakers)
- Create custom signs with family names (like “Smith Family Bakery”)
- Include elements that represent your local area or heritage
- Add natural materials like small pine branches, cinnamon sticks, or dried orange slices
- Create a scavenger hunt by hiding tiny surprises for children to find
One year, I created a miniature version of our family’s first home and placed it prominently in the village. It became such a conversation piece that I’ve since added other significant buildings from our lives—the church where we were married, a tiny version of my childhood school, and even a miniature of our favorite vacation cabin.
Pro Tip: Don’t feel constrained by what comes in commercial village sets. Some of my most cherished pieces are ones I’ve customized or created myself. Simple craft store items, a bit of paint, and some creativity can yield truly one-of-a-kind additions to your display.
Maintaining and Storing Your Christmas Village
Proper maintenance and storage are crucial for preserving your village collection for years to come. I learned this lesson the hard way after losing several cherished pieces to careless packing one year.
During the display season, dust is your main enemy. I gently dust my village weekly using a soft makeup brush or photographer’s lens brush. For delicate pieces, a can of compressed air works wonders for reaching tight spaces without disturbing the arrangement.
When the season ends, careful packing is essential. I wrap each building individually in acid-free tissue paper, then place them in their original boxes if available. For pieces without original packaging, I use plastic storage containers with dividers or create custom boxes using cardboard and bubble wrap.
Label everything meticulously. I use a combination of photos and written inventory lists to keep track of my collection. This organization saves tremendous time and frustration when setting up the following year.
Store your packed village in a climate-controlled area—extreme temperatures and humidity can damage delicate pieces. I avoid attics and basements, opting instead for a closet in our guest room where conditions remain stable year-round.
Pro Tip: Before packing away your village, check each lighted piece to ensure it’s still working properly. It’s much easier to replace bulbs or repair wiring during the off-season than discovering problems next December when you’re eager to set up your display.
Frequently Asked Questions
How do I choose the best location for my Christmas village display?
Select a location that’s visible but protected from high-traffic areas. Consider proximity to electrical outlets if using lights, and avoid places with direct sunlight or heat sources that could damage your pieces. I’ve found that entryways, dining rooms, or living room corners often work well, allowing visitors to appreciate the display without risking accidental bumps.
What are some budget-friendly lighting options for my display?
Battery-operated LED string lights and tea lights are affordable and versatile options. Dollar stores often carry small light sets perfect for villages. Another budget-friendly trick I use is placing aluminum foil beneath the snow layer to reflect existing light upward, creating a brighter display without additional lighting costs.
How can I safely store my Christmas village pieces after the holidays?
Wrap each piece individually in acid-free tissue paper or bubble wrap. Store them in divided containers, keeping heavier items at the bottom. I use egg cartons for tiny accessories and figurines. Keep everything in a climate-controlled area away from extreme temperatures, moisture, and direct sunlight to prevent damage.
Are there any DIY ideas for enhancing my Christmas village?
Absolutely! Create miniature wreaths using pipe cleaners and tiny pom-poms. Make custom street signs with toothpicks and small paper labels. Use cinnamon sticks as rustic fence posts. One of my favorite DIY additions is creating realistic water features using clear epoxy resin poured over blue-tinted paper.
What should I do if I have limited space for my display?
Embrace vertical space by creating a tiered display using sturdy boxes or shelving. Focus on quality over quantity by displaying only your favorite pieces each year and rotating your collection. Consider creating multiple smaller vignettes throughout your home rather than one large display. Wall-mounted shelves can also showcase a village without sacrificing floor or table space.