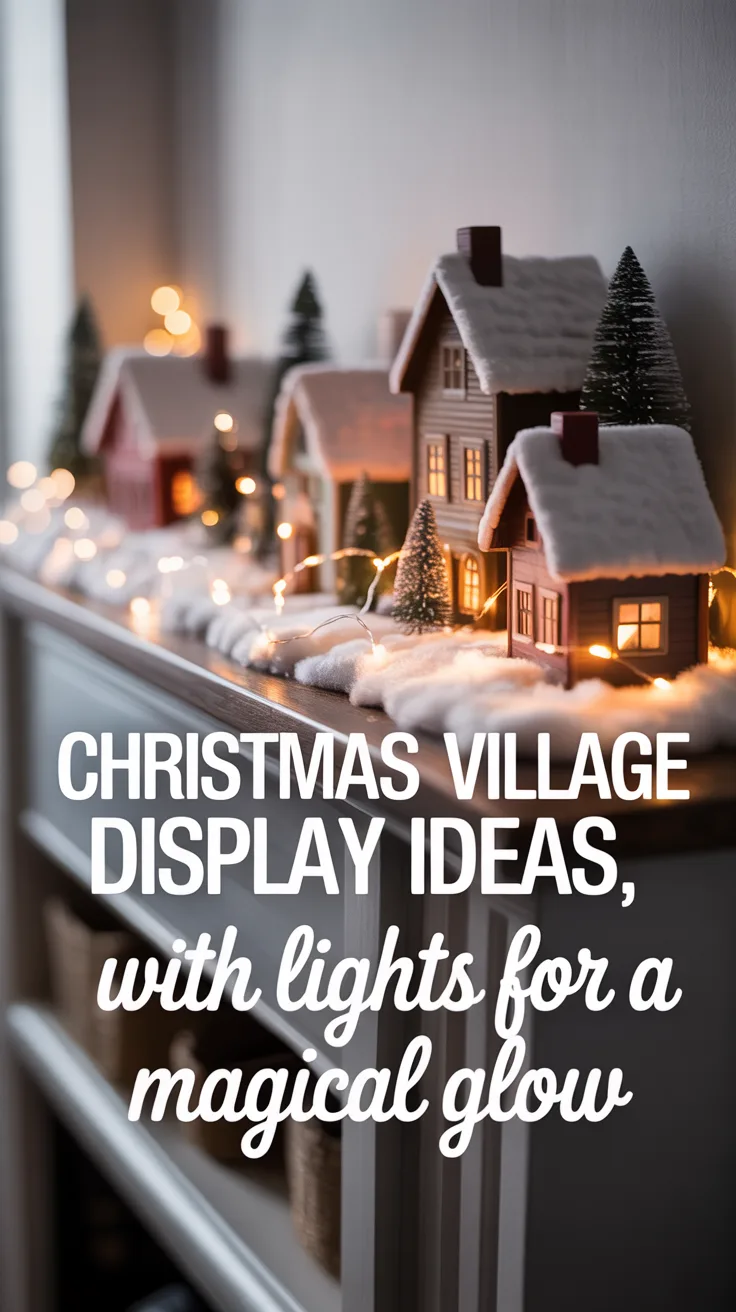
Introduction
There’s something magical about a twinkling Christmas village display that captures the essence of holiday spirit. I’ve been creating these miniature wonderlands for over a decade now, and I still get that childlike excitement when I plug in the lights and watch my little town come to life. Whether you’re a seasoned collector or just starting out, incorporating lights into your display can transform a simple arrangement into an enchanting holiday centerpiece. Let me share some of my favorite ideas and lessons learned (sometimes the hard way!) to help you create a Christmas village display that will dazzle your family and guests this holiday season.
Choosing the Right Spot for Your Christmas Village
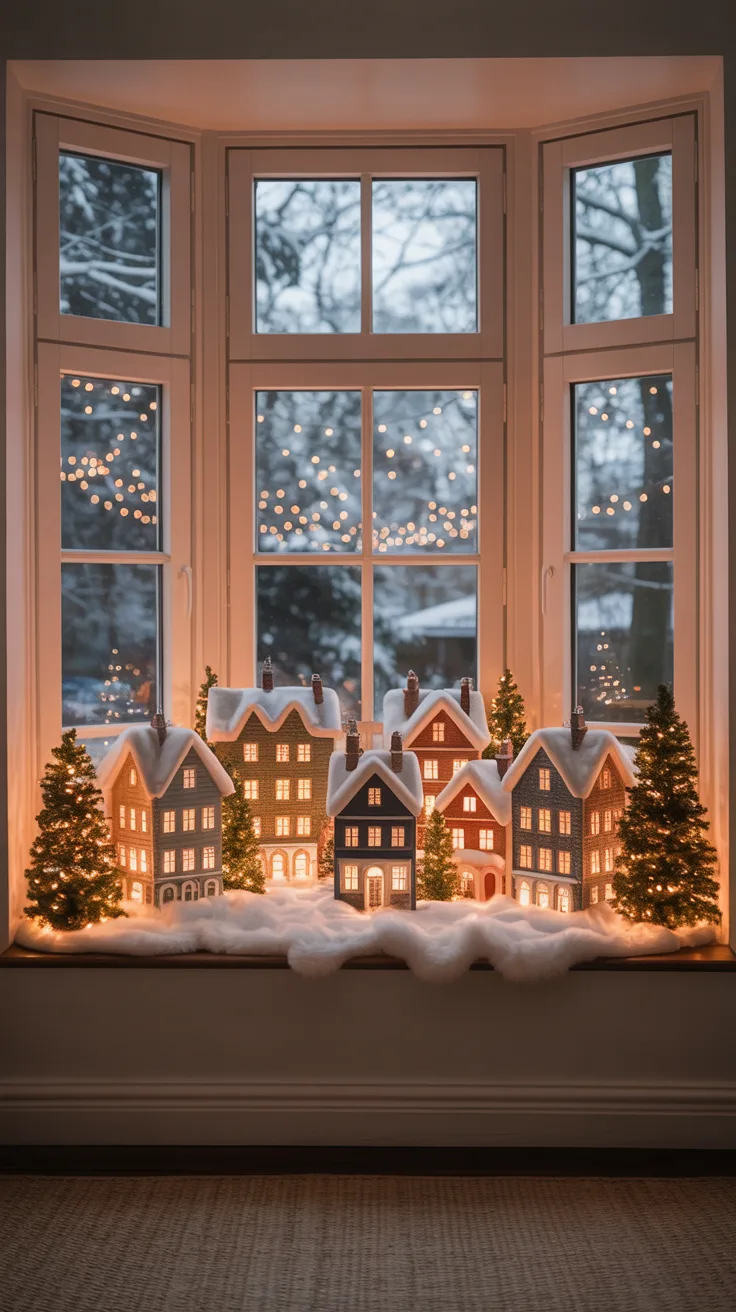
Finding the perfect location for your village is crucial – trust me, I learned this after my cat knocked over an entire row of buildings my first year! Look for a spot that’s visible but protected from household traffic and curious pets. I’ve found that bay windows, mantels, sideboards, or dedicated tables work wonderfully.
When I’m scouting locations in my home, I consider these factors:
- Stability – Is the surface sturdy enough to support all elements?
- Visibility – Can it be enjoyed from multiple angles?
- Power access – Are there outlets nearby for your lighting needs?
- Safety – Is it away from high-traffic areas and heat sources?
Pro Tip: I always place my village at least 3 feet away from the Christmas tree. One year, I positioned them too close, and when we watered the tree, we accidentally splashed water on some of my prized buildings!
Essential Elements for a Stunning Display
Creating a captivating Christmas village display requires more than just randomly placing buildings. I’ve found that the most enchanting displays include a thoughtful mix of elements that work together to tell a story.
- Buildings and Structures: Mix architectural styles for visual interest (churches, homes, shops, municipal buildings)
- Characters and Figurines: People ice skating, carolers, shoppers – they bring your village to life
- Natural Elements: Trees, shrubs, ponds, hills, and snow create dimension
- Pathways and Roads: These connect your buildings and guide the viewer’s eye
- Backdrop: A simple blue or black backdrop can create the illusion of night sky
- Base Material: White batting, cotton, or specialized snow blankets provide the foundation
Pro Tip: I save money by using everyday items for creative effects. For example, a small round mirror makes a perfect frozen pond, and crumpled aluminum foil covered with cotton creates realistic-looking snow-covered hills.
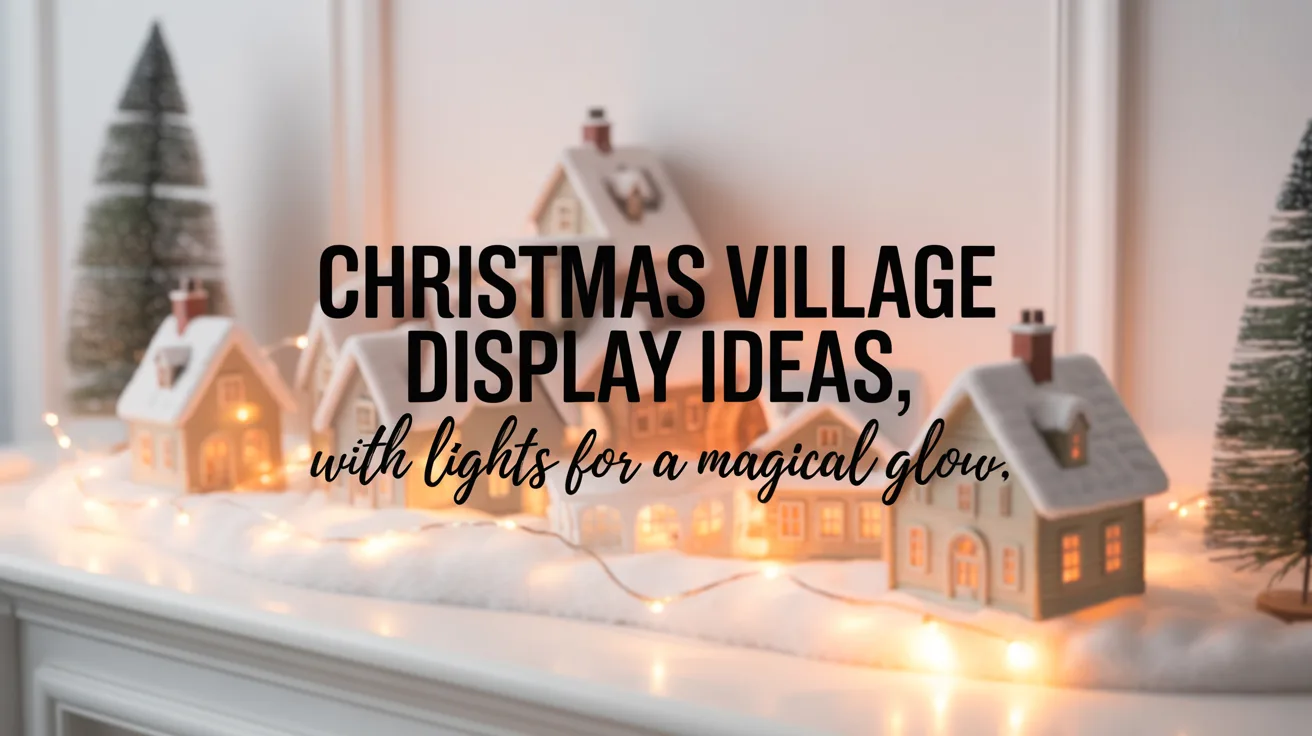
Incorporating Lights for a Magical Effect
Lighting is what truly brings a Christmas village display to life! I still remember the “aha” moment when I first experimented with different lighting techniques instead of just placing standard string lights underneath.
Here are some lighting approaches I’ve perfected over the years:
Internal Building Lights: Most collectible buildings come with internal lighting, but you can enhance these by replacing standard bulbs with LED alternatives for brighter, more energy-efficient illumination.
String Lights: Tiny LED string lights (often called fairy lights) can be woven throughout your display to create a cohesive glow. I like to tuck them under the snow material for a subtle illumination effect.
Spotlights: Small LED spotlights can highlight special features like a church steeple or town square. I found these at a craft store and they’ve been game-changers.
Color Considerations: Warm white lights create a cozy, traditional feel, while cool white gives a crisp, wintery atmosphere. I personally use a mix – warm lights in buildings and cool lights for snow effects.
Pro Tip: I use a remote-controlled power strip for my village lights. After burning my fingers one too many times reaching behind the display to unplug everything, this simple addition has saved me both frustration and minor injuries!
Creative Themes and Layout Ideas
When I first started collecting village pieces, I just bought whatever caught my eye. The result? A charming but chaotic mix of Victorian buildings next to modern ski lodges! Now I plan my displays around specific themes, which creates a more cohesive and impressive visual story.
- Traditional Christmas Town: Focus on classic elements like a town square, church, carolers, and shops decorated for Christmas
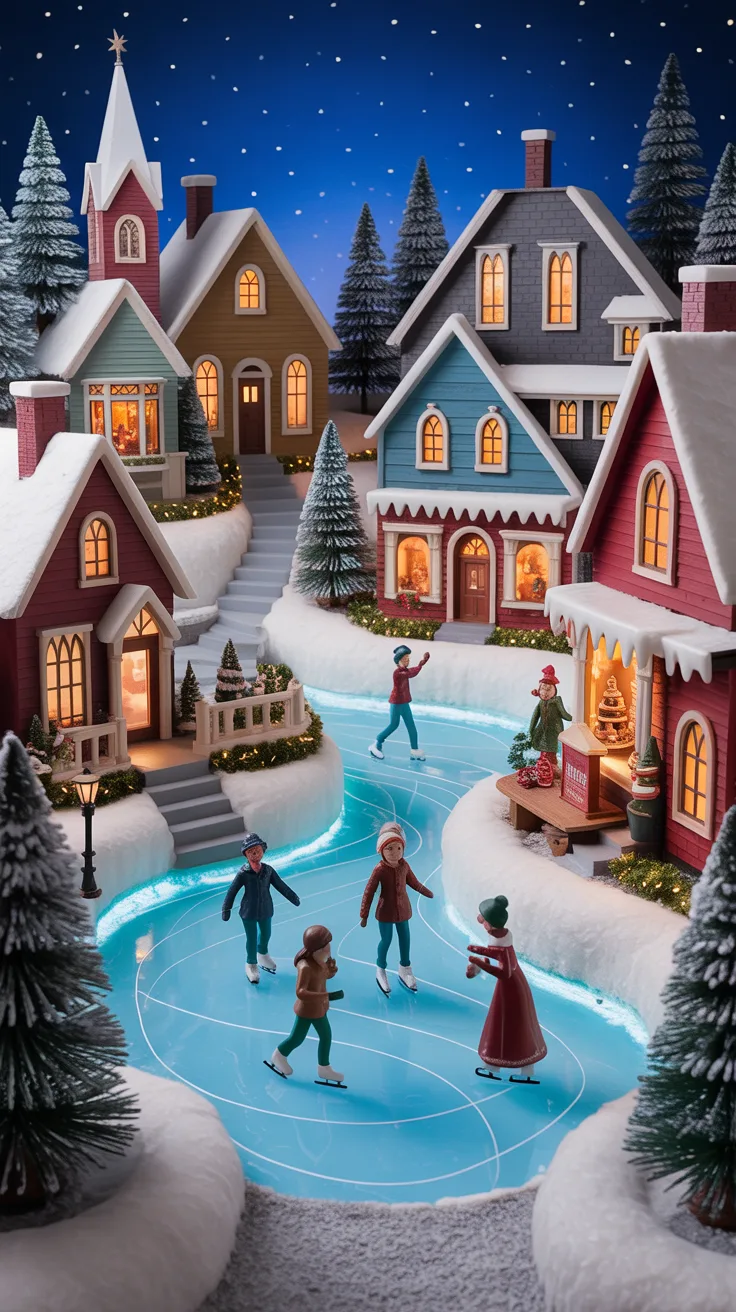
- Winter Wonderland: Emphasize snow activities with ice skaters, sledders, and plenty of snow-covered trees
- North Pole Workshop: Create Santa’s village with workshop buildings, elves, and toy-making scenes
- Dickensian Christmas: Capture the Victorian era with period buildings, gas lamps, and carolers in period costume
- Mountain Retreat: Build a display with cabins, ski lodges, and winter sports enthusiasts
- Seaside Christmas: Feature lighthouses, boats decorated with lights, and coastal buildings
For layout, I’ve learned to work with different levels to create depth and interest. I use foam blocks covered with snow material to create hills and varying heights. This approach draws the eye through the entire display rather than just seeing a flat arrangement.
Pro Tip: Take photos of your setup each year! I keep a small photo album of my past displays, which helps me remember what worked well and gives me inspiration for new arrangements.
Maintaining Your Christmas Village Display
Keeping your village looking fresh throughout the season requires some maintenance. I learned this the hard way after finding my beautiful display covered in a layer of dust one Christmas, just as guests were arriving!
Now I keep a small, soft paintbrush nearby and gently dust the buildings and figurines once a week. For more delicate pieces, I use a can of compressed air (the kind used for cleaning computer keyboards) to blow dust away without touching the items.
Check your lights regularly for any that have burned out. I make it part of my evening routine to quickly scan the village and address any lighting issues before they detract from the overall effect.
If you have pets (especially cats, like my curious Mittens), consider placing a thin, clear plastic barrier around your display. It’s nearly invisible but provides protection from paws and wagging tails.
Pro Tip: Keep a small repair kit handy with super glue, touch-up paint, and spare bulbs. I’ve saved many a village disaster with quick repairs that guests never noticed!
Storage Tips for Post-Holiday
Proper storage is crucial for preserving your collection. After ruining several pieces my first few years (including a heartbreaking moment when I found my favorite church steeple snapped off), I developed a system that keeps everything safe.
- Original Packaging: If possible, keep and use the original boxes for your buildings
- DIY Storage: For pieces without boxes, wrap in acid-free tissue paper, then bubble wrap
- Figurine Storage: Store small figurines in egg cartons or plastic compartment boxes
- Light Storage: Wrap lights around cardboard pieces to prevent tangling
- Labeling: Label all boxes clearly with contents and any special setup notes
I also take detailed photos of my setup before dismantling it, focusing on specific groupings and how the cords are arranged. This has saved me hours of head-scratching the following year!
Pro Tip: I store all my village pieces in clear plastic bins with silica gel packets to prevent moisture damage. After losing a beautiful church to mildew one summer, this extra step has kept my collection pristine.
Frequently Asked Questions
How do I choose the right lighting for my Christmas village?
Consider the mood you want to create. Warm white lights (yellowish) create a cozy, traditional atmosphere, while cool white (bluish) lights give a crisp, wintery feel. For buildings, I recommend LEDs as they generate less heat than incandescent bulbs. If you’re unsure, start with warm white lights for buildings and cool white for snow effects – this combination has always worked beautifully in my displays.
What are some easy themes for beginners?
A traditional town square is perfect for beginners. Start with a church, a few houses, and some basic accessories like trees and figurines. This classic approach doesn’t require specialized pieces and can be expanded over time. My first display was just three buildings, five figurines, and some cotton batting for snow – and it still brought joy to our holiday celebrations!
How can I make my village display more interactive?
Adding motion brings a display to life! Consider incorporating a moving train, rotating ice skaters, or animated figures. Sound elements like Christmas music or village sounds can also enhance the experience. One year, I placed a small Bluetooth speaker behind my display playing soft sleigh bells and caroling – my guests were enchanted by the immersive experience.
What is the best way to store my Christmas village?
Always store pieces individually wrapped in acid-free tissue paper, then bubble wrap for protection. Keep them in a climate-controlled environment away from extreme temperatures and moisture. I organize my collection in clear plastic bins with dividers, labeled by building type or village section. This system makes setup much easier the following year.
How can I prevent damage to my display?
Place your display away from high-traffic areas, heating vents, fireplaces, and curious pets. Consider using museum putty under buildings to secure them to the base. For homes with young children, either place the village out of reach or create a clear boundary around it. After my nephew accidentally sent a snowball figurine flying with an enthusiastic gesture, I now use a decorative fence around my display that serves as both protection and a charming border.