Introduction
There’s something magical about a Christmas village display that brings out the child in all of us. I’ve been collecting and arranging these miniature winter wonderlands for over a decade, and I’ve learned that proper lighting can transform a simple collection into an enchanting scene that captivates visitors. When I first started, I simply plugged in whatever lights I had on hand—big mistake! My village looked flat and the tangled wires created a safety hazard that nearly caused a short circuit one year. Through trial and error (and yes, a few singed fingertips), I’ve discovered that thoughtful Christmas village lighting makes all the difference. In this article, I’ll share my top 10 tips for creating that perfect cozy glow that will make your display truly special this holiday season.
Choose the Right Lights for Your Christmas Village
The foundation of any great village display starts with selecting the right type of lights. I remember using regular Christmas tree lights in my early days—they overwhelmed my tiny buildings and generated so much heat that one of my plastic figurines actually melted slightly!
Here are the best lighting options I’ve found through years of experimentation:
- Micro LED string lights – These ultra-thin wire lights with tiny bulbs are perfect for weaving through buildings
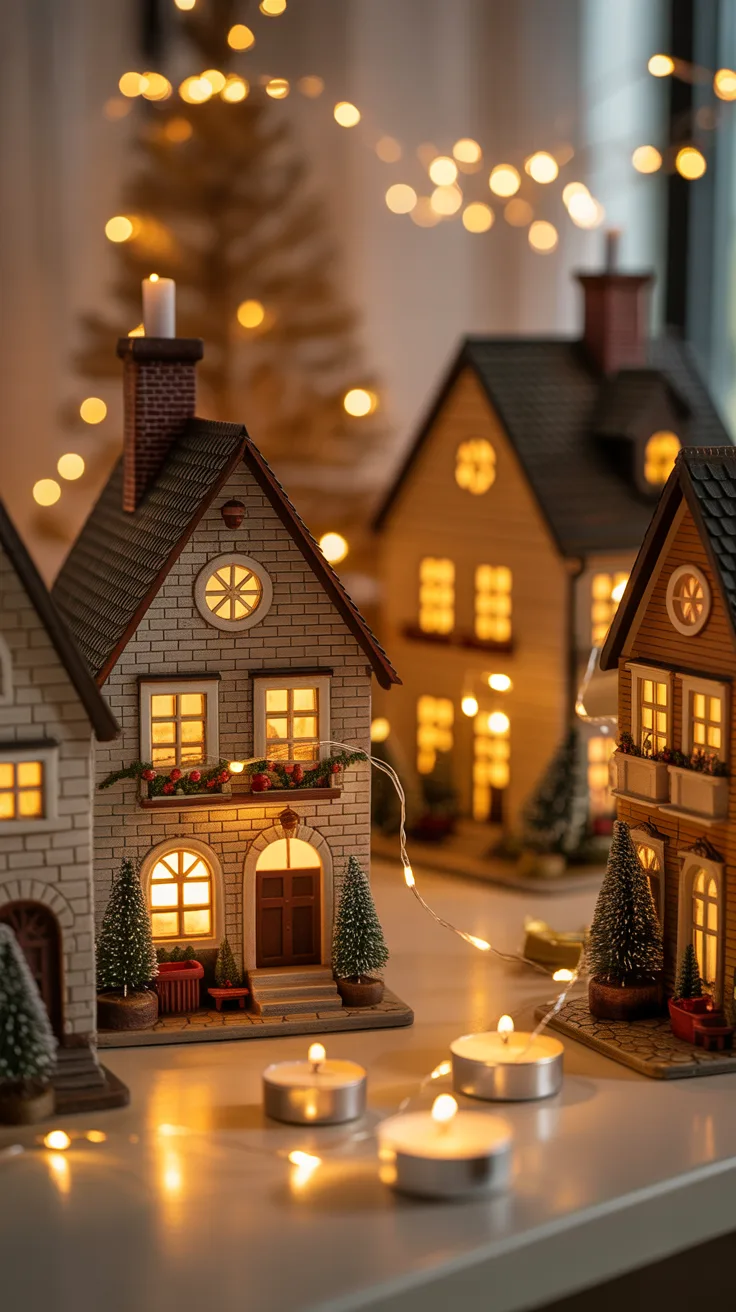
- Battery-operated tea lights – Great for placing inside buildings with hollow interiors
- Fiber optic lights – Create a magical starry effect when used as background lighting
- Miniature spotlights – Perfect for highlighting specific features or buildings
- Light-up figurines and accessories – These pre-lit pieces add built-in illumination
Pro Tip: Warm white lights (2700-3000K) create that classic, cozy glow that mimics traditional incandescent bulbs. I’ve found they photograph better and create a more inviting atmosphere than cool white or bluish lights.
Create a Lighting Plan
I used to just wing it when setting up my Christmas village lighting, but I quickly learned that planning ahead saves hours of frustration. One year, I had to completely disassemble my entire display because I hadn’t thought through power access—not fun when you’re three hours into decorating!
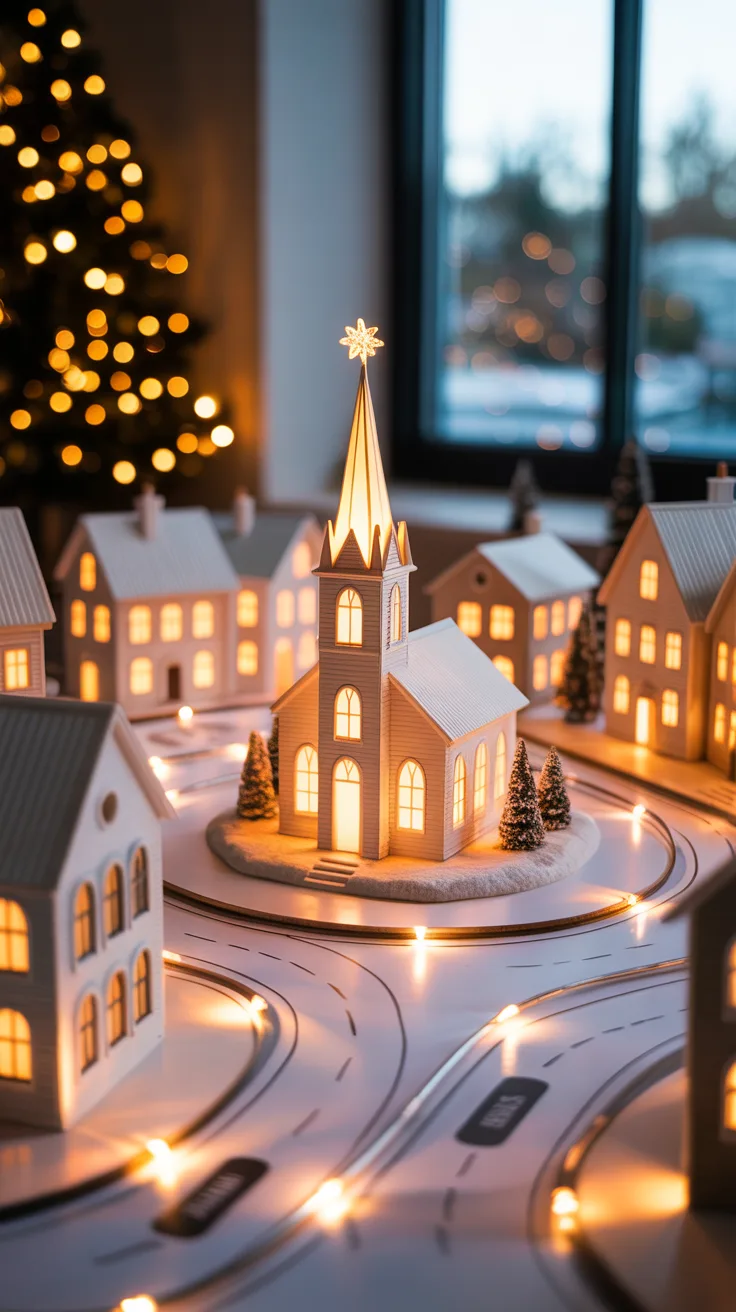
Start by sketching your village layout on paper. Mark where your power outlets are located and plan how you’ll route your lighting. Consider which buildings will be illuminated from within and which areas need external lighting. Think about focal points that deserve special attention, like a town square or church steeple.
I now take photos of my setup each year so I can remember what worked well. This has saved me countless hours of trial and error. If you’re using multiple light strands, map out which ones connect where to avoid overloading any single circuit.
Pro Tip: Use painter’s tape to mark your lighting paths on your display surface before setting up buildings. This creates a roadmap that makes assembly much easier.
Incorporate Different Lighting Levels

The first time I set up my village with lighting, everything had the same brightness—it looked flat and uninteresting. I’ve since learned that varying light intensities creates depth and visual interest, just like in real towns.
Here’s how I layer lighting for a more dimensional effect:
- Background lighting – Softer, diffused lighting creates a gentle glow behind buildings
- Mid-ground lighting – Medium brightness for general illumination of most buildings
- Foreground accents – Brighter focal points that draw the eye to special features
- Ground-level lighting – Subtle lights that illuminate pathways and create shadows
- Overhead effects – Simulated moonlight or starlight from above
I once placed a small, bright light behind a miniature frozen pond, and the way it made the ice shimmer created such a realistic effect that visitors asked how I got “real water” in my display!
Pro Tip: Use aluminum foil strategically under your snow blanket in areas where you want to amplify light reflection—it creates a beautiful glistening snow effect.
Use LED Lights for Energy Efficiency
After receiving a shocking electricity bill one January, I switched all my Christmas village lighting to LEDs and never looked back. Beyond saving money, LED lights have practical advantages that make them ideal for village displays:
- Lower heat output – Reduces fire risk and prevents damage to delicate pieces
- Longer lifespan – Most quality LEDs last 25,000+ hours (that’s a lot of Christmases!)
- Brighter light per watt – More illumination with less electricity
- More color options – Available in various hues for creative effects
- Durability – Less likely to break during storage and setup
I was hesitant about LEDs at first because early versions had that harsh, bluish light. Today’s warm white LEDs are virtually indistinguishable from traditional bulbs, with none of the drawbacks.
Pro Tip: Look for LED strings with brown or green wires instead of white—they blend better with village scenery and are less visible.
Hide Wires for a Clean Look
Nothing ruins the magic of a miniature world faster than seeing a tangle of full-sized wires running through it. This was my biggest challenge when I started, and I’ve developed several techniques to keep wires hidden.
I use cotton batting or snow blanket material strategically placed to cover wires. For buildings with internal lights, I cut small notches in the back or bottom to route wires out discreetly. Whenever possible, I cluster buildings that need power so their wires can be bundled together.
One year, I used dark green floral tape to wrap exposed wires, which helped them blend with the greenery in my display. For wires that must cross open areas, I sometimes create landscape features like hills or snowbanks specifically to conceal them.
Pro Tip: Use adhesive-backed cord clips (the kind used for cable management) on the underside of your display board to keep wires organized and prevent them from shifting when you make adjustments.
Add Timers for Convenience
After forgetting to turn my village on for a dinner party (and then falling asleep with it still illuminated until 3 AM), I invested in timers and it’s been a game-changer. Here’s why timers are essential for any serious village display:
- Consistent schedule – Your village lights up at the same time each day
- Energy savings – Lights turn off automatically, even if you forget
- Extended bulb life – Reduced operating hours means longer-lasting lights
- Convenience – No crawling behind furniture to plug and unplug
- Ambient lighting – Village can provide evening ambiance without manual intervention
I now use smart plugs that I can control with my phone, which allows me to override the timer for special occasions or when I want to show off my village to unexpected visitors.
Pro Tip: Set your timer to turn on your village about 30 minutes before sunset for the most magical transition from day to night.
Incorporate Colorful Lights
While warm white lights create that classic Christmas village feel, I’ve found that strategic pops of color can bring scenes to life. The key word is “strategic”—my first attempt with colored lights looked like a miniature Las Vegas rather than a charming winter town!
I now use colored lights sparingly for specific effects: blue lights to simulate water in ponds and streams, red and green for holiday decorations on tiny storefronts, and yellow for the warm glow of streetlamps. One of my favorite techniques is using a subtle blue light to create moonlight shadows behind buildings.
For a carnival scene in my village, I used multicolored micro LEDs on the miniature Ferris wheel, and it became the most commented-on feature of my entire display. The movement of the wheel combined with the changing colors created an almost hypnotic effect.
Pro Tip: Use colored lights at half the intensity of your white lights—they’ll provide the desired effect without overwhelming the scene.
Use Reflective Surfaces
I discovered the power of reflection by accident when I placed a small mirror under a section of my village to elevate it. The way it doubled the light effect was so beautiful that I began intentionally incorporating reflective elements throughout my display.
Mirrors work wonderfully as frozen ponds or lakes, especially with a light dusting of artificial snow on the edges. Aluminum foil crumpled and then flattened creates a textured reflective surface that mimics moving water when placed under blue lights. Even metallic gift wrap can be repurposed as reflective backing for buildings that need more illumination.
My most successful reflective technique involves placing small pieces of mirror behind windows that have lights inside buildings. This amplifies the glow and creates the illusion of depth within the structure.
Pro Tip: Place a sheet of white tissue paper over reflective surfaces that seem too bright or harsh—it diffuses the light while maintaining the reflective quality.
Balance Lighting with Decorations
In my enthusiasm for Christmas village lighting, I once created a display so bright that you couldn’t even see the intricate details of the buildings and figurines. Finding the right balance is crucial for a display that showcases both your lighting and your collectibles.
I’ve found that lighting should enhance, not overwhelm. Now I make sure that my most detailed or cherished pieces receive gentle illumination that highlights their features. Areas with simpler elements can handle brighter lighting.
Consider the overall mood you want to create. A village at dusk requires different lighting than one depicted in deep night. I personally prefer the magical blue hour effect—that time just after sunset when there’s still a bit of ambient light in the sky but buildings are beginning to glow from within.
Pro Tip: Take photos of your village with the room lights on and off to see how the lighting balance appears in different conditions, then adjust accordingly.
Test and Adjust Your Setup
The final and perhaps most important step in creating the perfect Christmas village glow is testing and refining. I always set aside an evening specifically for adjustments after the initial setup.
Here’s my testing checklist:
- View from multiple angles – Walk around your display and look from different heights
- Check for hot spots – Look for areas that are too bright or distracting
- Look for dark zones – Identify areas that need more illumination
- Test at different times – See how your lighting looks in daylight, dusk, and complete darkness
- Take photos – Camera images often reveal lighting issues not apparent to the naked eye
Don’t be afraid to make changes! I typically adjust my lighting 3-4 times before I’m satisfied. Sometimes moving a light just an inch can dramatically improve the effect.
Pro Tip: Use your smartphone’s video feature to record a slow