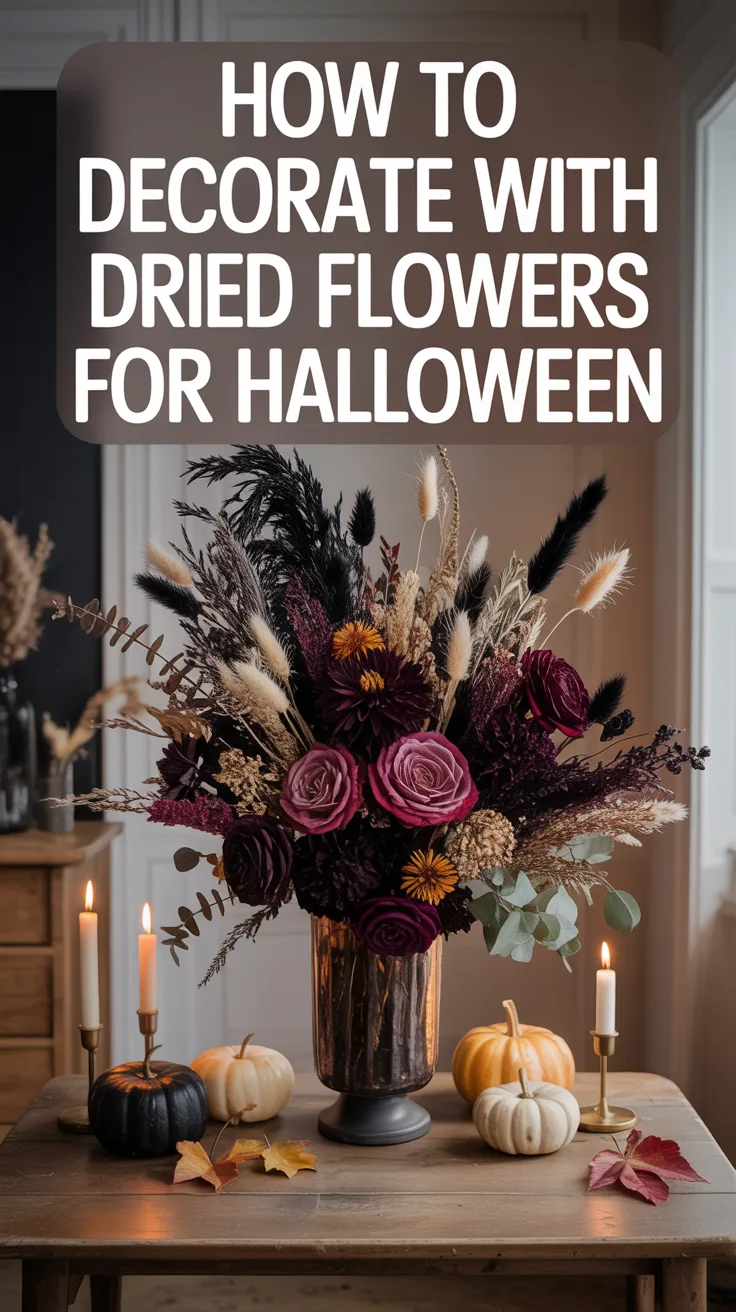
Introduction
When autumn arrives and Halloween approaches, dried flowers offer an elegant way to create decorations that feel atmospheric, romantic, and just a little haunting. Their faded petals, sculptural seed pods, wispy grasses, and naturally muted colors already have the aged character that works beautifully with sophisticated Halloween decor.
Rather than creating several unrelated arrangements, this project centers around one distinctive look you can repeat throughout the home: a Gothic dried flower arrangement filled with burgundy roses, black accents, deep purple botanicals, trailing amaranthus, dried grasses, seed pods, and twisting branches arranged inside an aged brass urn.

The finished arrangement can become the centerpiece for a Halloween dining table, mantel, entryway, or party display, while smaller versions of the same design can be adapted into wreaths and place-setting decorations.
The Main Project: Gothic Midnight Dried Flower Arrangement
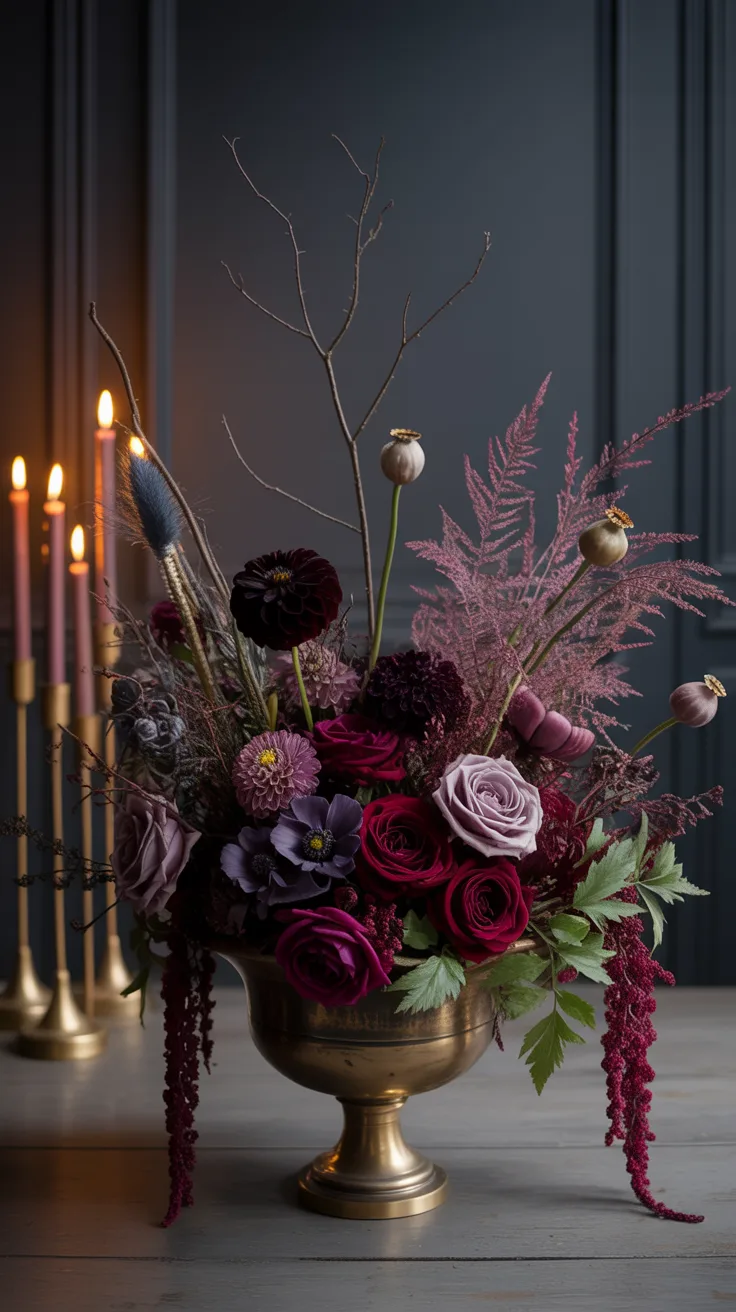
Picture a low antique-style brass urn overflowing with dark burgundy roses, blackened botanicals, muted purple flowers, dried fern, wispy grasses, trailing burgundy amaranthus, sculptural poppy pods, and several tall crooked branches.
The arrangement should feel slightly wild rather than perfectly symmetrical. Flowers spill toward one side, branches stretch upward at uneven angles, and trailing material falls naturally over the edge of the vessel.
Placed against a dark wall with several flameless candles nearby, the arrangement creates an elegant haunted-mansion atmosphere without relying on novelty Halloween decorations.
The Overall Look
- Theme: Gothic midnight garden
- Container: Aged brass urn or dark vintage-style vessel
- Main colors: Burgundy, black, deep plum, muted purple, and faded green
- Focal flowers: Burgundy dried roses and dark dahlias
- Trailing element: Burgundy amaranthus
- Texture: Poppy pods, dried fern, grasses, and seed heads
- Height: Crooked bare branches and tall grasses
- Lighting: Warm flameless candles positioned around the finished arrangement
Materials You’ll Need
Dried Flowers and Botanicals
- Dried burgundy roses
- Dark dried dahlias or similar focal flowers
- Deep purple statice
- Trailing burgundy amaranthus
- Dried fern fronds
- Poppy pods
- Teasel or other sculptural seed heads
- Dark or natural pampas grass
- Bunny tail grass
- Several bare twisting branches
Arrangement Supplies
- Antique-style brass urn or dark decorative vessel
- Dry floral foam or another appropriate mechanical support
- Floral wire
- Floral tape
- Floral snips
- Protective work surface
- Flameless LED candles for styling
A set of dried flower arranging supplies with floral wire and dry foam can provide the basic mechanics needed for the project.
Step 1: Choose the Right Container
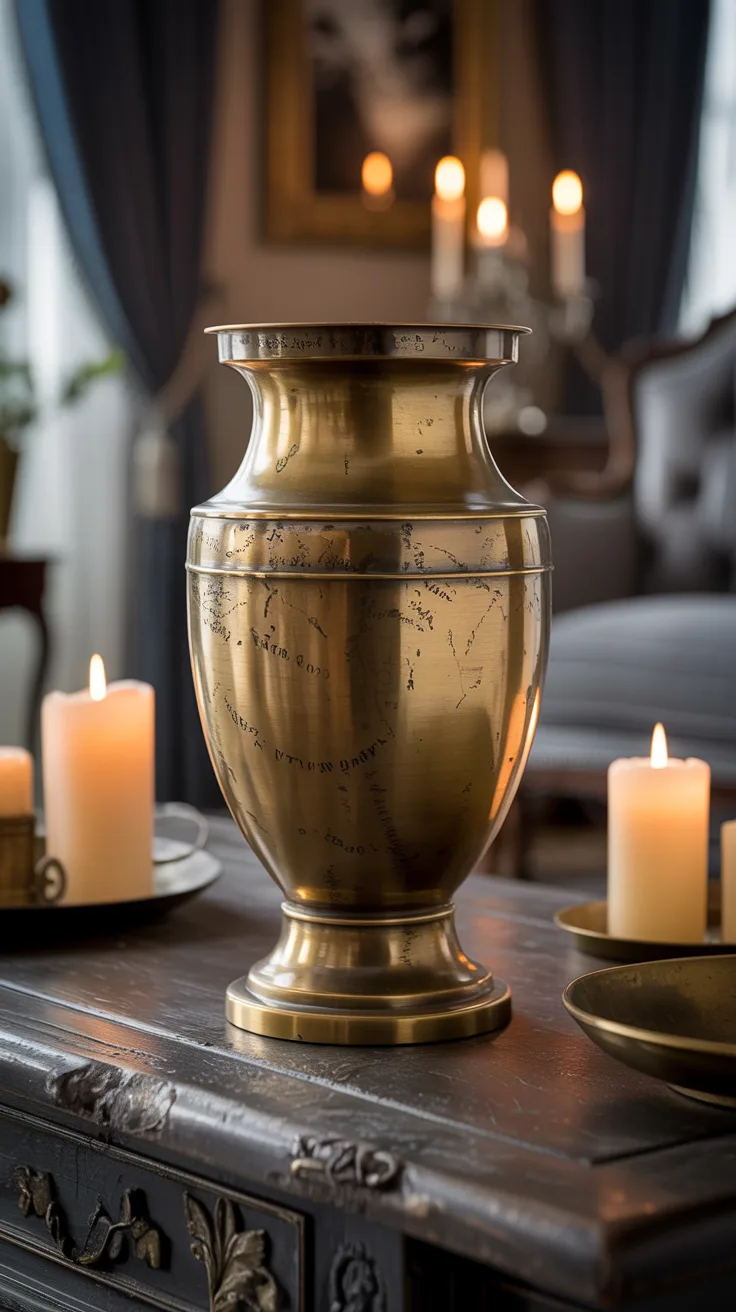
The container determines much of the arrangement’s personality. For this Gothic Halloween design, an aged brass urn creates a more sophisticated result than a novelty cauldron while still feeling appropriately mysterious.
How to Prepare It
- Choose a stable vessel with a reasonably wide opening.
- Clean the container and allow it to dry completely.
- Cut dry floral foam to fit securely inside when that support method is appropriate for the vessel and stems.
- Keep the foam slightly below the rim so it remains hidden.
- Check that the container cannot tip easily once tall branches are added.
Black ceramic, aged silver, weathered stone, or dark pottery can also work if brass does not suit the surrounding decor.
Step 2: Build the Crooked Branch Framework
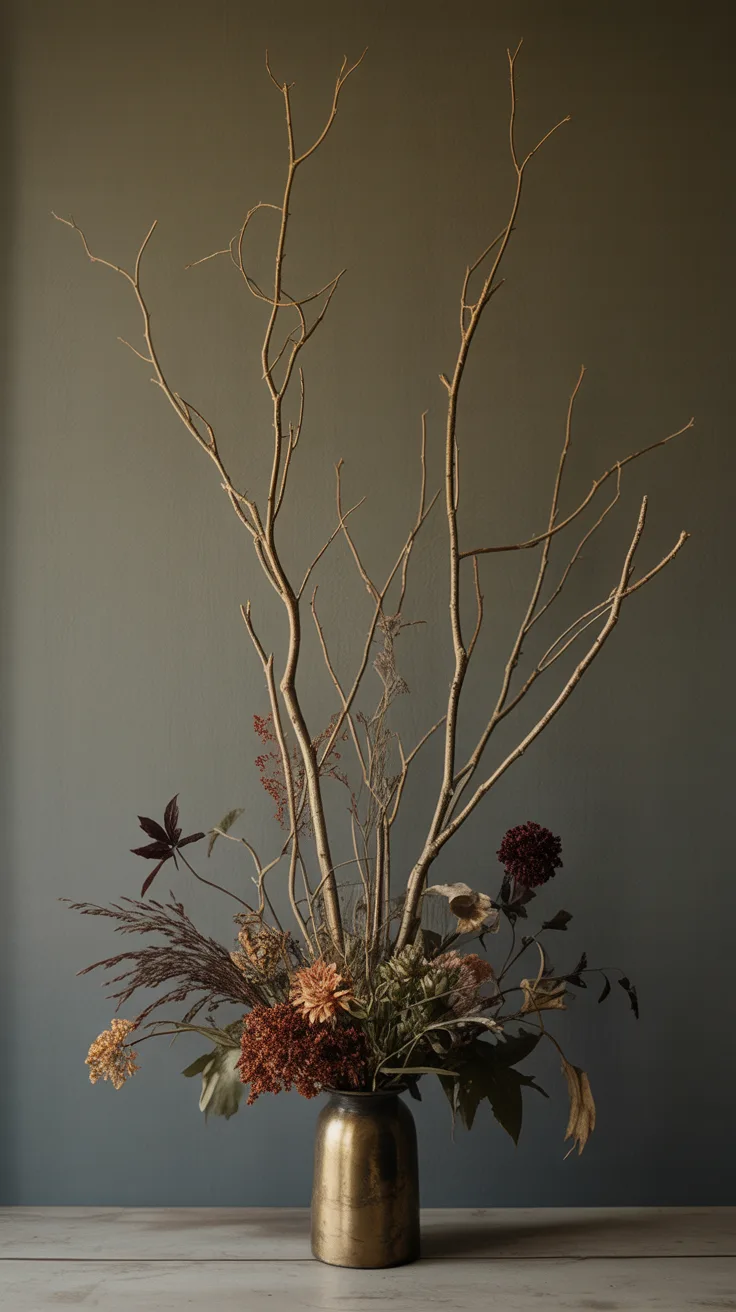
The tall branches create the silhouette that makes this arrangement immediately feel different from an ordinary autumn bouquet.
Look for thin branches with natural bends, forks, and irregular shapes rather than perfectly straight stems.
How to Build the Shape
- Select three to five branches of different heights.
- Position the tallest branch slightly off-center.
- Add another branch leaning toward the opposite side.
- Place shorter branches between them.
- Rotate the container and check the silhouette from several angles.
- Adjust the branches until the shape feels irregular but balanced.
Avoid creating a perfectly symmetrical fan because the slight imbalance gives the arrangement its wild haunted-garden character.
Step 3: Add Dark Grasses and Structural Botanicals
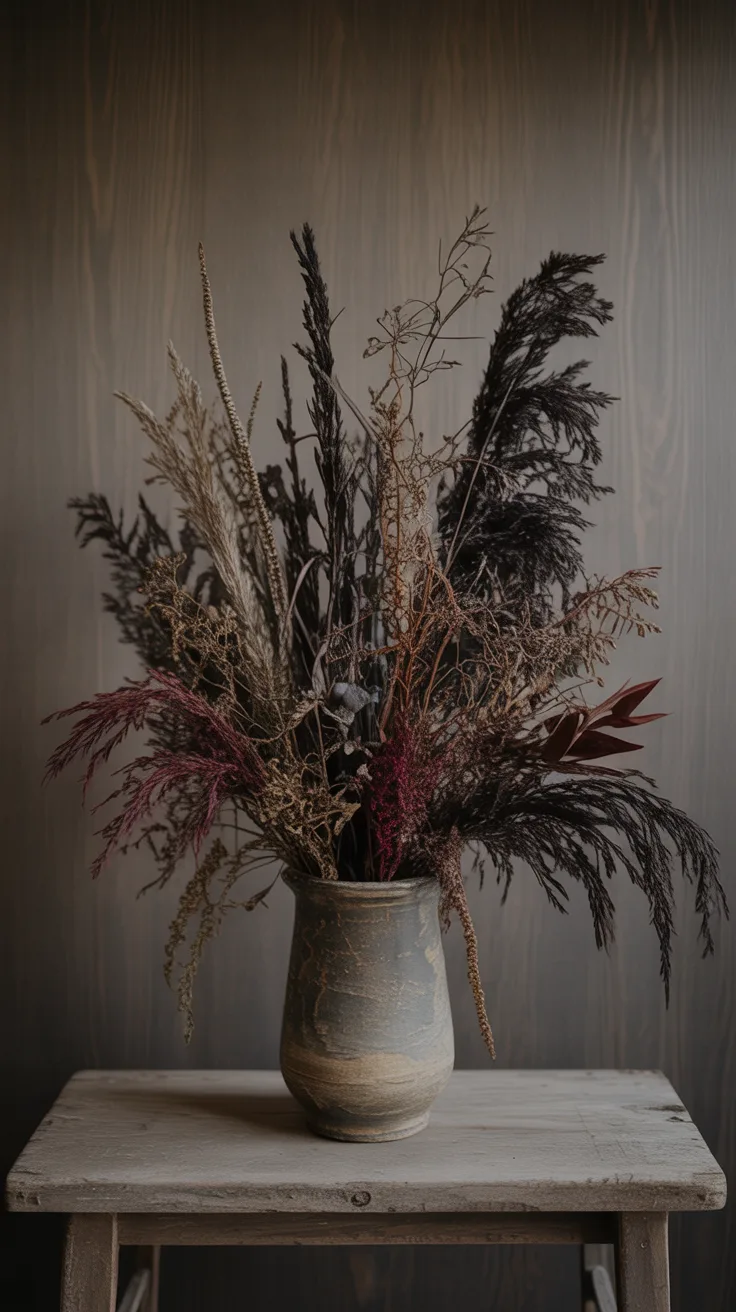
Once the branches establish the height, begin filling the arrangement with grasses and dried foliage.
Pampas, dried fern, and tall seed heads soften the empty space between the branches while preserving the loose silhouette.
How to Add the Background Layer
- Insert several tall grass stems around the branches.
- Keep some stems upright and allow others to lean outward.
- Add dried fern slightly lower in the arrangement.
- Place several sculptural seed heads where their shapes remain visible.
- Leave intentional gaps instead of filling every open space.
The background should frame the flowers rather than becoming a dense wall of dried material.
Step 4: Place the Burgundy Focal Flowers
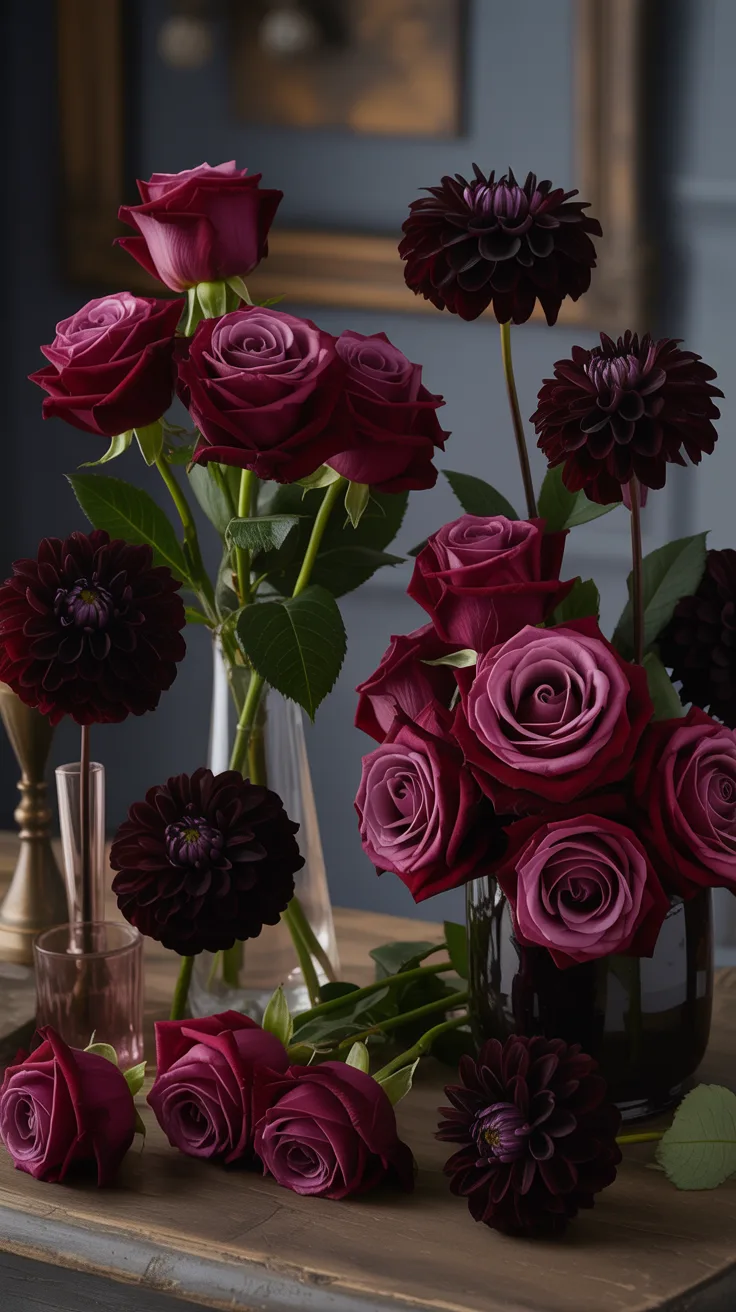
Burgundy roses and dark dahlias create the romantic center of the arrangement.
Instead of arranging them evenly, create several loose clusters at different heights.
How to Position the Flowers
- Choose the largest focal flower and place it slightly below the center.
- Add two or three roses around it at different angles.
- Create a second smaller cluster toward one side.
- Position another flower lower near the rim of the container.
- Turn the arrangement and fill obvious visual gaps without making the design perfectly symmetrical.
Keeping some flowers facing outward and others slightly sideways makes the arrangement feel more natural.
Step 5: Add Deep Purple Flowers
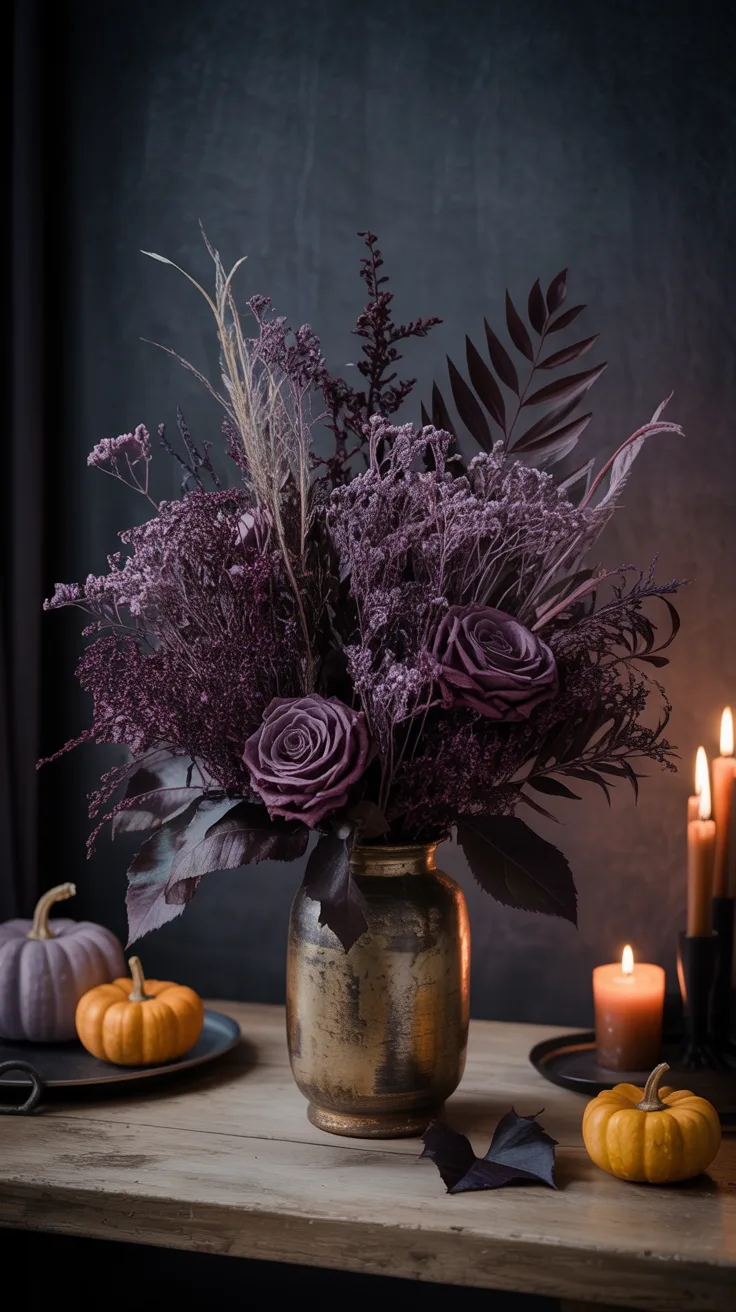
Deep plum and purple botanicals provide separation between the burgundy flowers and black decorative accents.
Small-flowered materials such as dried statice work especially well because they can fill narrow spaces without competing with the larger roses.
How to Add Them
- Break larger bunches into smaller usable stems.
- Insert small clusters between the focal flowers.
- Repeat the purple color in several areas.
- Allow a few stems to extend beyond the main flower mass.
- Keep the distribution irregular for a more organic appearance.
Step 6: Add Poppy Pods and Spiky Texture
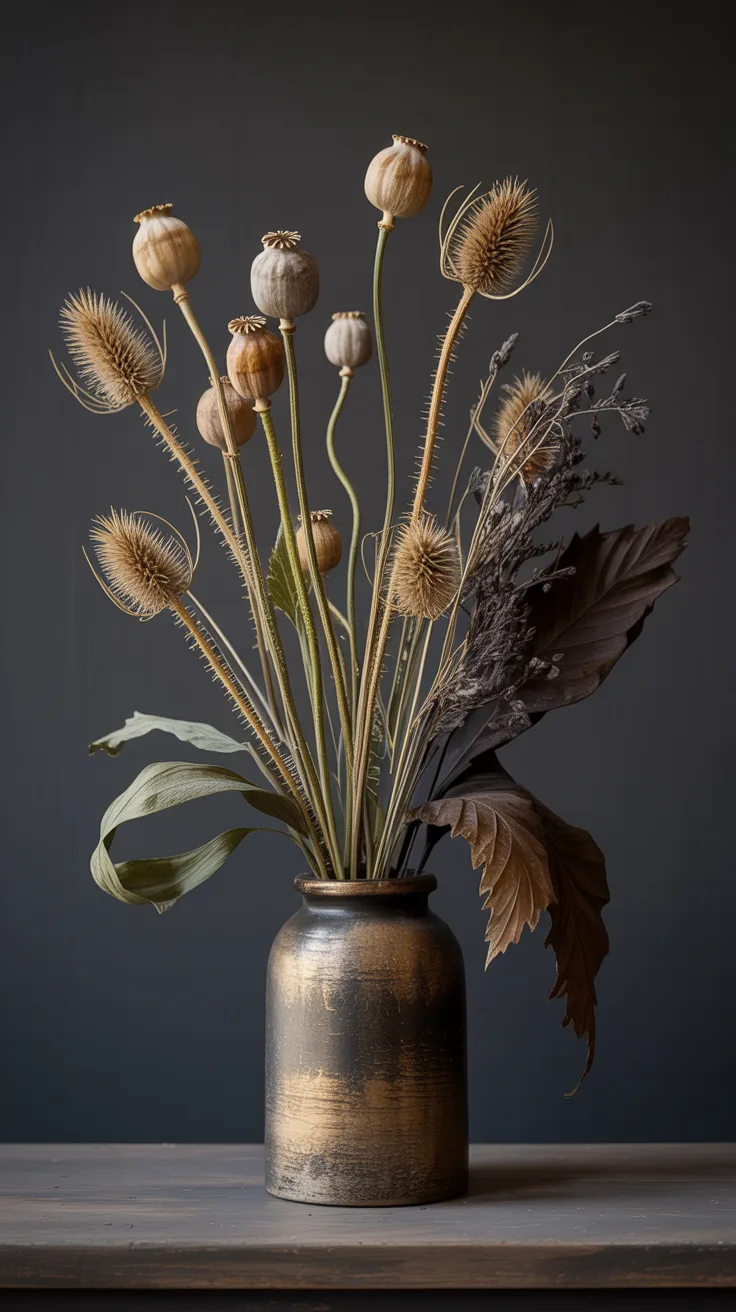
Seed pods are one of the easiest ways to make dried Halloween arrangements feel slightly mysterious without adding obvious spooky props.
Poppy pods provide rounded architectural forms while teasel and similar dried seed heads introduce sharper silhouettes.
How to Use Them
- Add one or two poppy pods near the central flowers.
- Place another pod higher in the arrangement.
- Insert several spiky seed heads around the outside.
- Keep the most interesting shapes visible rather than burying them behind flowers.
- Repeat the textures sparingly throughout the design.
Step 7: Create the Trailing Amaranthus Effect
Trailing burgundy amaranthus gives the arrangement the dramatic cascading detail that makes it especially effective on a mantel, buffet, or dining table.
How to Position It
- Choose the side of the arrangement that will have the strongest downward movement.
- Insert one long amaranthus stem near the rim.
- Allow it to fall naturally over the side of the vessel.
- Add one or two shorter trailing pieces nearby.
- Balance the opposite side with flowers or fern rather than matching the cascade exactly.
The result should feel intentionally asymmetrical.
Step 8: Add Black Halloween Accents
Black should function as an accent rather than dominating the entire arrangement. Too much solid black can flatten the texture that makes dried flowers interesting.
Use naturally dark botanicals when available or selectively color a few inexpensive dried materials with an appropriate decorative floral or craft finish.
Where to Add Black
- A few dark seed heads
- Selected dried grasses
- One or two blackened fern fronds
- Several dark leaves
- A narrow black velvet ribbon around the vessel if desired
Pro Tip: Test any coloring product on a spare stem first and follow its ventilation, drying, and handling instructions.
Step 9: Fill the Small Gaps
With the main design established, use smaller materials to soften abrupt transitions while keeping some open space visible.
How to Finish the Flower Placement
- Step several feet away from the arrangement.
- Identify gaps that look accidental rather than intentional.
- Add small pieces of bunny tail grass or statice where necessary.
- Trim stems that project awkwardly from the overall silhouette.
- Rotate the arrangement and inspect the sides.
- Stop before the arrangement becomes overly dense.
A successful dried arrangement often benefits from more negative space than a conventional fresh flower centerpiece.
Step 10: Style the Arrangement with Candlelight
The final step is creating the moody lighting that transforms the dried arrangement into a Halloween centerpiece.
Because dried botanical material can ignite easily, keep it away from open flames and significant heat sources.
How to Create the Candlelit Look
- Position the arrangement on a stable table, mantel, or console.
- Place several flameless pillar candles nearby.
- Add smaller battery-operated votives at different heights.
- Keep lights outside the dried material rather than burying them among stems unless the specific lighting product is designed and approved for that use.
- Dim surrounding room lights slightly.
- Adjust the arrangement so the warm light catches the dried petals and seed pods.
A set of flameless LED candles can create the candlelit Halloween atmosphere without placing open flames beside dried botanicals.
Turn the Same Theme into a Halloween Wreath
Once the centerpiece is complete, leftover flowers can be used to create a coordinating wreath for the front door, dining room, or mantel.
A grapevine wreath works particularly well because its exposed twisting branches complement the wild Gothic character of the arrangement.
A grapevine wreath base for dried flowers provides a natural foundation for a coordinating Halloween door decoration.
How to Create the Wreath
- Place the grapevine wreath flat on a work surface.
- Decide whether the flowers will cover the entire wreath or only one section.
- Attach several dried fern pieces to establish the direction of the design.
- Add two or three burgundy focal flowers.
- Insert purple statice and small seed heads around them.
- Add black grasses or other dark accents.
- Allow a small amount of amaranthus to trail from the lower portion.
- Secure loose materials carefully with floral wire.
- Add a burgundy or black velvet ribbon if desired.
For a more modern look, leave at least half of the grapevine base exposed and concentrate the flowers along one lower side.
Create Coordinating Halloween Place Settings
The same flowers can also be repeated on the dining table without requiring another large arrangement.
How to Make Mini Dried Flower Bundles
- Cut a short piece of dried fern.
- Add a small purple flower stem.
- Place one bunny tail or miniature seed head beside it.
- Gather the stems into a tiny bundle.
- Wrap them with thin burgundy or black ribbon.
- Place one bundle on each folded napkin.
Repeating just two or three botanicals from the centerpiece is enough to visually connect the place settings with the main arrangement.
Create a Dried Flower Halloween Mantel
A mantel provides enough horizontal space to expand the Gothic dried flower theme without building another full centerpiece.
How to Style It
- Place the main arrangement slightly off-center.
- Lay several twisting branches horizontally along the mantel.
- Add small groups of dried flowers between the branches.
- Position flameless candles at different heights.
- Add several dark miniature pumpkins if desired.
- Allow one trailing botanical to fall gently over an edge where it will not be disturbed.
- Keep enough empty space for individual elements to remain visible.
Using the same burgundy, plum, black, brass, and faded-green palette keeps the display cohesive.
How to Dry Flowers for Next Halloween
Creating your own supply of dried flowers can make future arrangements more personal and allows you to preserve suitable flowers from the garden or bouquets.
Simple Air-Drying Method
- Choose flowers that are still in good condition.
- Remove excess leaves from the stems.
- Gather a few stems into small bundles.
- Secure the stems with string or a rubber band.
- Hang the bundles upside down in a dry, dark, well-ventilated location.
- Leave space between bundles for airflow.
- Allow them to dry thoroughly before storing or arranging.
Different flowers respond differently to air drying, so experimenting with small quantities helps determine which varieties produce the appearance you prefer.
Preservation and Storage
Dried flowers are long-lasting but not indestructible. Humidity, sunlight, dust, crushing, and frequent handling can gradually damage them.
How to Store the Arrangement
- Remove loose dust carefully before storage.
- Take fragile protruding stems out if they can be stored separately.
- Place the arrangement or components inside a roomy box.
- Use tissue paper to prevent delicate materials from shifting excessively.
- Keep the box in a cool and dry indoor storage area.
- Avoid placing heavy objects on top.
- Check the materials before reusing them the following season.
Direct sunlight can fade many dried botanicals, so displays intended for repeated use generally last better away from strong prolonged sunlight.
How the Finished Halloween Dried Flower Display Should Look
The completed centerpiece should look like flowers gathered from an abandoned Gothic garden and arranged inside an antique brass urn.
Burgundy roses form the romantic center while dark dahlias, plum flowers, faded foliage, and black accents deepen the color palette. Crooked branches stretch upward behind the flowers, creating an irregular silhouette against the wall.
Poppy pods and seed heads provide sculptural details while dried grasses soften the arrangement. On one side, burgundy amaranthus spills dramatically over the edge of the urn.
Several warm flameless candles illuminate the arrangement from below, catching the edges of faded petals and casting soft shadows from the branches.
The finished result should feel elegant first and spooky second, allowing it to work for an October dinner, Halloween party, entryway, or seasonal mantel without looking like a novelty decoration.
Frequently Asked Questions
How long do Halloween dried flower decorations last?
The lifespan varies with the botanical material, preparation, environment, handling, and storage. Keeping dried arrangements away from moisture, crushing, and prolonged strong sunlight can help preserve their appearance for future seasonal use.
Can dried flowers be used outdoors for Halloween decorating?
Dried flowers are generally better protected from rain, wind, and prolonged moisture. If they are used outside, a sheltered location can reduce exposure, but outdoor conditions may still shorten their usable life.
What colors work best for elegant Halloween dried flowers?
Burgundy, black, deep plum, muted purple, faded green, rust, cream, and antique metallic accents can create a sophisticated Halloween palette. Using several related shades usually creates more depth than relying on solid black and bright orange alone.
Are dried flowers safe around candles?
Dried botanical material is combustible and should be kept away from open flames and heat sources. Flameless LED candles provide a safer way to create a candlelit appearance around dried arrangements.
Can I color dried flowers for Halloween?
Some dried materials can be colored with products intended for decorative floral or craft use. Test a spare stem first and follow the product’s directions for ventilation, application, drying, and handling.
What is the easiest Halloween dried flower project for beginners?
A small arrangement in a vintage-style vase is an approachable starting project. Use one focal flower, one filler, one grass, and several branches before attempting larger installations or wreaths.
How do I make dried flowers look spooky without using skulls or spiders?
Use crooked branches, dark burgundy flowers, sculptural seed pods, trailing amaranthus, faded foliage, asymmetrical shapes, and low warm lighting. These elements create a mysterious Gothic mood without requiring recognizable Halloween props.