Introduction to Snowy Christmas Village Decor
There’s something truly magical about a miniature **snowy Christmas village** nestled among twinkling lights and fluffy artificial snow. I’ve been collecting and arranging these charming displays for over a decade, and they never fail to transport me back to childhood winters filled with wonder and excitement.
These enchanting miniature worlds capture the essence of holiday nostalgia—quaint cottages with smoke curling from chimneys, tiny figurines ice skating on frozen ponds, and the warm glow emanating from shop windows. They’re not just decorations; they’re storytelling pieces that create a festive focal point in any home.

I remember my first village setup—a haphazard arrangement of mismatched buildings placed directly on my mantel without much thought to scale or theme. While charming in its simplicity, I’ve learned so much since then about creating truly captivating displays. Let me share what I’ve discovered about creating these winter wonderlands that will delight both you and your holiday guests.
Choosing the Right Village Pieces
When I first started collecting, I made the mistake of grabbing any village piece that caught my eye. The result? A mishmash of styles and scales that never quite looked cohesive. Now I know that thoughtful selection makes all the difference in creating a **snowy Christmas village** that tells a story.
The key is to consider both variety and theme. Do you want a Victorian-era village? A modern winter town? Or perhaps a North Pole workshop scene? Whatever you choose, consistency in style will create a more believable miniature world.
- Core buildings: Start with essential structures like a church, town hall, and several homes of different styles
- Commercial elements: Add toy shops, bakeries, and cafés to create a bustling village center
- Character figurines: Include people engaged in winter activities—carolers, shoppers, children building snowmen
- Vehicles: Vintage cars, horse-drawn sleighs, or delivery trucks add movement and period authenticity
- Infrastructure: Don’t forget bridges, fences, and street lamps to connect your village elements

View on AmazonAs an Amazon Associate, I earn from qualifying purchases.

View on AmazonAs an Amazon Associate, I earn from qualifying purchases.
Pro Tip: Rather than buying a complete set at once, I’ve found that building my collection gradually allows me to be more selective and creates a more authentic-looking village with pieces I truly love.
Creating a Realistic Snow Effect
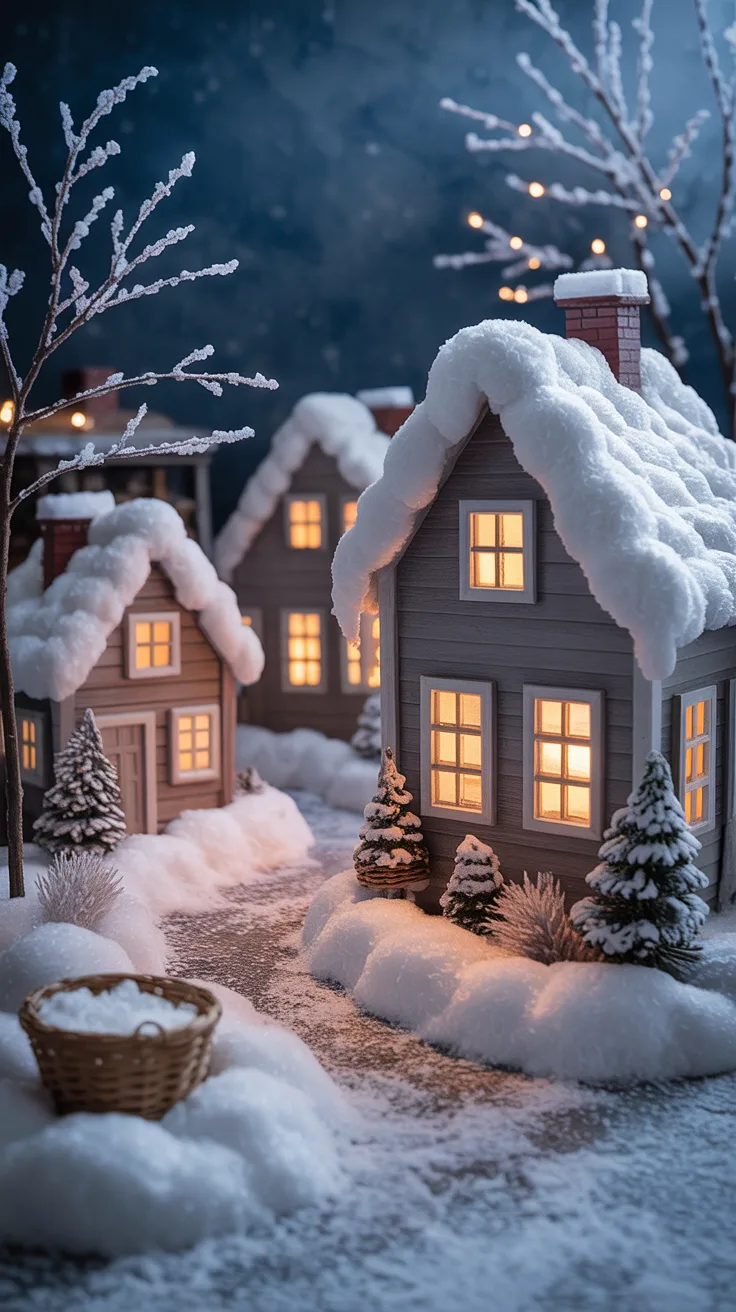
The “snow” in your display can make or break the illusion of a winter wonderland. My first attempt using cotton balls resulted in what looked more like a village hit by a cotton candy explosion than a gentle snowfall. Through trial and error, I’ve discovered several techniques for creating convincing snow effects.
For base snow coverage, I prefer using snow blankets made specifically for village displays. These provide a smooth foundation while still offering texture that resembles drifted snow. For a more dynamic look, I layer different snow materials:
Artificial snow powder creates beautiful details when sprinkled over rooftops and tree branches. I apply it with a small sieve for controlled distribution. For snow banks and drifts, I use a mixture of white craft paint and baking soda, which dries to a realistic, slightly sparkly finish that catches the light beautifully.

View on AmazonAs an Amazon Associate, I earn from qualifying purchases.

View on AmazonAs an Amazon Associate, I earn from qualifying purchases.
Pro Tip: Apply a light misting of clear adhesive spray before sprinkling fine snow powder to help it stick to vertical surfaces like roofs and trees.
Incorporating Lights for Extra Sparkle
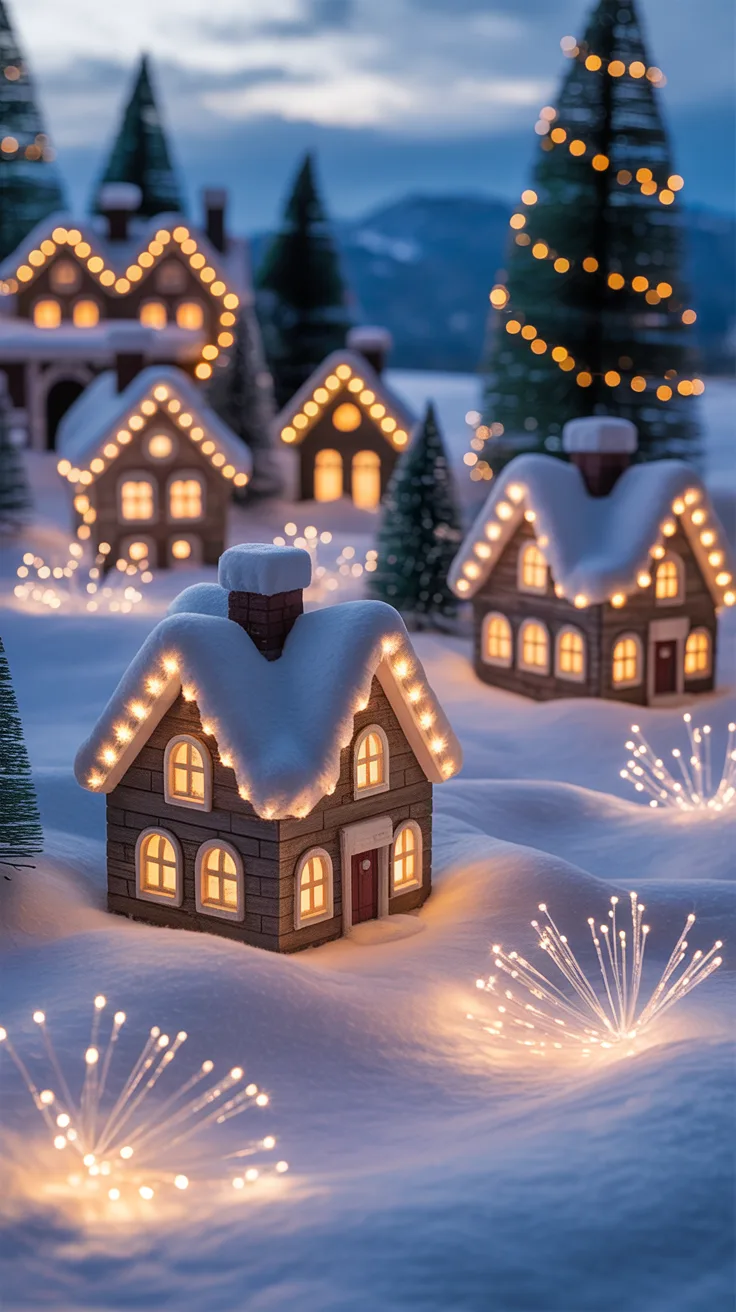
Lighting transforms a static display into a magical **snowy Christmas village** scene. I learned this the hard way after setting up my entire village one year before realizing I had no way to run power cords to the middle sections!
Now I plan my lighting strategy before placing a single building. Here are my go-to lighting options:
- Micro LED string lights: These tiny lights can be woven throughout the village for a starry effect
- Building illumination: Most collectible buildings come with internal lighting, but you can add battery tea lights to unlighted structures
- Spotlights: Small, directional LED lights can highlight special features or create dramatic shadows
- Fiber optic elements: These create magical twinkling effects when incorporated into your snow base
- Color-changing options: For a more whimsical display, subtle color-changing lights add dimension

View on AmazonAs an Amazon Associate, I earn from qualifying purchases.

View on AmazonAs an Amazon Associate, I earn from qualifying purchases.
I’ve found that warm white lights create the most realistic and cozy atmosphere, though a few colored lights can add interest when used sparingly.
Adding Trees and Foliage
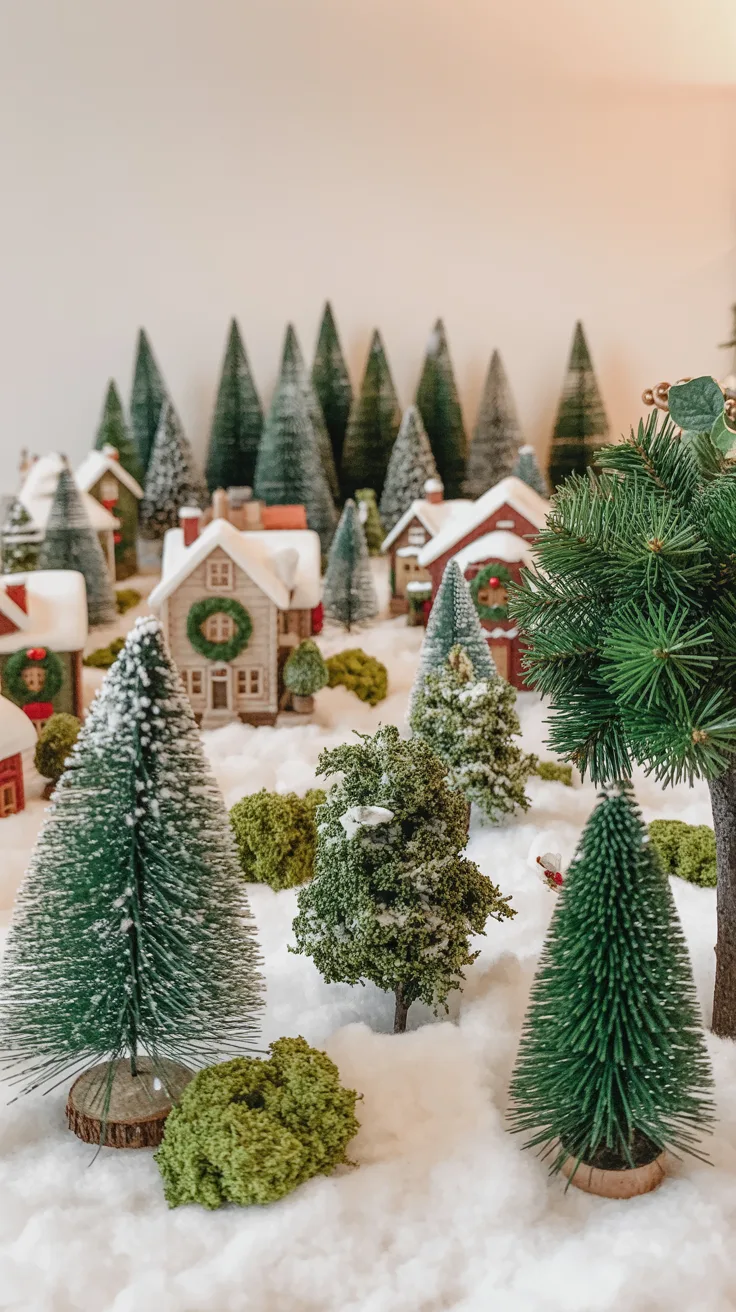
Trees are essential for creating depth and realism in your winter village. My first display had buildings but lacked greenery, making it feel strangely barren despite the “snow.” Now I know that the right mix of trees and foliage brings the scene to life.
- Evergreens: Bottle brush trees in various sizes create perfect miniature pines
- Deciduous trees: Wire or plastic trees with snow-dusted branches add variety
- Shrubs and bushes: Small clumps of preserved moss or miniature bushes create garden areas
- Wreaths and garlands: Tiny decorative elements for building exteriors add festive touches
- Forest areas: Grouping trees creates the illusion of forests surrounding your village

View on AmazonAs an Amazon Associate, I earn from qualifying purchases.

View on AmazonAs an Amazon Associate, I earn from qualifying purchases.
I arrange trees in varying heights, with taller ones toward the back of the display to create forced perspective. This simple trick makes your village appear larger and more expansive than it actually is.
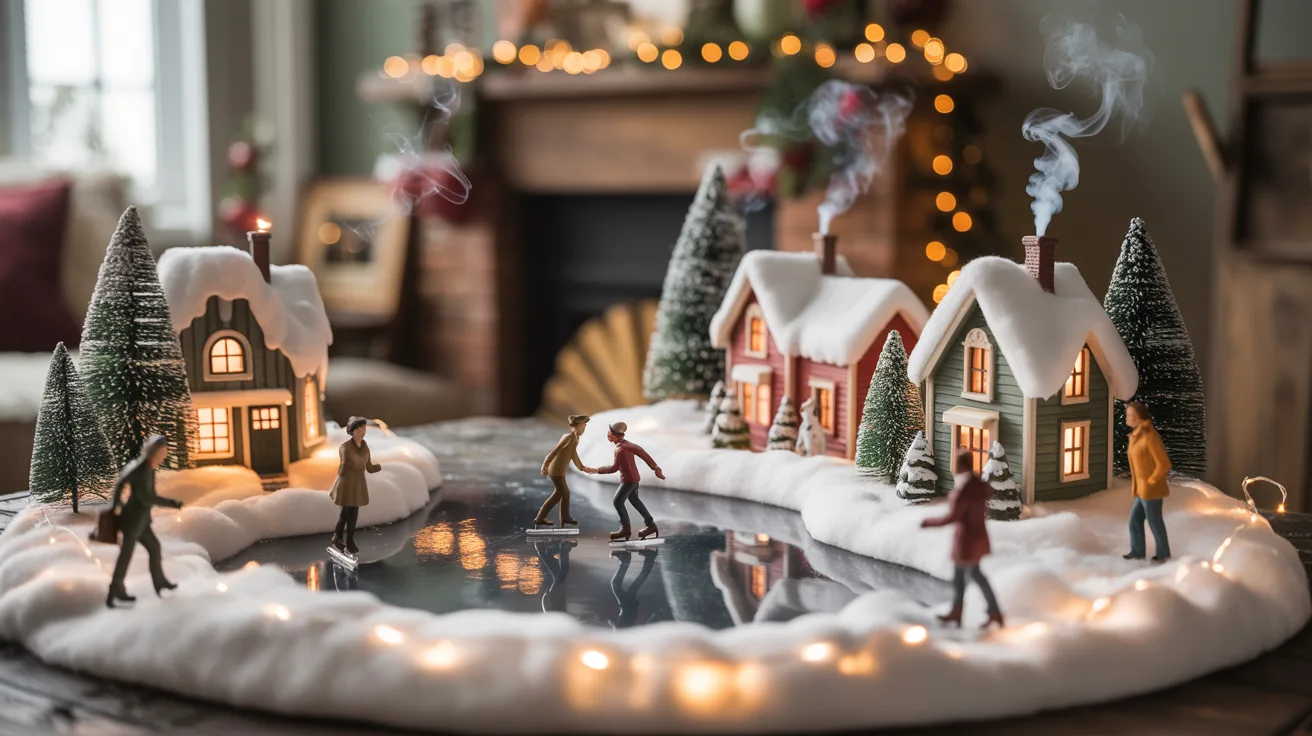
Incorporating Movement and Sound
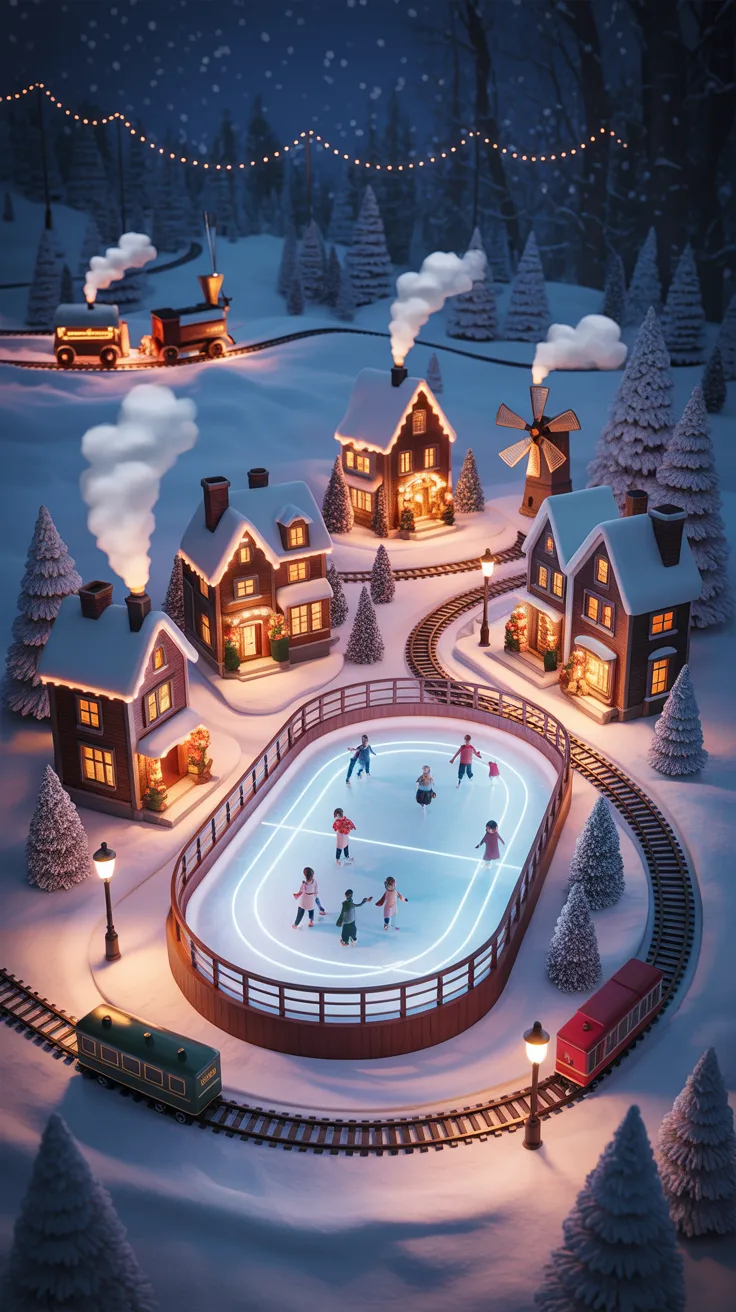
The first time I added an animated skating rink to my display, I was amazed at how it instantly drew everyone’s attention. Movement brings a static scene to life in a way that’s almost magical.
Many collectible village pieces come with built-in animation, from rotating windmills to moving train sets. I’ve found that limiting animation to 2-3 focal points creates interest without becoming overwhelming or chaotic.
Sound elements add another dimension entirely. Some buildings include sound features, but you can also add your own ambient audio. I use a small Bluetooth speaker hidden within my display to play gentle Christmas music or sounds of a winter village—crackling fires, distant sleigh bells, and children laughing.
Pro Tip: If using multiple animated pieces, connect them to the same power strip with an accessible switch so you can easily turn them all on or off at once without disturbing your display.
Pro Tip: Use Mirrors for Depth
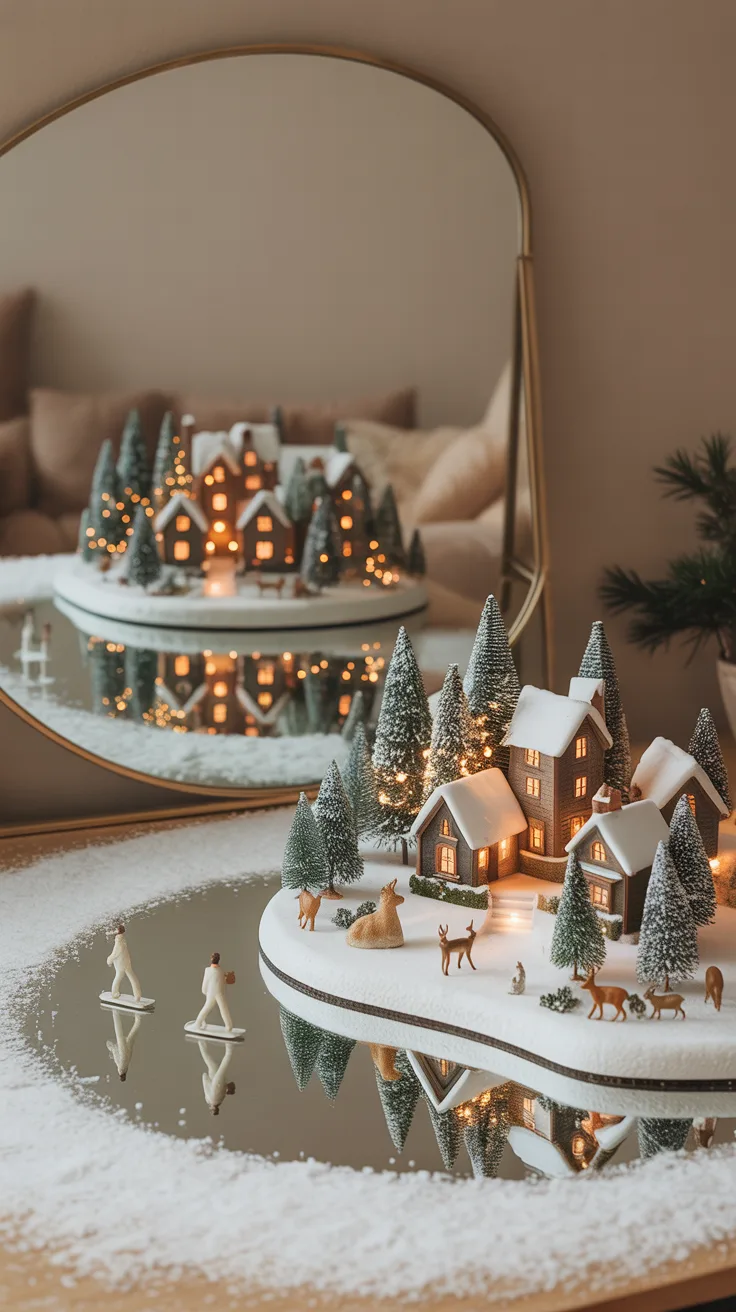
One of my favorite tricks for creating an impressive **snowy Christmas village** display came from a happy accident. When setting up my village near a decorative wall mirror, I noticed how the reflection doubled the visual impact and created the illusion of a much larger scene.
Now I intentionally incorporate mirrors into my displays. Small mirror tiles or sheets placed strategically behind buildings or beneath “frozen ponds” add remarkable depth. The reflective quality also amplifies your lighting, making the entire display more luminous.
For frozen lakes and ponds, I use round or oval mirrors covered with a light dusting of snow around the edges. The effect is stunning—especially when you position skaters or wildlife around these mirrored surfaces.
This technique works particularly well for smaller spaces where you want to create the impression of a more expansive village without needing additional room or pieces.
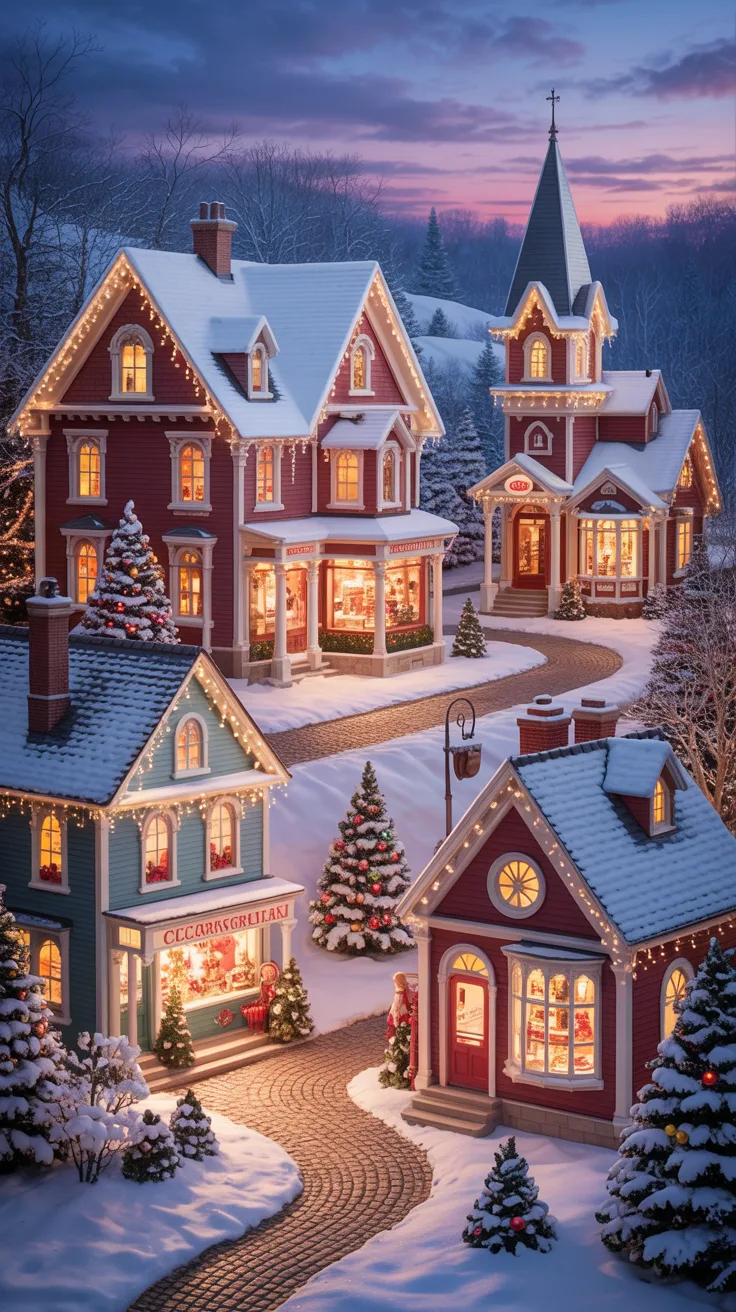
Arranging Your Village Layout
The arrangement of your village elements tells a story. I’ve learned that a thoughtful layout makes the difference between a random collection of buildings and a cohesive miniature world that invites viewers to imagine the lives of its tiny inhabitants.
I start by creating different “zones” within my village—perhaps a town square with shops surrounding it, a residential neighborhood with homes, and a rural area with farms or woodland cottages. This zoning helps create a logical flow and makes the village feel like a real community.
Varying the height is crucial for visual interest. I use styrofoam blocks covered with snow material to create hills and different elevations. Buildings placed on higher ground naturally draw the eye, making them perfect locations for important structures like churches or landmark buildings.
Creating pathways between buildings using fine gravel or marked trails in the snow helps tie everything together. I position my figurines along these paths, which helps tell the story of village life.
Pro Tip: Sketch your layout on paper before setting up. This saves time and frustration, especially with larger displays where rearranging can be challenging once everything is connected and powered.
Maintaining Your Village
After spending hours creating the perfect **snowy Christmas village**, the last thing you want is to see it deteriorate over the holiday season. I’ve learned some maintenance lessons the hard way—like the year my cat decided the village looked better rearranged!
- Dust control: Use a small, soft makeup brush or photography lens brush for gentle dusting
- Lighting maintenance: Check bulbs regularly and keep spare batteries on hand
- Secure loose pieces: Museum putty or wax keeps figurines and accessories from toppling
- Pet protection: Consider a clear acrylic shield or strategic placement away from curious pets
- Moisture control: Keep your village away from humidifiers, plants, or windows that might introduce dampness
I’ve found that spending just a few minutes each day tidying and adjusting keeps everything looking fresh throughout the season. Plus, it gives me a chance to enjoy and appreciate the details of my display.

Conclusion
Creating a magical snowy Christmas village is about more than just arranging collectibles—it’s about crafting a miniature world that captures the wonder and nostalgia of the holiday season. Each year, as I unpack my treasured pieces and arrange them in new configurations, I’m reminded of why I started this tradition.
Whether you’re just beginning your collection or are a seasoned village enthusiast, remember that the most charming displays are those that reflect your personal vision of holiday magic. Don’t be afraid to experiment, add unique elements, and create a winter wonderland that brings joy to everyone who sees it.
The time spent crafting these miniature scenes is rewarded many times over when you catch someone leaning in close, discovering a tiny detail with delight, or simply standing back to take in the enchanting glow of your snowy Christmas village.
Frequently Asked Questions
How do I store my Christmas village pieces?
I store my pieces in their original boxes whenever possible, as they’re designed to protect the delicate details. For pieces without original packaging, I wrap them individually in acid-free tissue paper, then place them in plastic storage containers with dividers. I label everything meticulously and store them in a climate-controlled area to prevent damage from temperature fluctuations or humidity.
What is the best way to clean snow village decor?
For dust removal, I use a soft makeup brush or a can of compressed air for hard-to-reach areas. For more stubborn dirt on non-porous surfaces, a slightly damp microfiber cloth works well. Always avoid chemical cleaners on painted surfaces, and never submerge electrical components. Let pieces air dry completely before storing them away.
Can I use real snow in my village display?
I tried this once—big mistake! Real snow melts quickly, creating water damage to electrical components and potentially warping buildings. It also introduces moisture that can damage painted surfaces and cause mold when stored. Stick with artificial snow products designed specifically for decorative displays.
How can I make my village more interactive?
Beyond animate