Introduction
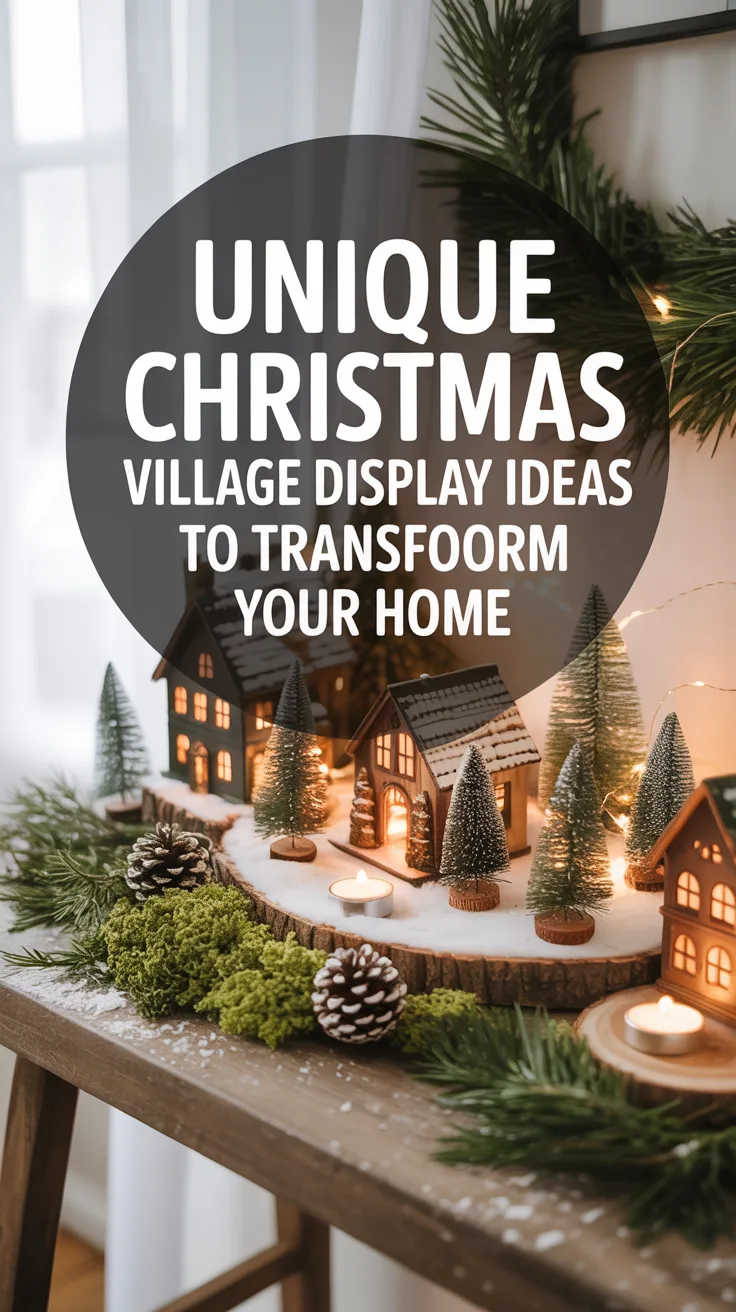
There’s something magical about setting up a Christmas village display that takes me back to childhood. Every year, I eagerly unpack my collection of miniature buildings, figurines, and twinkling lights, ready to create a festive wonderland in my home. Over the years, I’ve learned that creating a truly captivating display is about more than just placing pieces on a table—it’s about telling a story and creating a scene that draws people in.
I still remember my first attempt at creating a Christmas village—a haphazard arrangement of mismatched buildings on my grandmother’s coffee table. Since then, I’ve refined my approach and discovered countless ways to elevate these displays from simple decorations to breathtaking focal points. Whether you’re a seasoned collector or just starting out, these unique ideas will help transform your holiday decor into something truly special.
Choosing the Right Theme for Your Christmas Village
I’ve found that the most compelling Christmas village displays begin with a clear theme. When I first started collecting, my village was a mishmash of different styles and eras—charming in its way, but lacking cohesion. Selecting a unifying theme creates a more immersive experience and helps guide your decisions when adding new pieces.
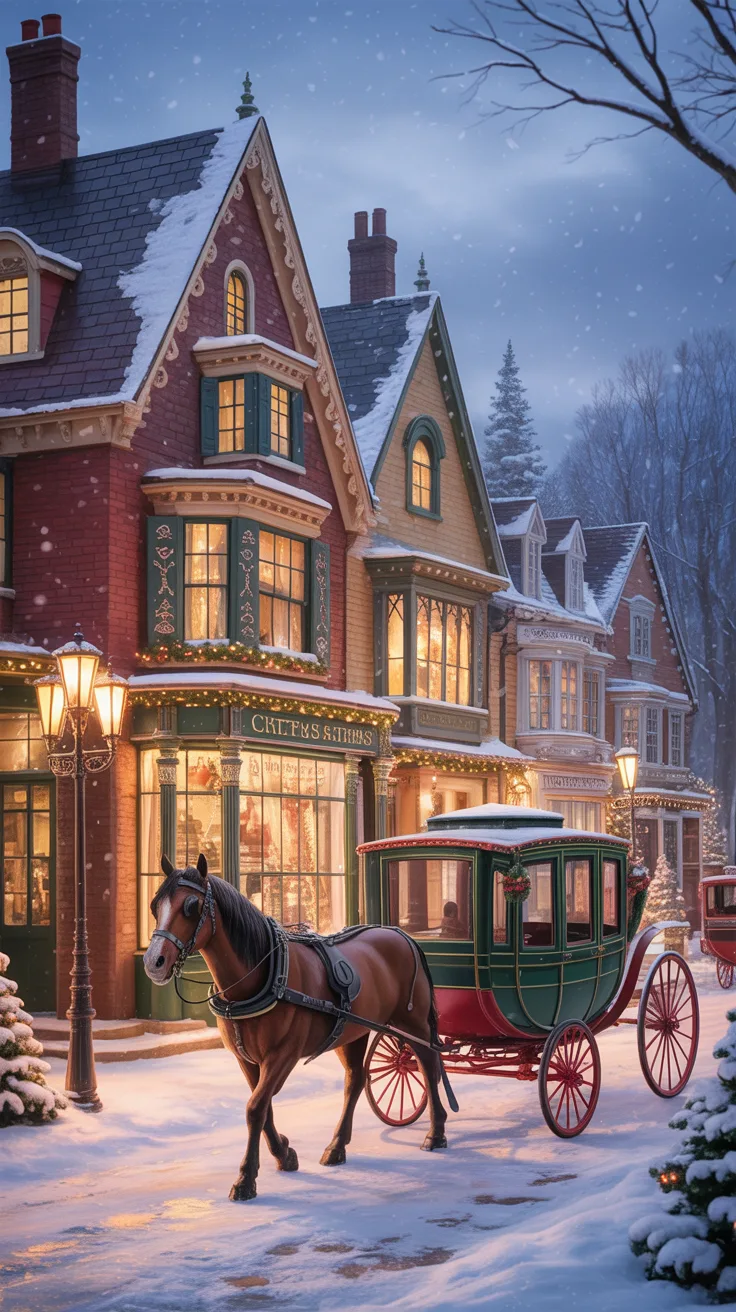
- Victorian Christmas: This classic theme features ornate architecture, gas lampposts, and horse-drawn carriages. I love how it captures the nostalgic charm of a Dickensian Christmas.
- Alpine Village: Inspired by European mountain towns, this theme incorporates chalets, ski lodges, and snow-capped peaks. I added tiny skiers and a working gondola to mine last year!
- Coastal Christmas: Lighthouses, fishing boats, and beachside cottages create a unique seaside holiday scene. This was a refreshing change when I grew tired of the traditional snow-covered displays.
- North Pole Workshop: Focus on Santa’s workshop, elf houses, and reindeer barns for a whimsical, fantasy-inspired display.
- Hometown Replica: Recreate your own town or neighborhood with miniature versions of local landmarks. I did this one year, including a tiny version of our town’s historic theater!
Pro Tip: Don’t feel constrained to commercial collections. I’ve successfully mixed pieces from different brands and even incorporated handmade elements to achieve my desired theme.
Incorporating Natural Elements
One year, I made the mistake of creating a perfectly arranged village that looked… well, too perfect. It lacked the organic feel of a real landscape. That’s when I discovered the transformative power of natural elements. These materials add texture, dimension, and authenticity to your display.
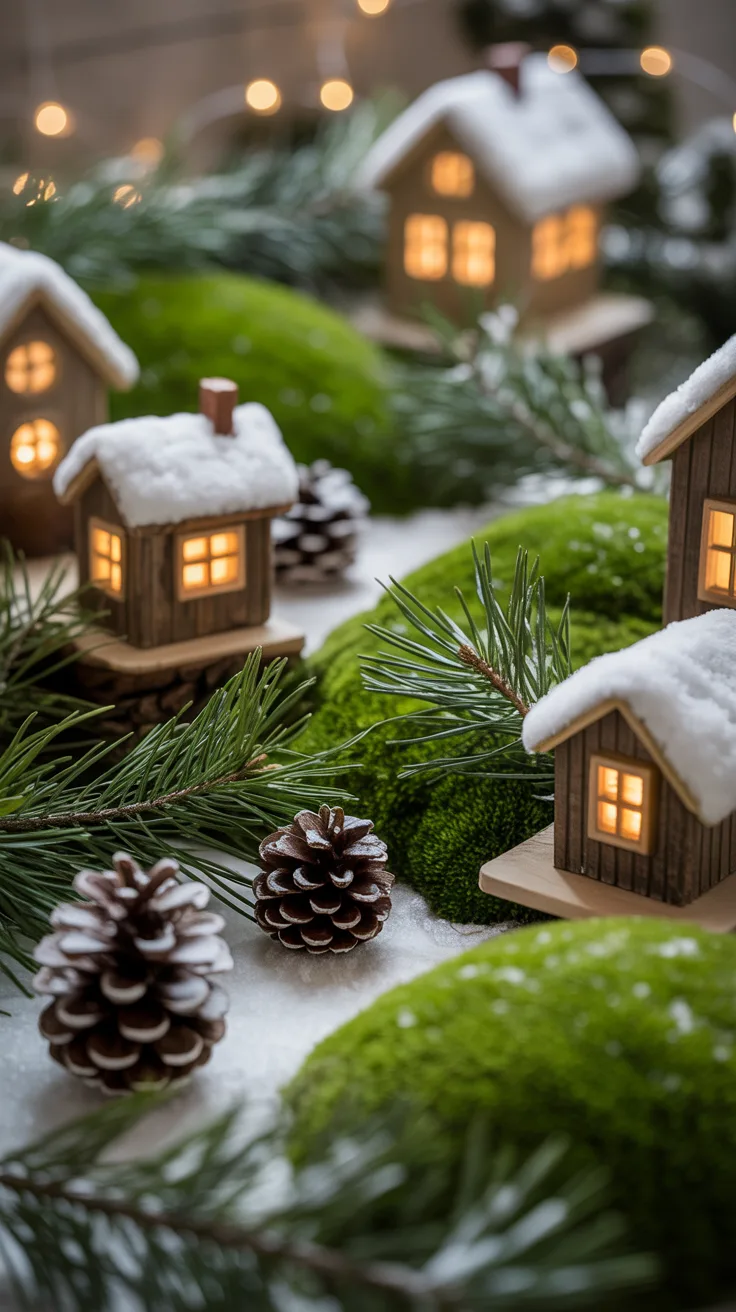
- Fresh Greenery: Small sprigs of pine, cedar, or holly create realistic trees and shrubs. Just be sure to mist them occasionally to prevent drying out.
- Moss: This creates perfect ground cover and can be shaped into rolling hills. I once found a patch in my backyard that, once dried, became the perfect base for my entire display.
- Pinecones: Small pinecones make excellent miniature trees when dusted with artificial snow.
- Rocks and Pebbles: Create natural-looking pathways, stone walls, or rocky outcroppings.
- Cinnamon Sticks: These can be bundled together to create rustic log piles or fences.
- Dried Orange Slices: When backlit, these create a warm, glowing effect that adds ambiance.
Pro Tip: Before bringing outdoor elements inside, bake them on a low temperature (around 200°F) for 30 minutes to eliminate any insects or moisture. I learned this the hard way after finding tiny bugs crawling through my village one memorable Christmas!
Creative Lighting Techniques
Lighting is what truly brings a Christmas village to life. I’ve experimented with numerous approaches over the years, and the right illumination can transform even the simplest display into something magical.
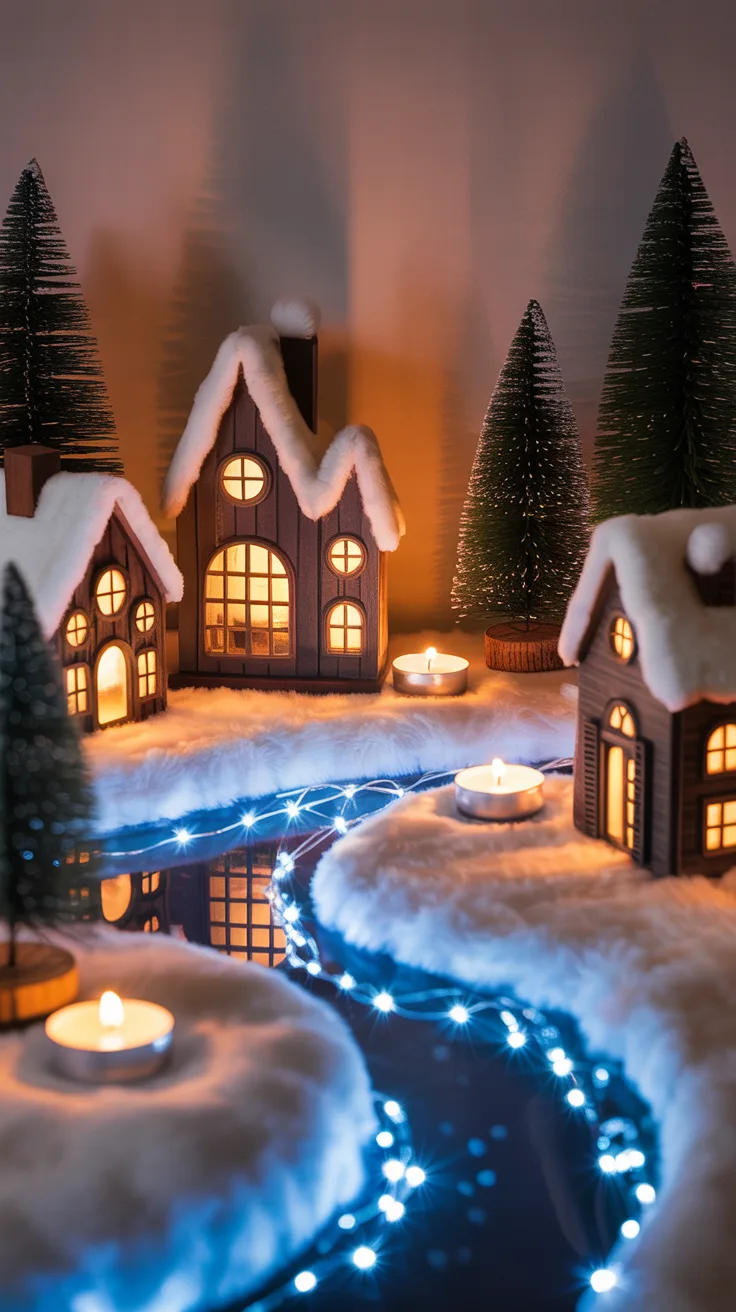
- Fiber Optic Underlays: Place a fiber optic mat beneath translucent elements for a starry effect. This creates the illusion of twinkling stars when viewed through “frozen” lakes or windows.
- Directional Spotlights: Use small LED spotlights to highlight focal points or create the effect of moonlight casting shadows.
- Tea Lights: Battery-operated tea lights can be placed inside buildings that don’t have built-in lighting.
- String Lights: Weave micro LED strings through the display for a subtle glow. I like to hide the battery packs behind buildings.
- Color-Changing Effects: Use RGB lights to create sunrise/sunset effects or northern lights above your village.
- Backlighting: Place lights behind translucent materials like vellum or thin fabric to create a soft, diffused glow.
Pro Tip: Create a lighting plan with different zones that can be controlled separately. I use several power strips with timers so my village “wakes up” in the morning and “goes to sleep” at night, with special lighting effects at sunset.
Utilizing Different Levels and Dimensions
My first Christmas village display was completely flat—all the buildings sat on a single surface. It looked more like a parking lot than a charming village! Creating varying heights and depths adds visual interest and makes your display appear more realistic and expansive.
- Styrofoam Platforms: Cut and stack foam pieces to create hills and plateaus. Cover with fabric or artificial snow for a seamless look.
- Stacked Books: Place books of different sizes under your display cloth to create gentle slopes and elevations.
- Tiered Shelving: Use cake stands, plant risers, or purpose-built display shelves to create dramatic level changes.
- Suspended Elements: Hang certain pieces (like flying sleighs or stars) from nearly invisible fishing line to add a vertical dimension.
- Mirrors: Place small mirrors to create the illusion of lakes or extend streets seemingly into infinity.
- Backdrop Scenery: Create a painted backdrop of distant mountains or forests to add depth.
Pro Tip: When creating different levels, ensure your tallest buildings aren’t blocking the view of elements behind them. I arrange my display like a theater set, with shorter buildings in front and taller ones toward the back.
Mixing Vintage and Modern Pieces
Some of my most interesting Christmas village displays have come from breaking the “rules” about keeping collections consistent. Mixing vintage pieces with contemporary ones creates a unique, personalized look that tells your own story.
- Heirloom Pieces: Incorporate vintage ceramic houses or hand-painted figurines passed down through generations.
- DIY Conversions: Transform ordinary items into village components. I once turned my grandmother’s old music box into a village town hall!
- Cross-Brand Integration: Don’t limit yourself to one manufacturer. I mix Department 56 with Lemax and even non-village items.
- Repurposed Toys: Small toy cars, trains, or figurines can be weathered or painted to match your village aesthetic.
- Contemporary Accents: Add modern elements like tiny LED string lights or miniature technology items for an unexpected twist.
Pro Tip: To make disparate pieces work together, use a unifying element like similar base treatment, consistent snow application, or coordinated lighting to tie everything together visually.
Adding Personal Touches
What transforms a generic Christmas village into something truly special are the personal touches that reflect your own memories, experiences, and personality. These elements make your display unique and meaningful.
- Custom Signage: Create tiny signs with family names or inside jokes. My “Smith Family Bakery” is always a conversation starter!
- Miniature Family Photos: Print tiny versions of family photos to place in “frames” inside buildings with visible windows.
- Hobby Representations: Include miniature versions of family hobbies or occupations. I added a tiny artist’s studio to represent my daughter’s passion.
- Travel Mementos: Incorporate small souvenirs from family trips as special buildings or landmarks.
- Interactive Elements: Add buttons that visitors can press to activate lights, sounds, or movement in specific areas.
- Annual Additions: Start a tradition of adding one new personalized element each year to document family milestones.
Pro Tip: Create a “signature” element that appears in your village each year but in different locations—like a tiny figure representing a family member or pet. Visitors will enjoy trying to spot it each season.
Frequently Asked Questions
How can I keep my Christmas village display stable?
This was a painful lesson I learned after my cat sent an entire row of buildings tumbling! Now I use museum putty or mounting tape to secure pieces to the base. For multi-level displays, I ensure each platform is completely stable before adding buildings. Avoid placing displays in high-traffic areas or near doors that create drafts when opened.
What are some budget-friendly ways to enhance my display?
You don’t need to spend a fortune on commercial pieces. I’ve found wonderful buildings at thrift stores and yard sales. Dollar stores often have miniature trees, figurines, and accessories that work perfectly. Natural elements like pinecones and moss are practically free. You can also repurpose items you already own—an old mirror becomes a lake, a white sheet becomes snow-covered ground, and small decorative boxes become platforms.
How do I store my Christmas village pieces safely?
After breaking several precious pieces due to poor storage, I developed a system. I wrap each building individually in acid-free tissue paper, then place them in plastic storage bins with dividers. For particularly fragile items, I use the original packaging or custom-cut foam inserts. I label each container with photos of the contents taped to the outside for easy identification next season.
Can I add moving parts to my Christmas village?
Absolutely! Moving elements add wonderful dynamism to a display. I’ve incorporated battery-operated skating rinks, rotating windmills, and swinging pendulums in clock towers. If you’re technically inclined, small motors and LED kits can be adapted to create custom movements. Just be mindful of heat generation and keep moving parts away from flammable materials like cotton batting snow.
What are some tips for lighting my Christmas village effectively?
Layered lighting creates the most realistic effect. I use a combination of the buildings’ internal lights, string lights woven through the display, and strategic spotlights. Consider the color temperature—warm white lights (2700K-3000K) create a cozy, traditional feel, while cool white lights (5000K+) mimic moonlight on snow. Always check connections