Love is in the air, and what better way to express it than by transforming your home into a romantic haven with handcrafted decorations? As someone who’s been creating DIY Valentine’s Day décor for over a decade, I can tell you there’s something magical about personalizing your space with items made with love. Whether you’re planning a romantic evening for two or want to spread the love throughout your home, these DIY Valentine’s Day decorations will help you create the perfect atmosphere without breaking the bank.
Why Choose DIY Valentine’s Decor?
Before we dive into the specific projects, let’s talk about why DIY Valentine’s decorations are worth your time and effort. I remember my first attempt at creating Valentine’s Day decorations – it was a disaster involving hot glue, too much glitter, and what was supposed to be a heart-shaped wreath that looked more like a confused oval. But that’s exactly what made it special and memorable!
- Personal Touch: Each piece tells a story and carries meaning
- Cost-Effective: Save money while creating unique decorations
- Customizable: Match your home’s exact style and color scheme
- Sustainable: Reduce waste by reusing materials
- Memory Making: Create traditions and special moments
These handmade decorations become more than just seasonal items – they’re conversation starters and future keepsakes that bring joy year after year.
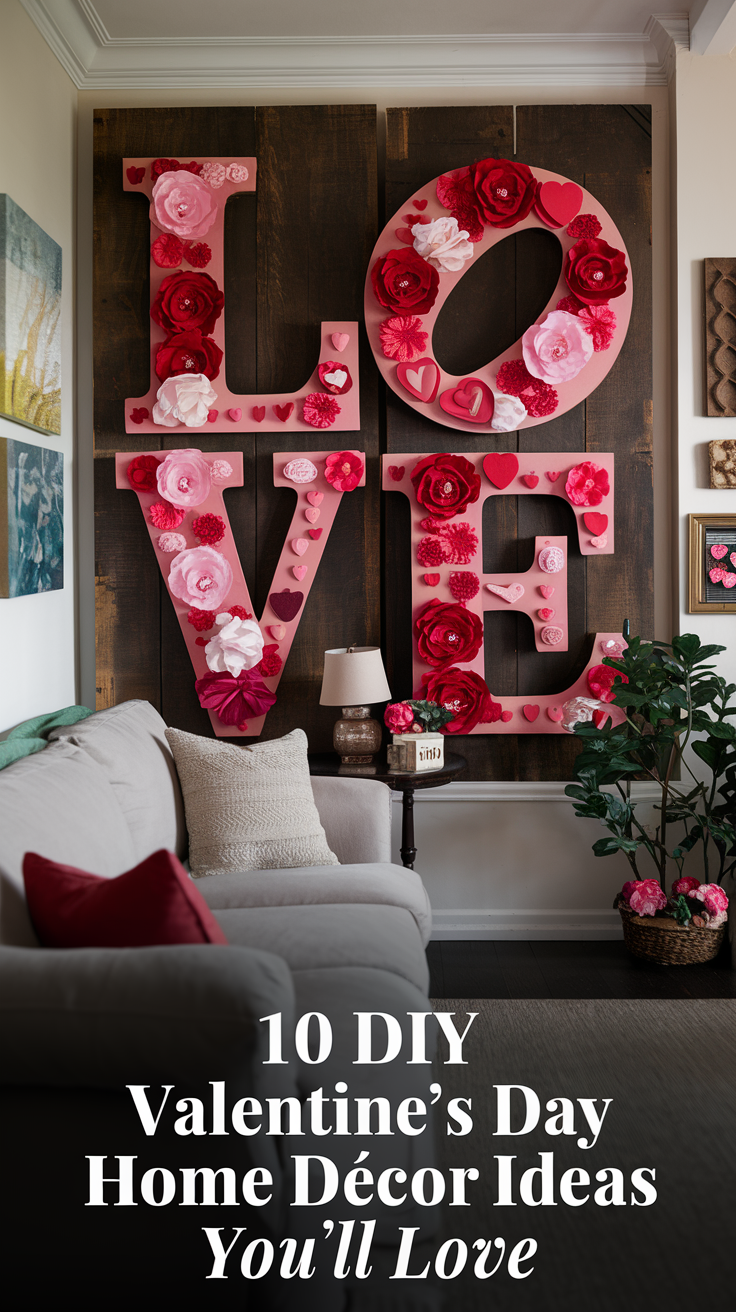
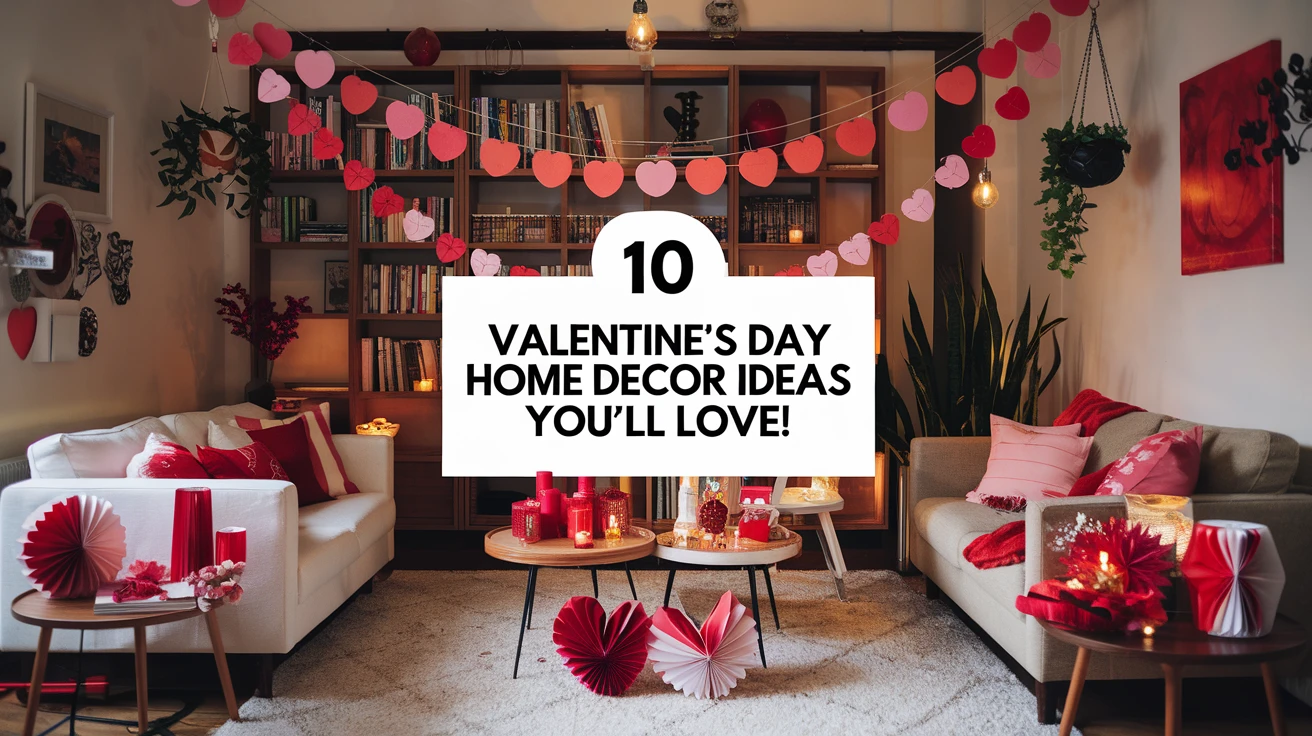
10 Romantic DIY Valentine’s Day Decorations
| Project | Difficulty | Time Required | Cost Range |
|---|---|---|---|
| Heart-String Art | Medium | 2-3 hours | $10-15 |
| Love Letter Garland | Easy | 1 hour | $5-8 |
| Mason Jar Luminaries | Easy | 30 minutes | $12-20 |
1. Heart-String Art
This stunning piece requires a wooden board, nails, and colored string. I discovered that pre-drilling pilot holes prevents wood splitting – a lesson learned after ruining my first attempt! The result is a modern, geometric heart design that adds dimension to any wall.
2. Love Letter Garland
Transform old book pages or sheet music into a romantic garland. Pro tip: tea-staining the paper gives it an vintage look that’s absolutely charming. I’ve found that this works particularly well strung across a mantel or window.
3. Mason Jar Luminaries
Paint mason jars in Valentine’s colors, add lace or twine, and place LED candles inside. These create beautiful ambient lighting and can be used year after year.
4. Paper Heart Cascade
Create a stunning vertical display using paper hearts in various sizes and shades of pink and red. This looks particularly stunning in front of windows or as a photo backdrop.
5. Rustic Wood Heart Display
Using reclaimed wood and paint, craft a weathered heart display that adds farmhouse charm to your decor. This has become my signature piece that guests always comment on!
6. Valentine’s Throw Pillows
Transform plain pillowcases with fabric paint or appliqué hearts. The best part? You can easily change them out after the holiday.
7. Heart-Shaped Wreath
Create a stunning door decoration using fabric scraps, artificial flowers, or even candy boxes. Mine has evolved over the years from that first confused oval to something truly special.
8. Love Message Board
Design a chalkboard or letterboard with interchangeable romantic messages. This versatile piece can be updated throughout the year.
9. Floating Heart Installation
Suspend paper or fabric hearts from the ceiling using clear fishing line for a magical floating effect. This creates an enchanting atmosphere, especially in entryways.
10. Valentine’s Centerpiece
Craft a table centerpiece using painted wine bottles, candles, and artificial flowers. This became my go-to after a dinner party where guests couldn’t stop photographing it!
Essential Tips for DIY Valentine’s Success
| Common Mistake | Solution |
|---|---|
| Rushing the project | Start 2 weeks before Valentine’s Day |
| Overbuying materials | Plan and measure before purchasing |
| Poor color coordination | Stick to 2-3 main colors |
Through years of crafting, I’ve learned that preparation is key. Always gather all materials before starting, work in a well-lit area, and don’t be afraid to make mistakes – they often lead to creative solutions!
- Test all tools and materials before starting
- Create a dedicated crafting space
- Keep cleaning supplies handy
- Take breaks to avoid crafting fatigue
- Document your process for future reference
Smart Budget Planning for Valentine’s DIY Projects
One year, I spent way too much on materials only to realize I could have achieved the same results for half the cost. Here’s what I’ve learned about smart shopping for DIY supplies:
- Shop post-holiday sales for next year
- Use dollar stores for basic supplies
- Check thrift stores for unique materials
- Share supplies with crafting friends
- Repurpose items you already own
Conclusion
Creating DIY Valentine’s Day decorations is more than just a cost-saving measure – it’s about infusing your home with personality and love. Each project becomes a story, a memory, and a unique expression of your creativity. Don’t worry if your first attempts aren’t perfect; remember my confused oval wreath? It’s all part of the journey. Start with simpler projects and work your way up to more complex ones as your confidence grows.
Key Takeaways
- Start projects early to avoid rushing and mistakes
- Focus on personalization rather than perfection
- Save money by planning ahead and shopping smart
- Create traditions around making decorations
- Document your creations for future inspiration
Frequently Asked Questions
How early should I start making Valentine’s Day decorations?
Ideally, begin 2-3 weeks before Valentine’s Day to allow time for drying, adjustments, and proper placement.
What are the most cost-effective materials for DIY Valentine’s decor?
Paper, cardboard, paint, and recycled items like mason jars and wine bottles offer the best value for creating beautiful decorations.
How can I prevent glitter from getting everywhere?
Work in a contained area, use spray adhesive instead of loose glitter, and clean up immediately with a damp paper towel.
What tools are essential for DIY Valentine’s projects?
Basic tools include scissors, glue gun, ruler, pencil, and craft knife. Specialized tools depend on specific projects.
How can I store DIY decorations for next year?
Use plastic containers with dividers, wrap delicate items in tissue paper, and store in a cool, dry place.
What if I’m not naturally crafty?
Start with simple projects and follow detailed tutorials. Remember that imperfections add character to handmade items.
Can kids help with these projects?
Many projects can be adapted for children by using child-safe materials and simplifying steps.
How can I make my DIY decorations look more professional?
Take your time, use quality materials, and focus on clean lines and proper finishing techniques.
What’s the best way to hang delicate decorations?
Use removable adhesive hooks, clear fishing line, or washi tape to avoid damage to walls and decorations.
Can these decorations be used for other occasions?
Many pieces can be modified or repurposed for other holidays or year-round decor with simple adjustments.