Introduction
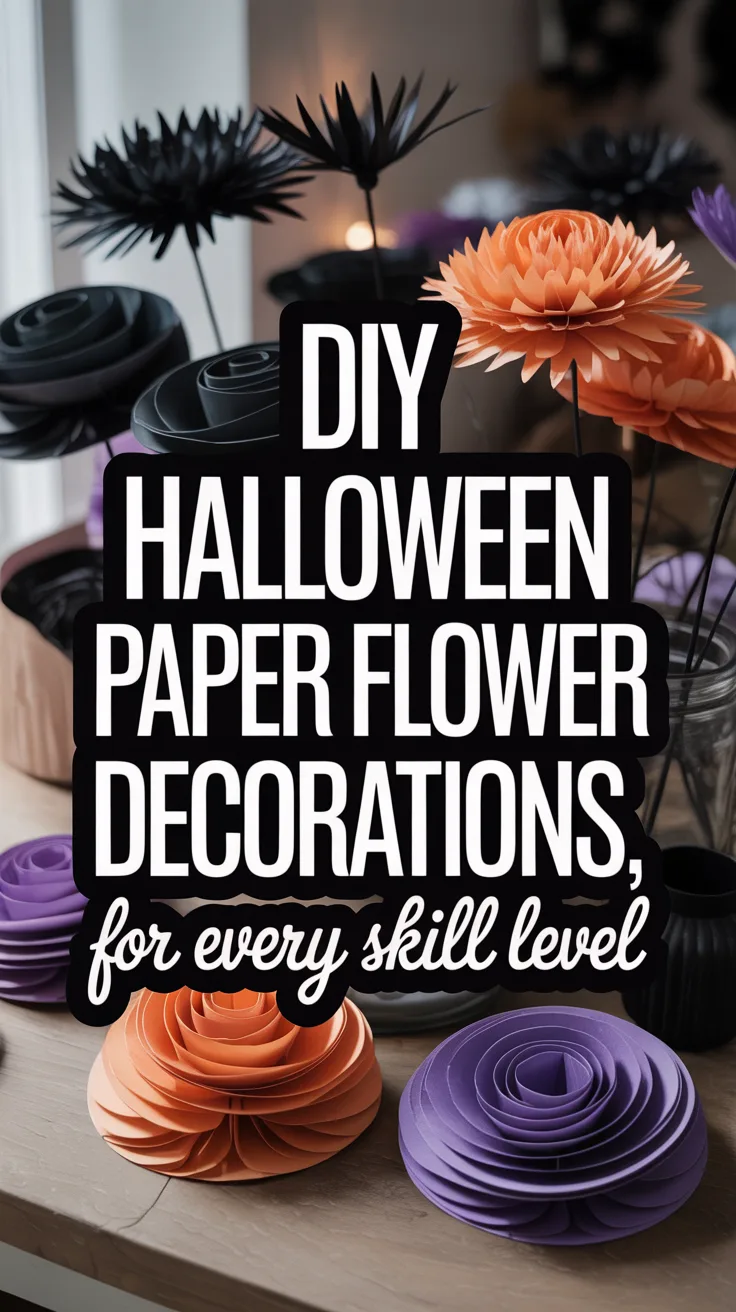
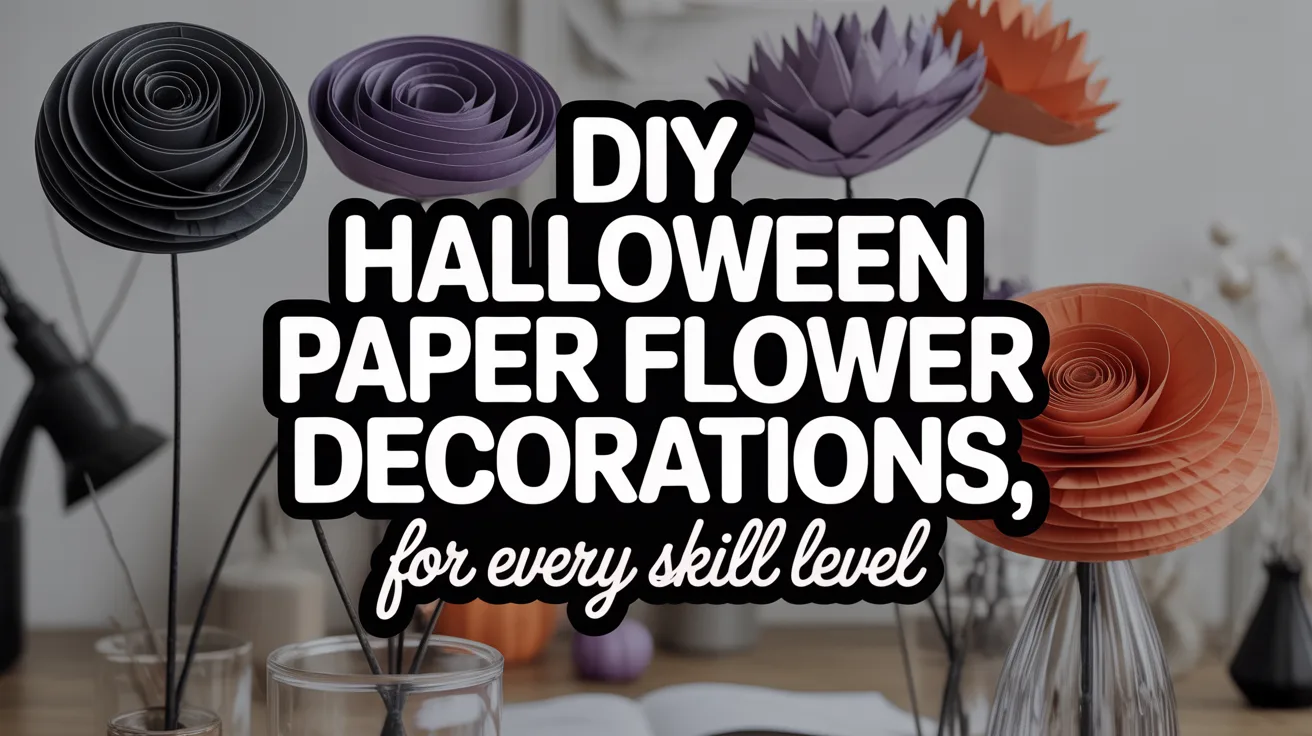
Halloween decorating offers endless opportunities for creativity, and Halloween paper flowers DIY projects provide an affordable, customizable way to transform a room, party table, mantel, or front door. Instead of relying entirely on store-bought Halloween decorations, you can create flowers in black, orange, burgundy, purple, and other moody colors that coordinate with your decorating style.
The best part is that paper flowers can be as simple or elaborate as you want. Beginners can start with folded tissue-paper blooms and rolled roses, while experienced crafters can experiment with realistic crepe-paper petals, oversized flowers, and detailed floral arrangements.
This guide explains what you need and how to create several Halloween paper flower designs before turning your finished flowers into wreaths, centerpieces, garlands, and dramatic seasonal displays.
Essential Materials for Halloween Paper Flowers DIY Projects
Before starting, gather your basic supplies and decide where the finished flowers will be displayed. The paper you choose affects both the appearance of the flowers and how easily they hold their shape.
Paper Types and Their Best Uses
- Crepe paper: Ideal for realistic petals because it can be stretched, curved, and shaped.
- Cardstock: Best for structured roses, wreath flowers, and designs that need to maintain their shape.
- Tissue paper: Excellent for fluffy, layered flowers and inexpensive large-scale decorations.
- Construction paper: An easy choice for simple beginner projects and family crafting.
- Scrapbook paper: Useful when you want patterned flowers featuring Halloween prints or decorative textures.
A Halloween crepe paper assortment makes it easy to build a coordinated color palette.
Additional Supplies to Keep on Hand
- Floral wire in different gauges
- Floral tape in green, black, or brown
- Hot glue gun and glue sticks
- Sharp craft scissors
- Wire cutters
- Pencils, dowels, or similar tools for curling petals
- Cardboard for flower bases
- Petal templates
- Ribbon for finished arrangements
A basic paper flower making kit with floral wire and tape can cover many of the supplies needed for these projects.
Pro Tip: Choose your Halloween color palette before purchasing paper so all of the finished flowers can be mixed together in different decorations.
1. Accordion-Fold Spider Mums
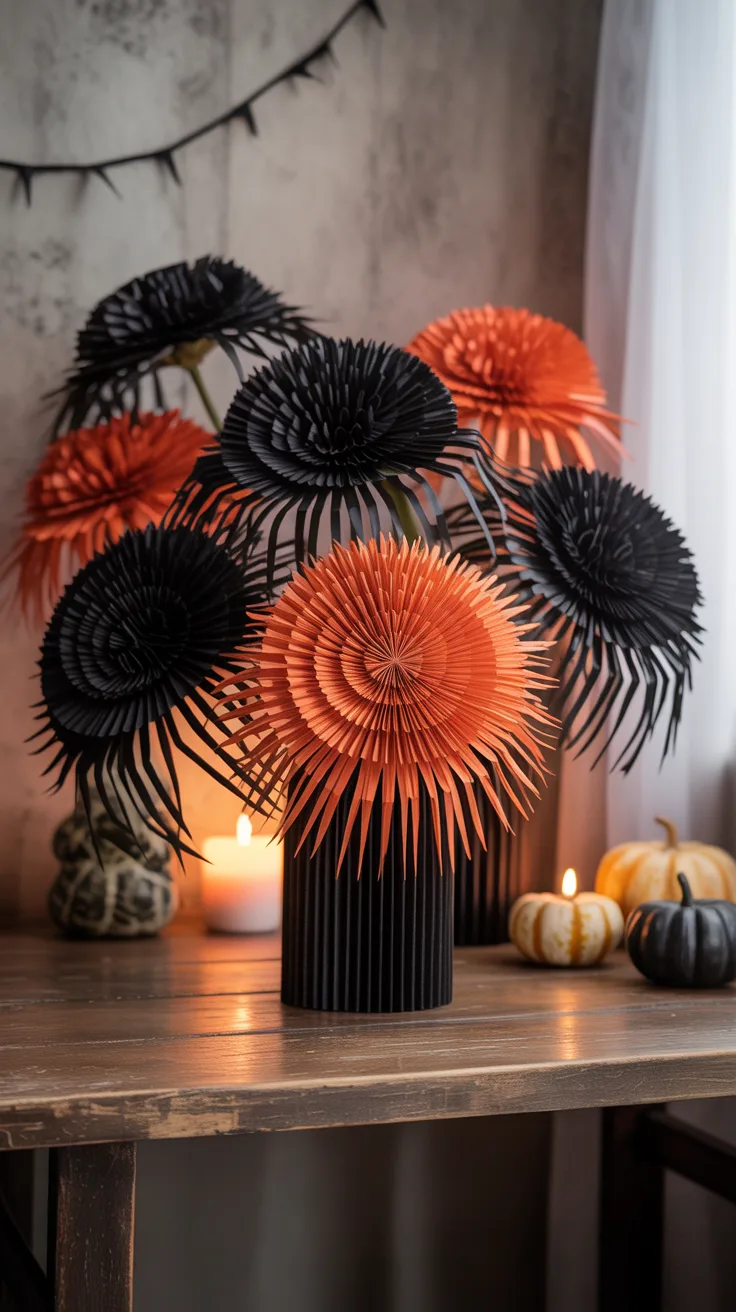
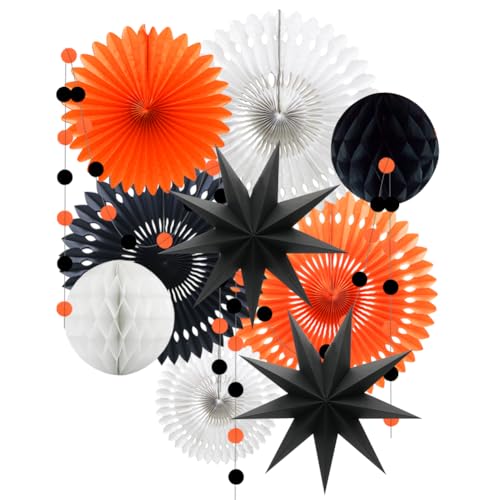
Accordion-fold spider mums are an excellent first project because you can create a large, dramatic flower without cutting individual petals. Their fluffy, slightly spiky appearance also works naturally with Halloween decorating.
The Idea
Create oversized tissue-paper flowers in black, purple, orange, or burgundy and use them as inexpensive statement blooms. A single color creates a bold graphic look, while alternating colors between the tissue layers gives the flower more dimension.
View on AmazonAs an Amazon Associate, I earn from qualifying purchases.
View on AmazonAs an Amazon Associate, I earn from qualifying purchases.
How to Create Them
Stack five to seven rectangular sheets of tissue paper on top of one another, keeping all of the edges aligned. A rectangle around 20 inches by 10 inches creates a generously sized decoration, although you can scale the measurements up or down.
Starting at one short edge, fold the entire stack back and forth in approximately one-inch accordion pleats. Once you reach the opposite side, wrap floral wire firmly around the middle of the folded stack.
Trim both ends into narrow points for a spikier mum or round the ends for a softer flower. Fan out one side and gently separate the individual tissue layers, pulling each sheet toward the center.
Repeat on the other side until the flower becomes full and rounded. Adjust individual layers with your fingers to hide gaps and create an even shape.
Try alternating black and orange tissue paper inside the same flower or combining deep purple with black for a more gothic effect.
2. Gothic Rolled Paper Roses
The Idea
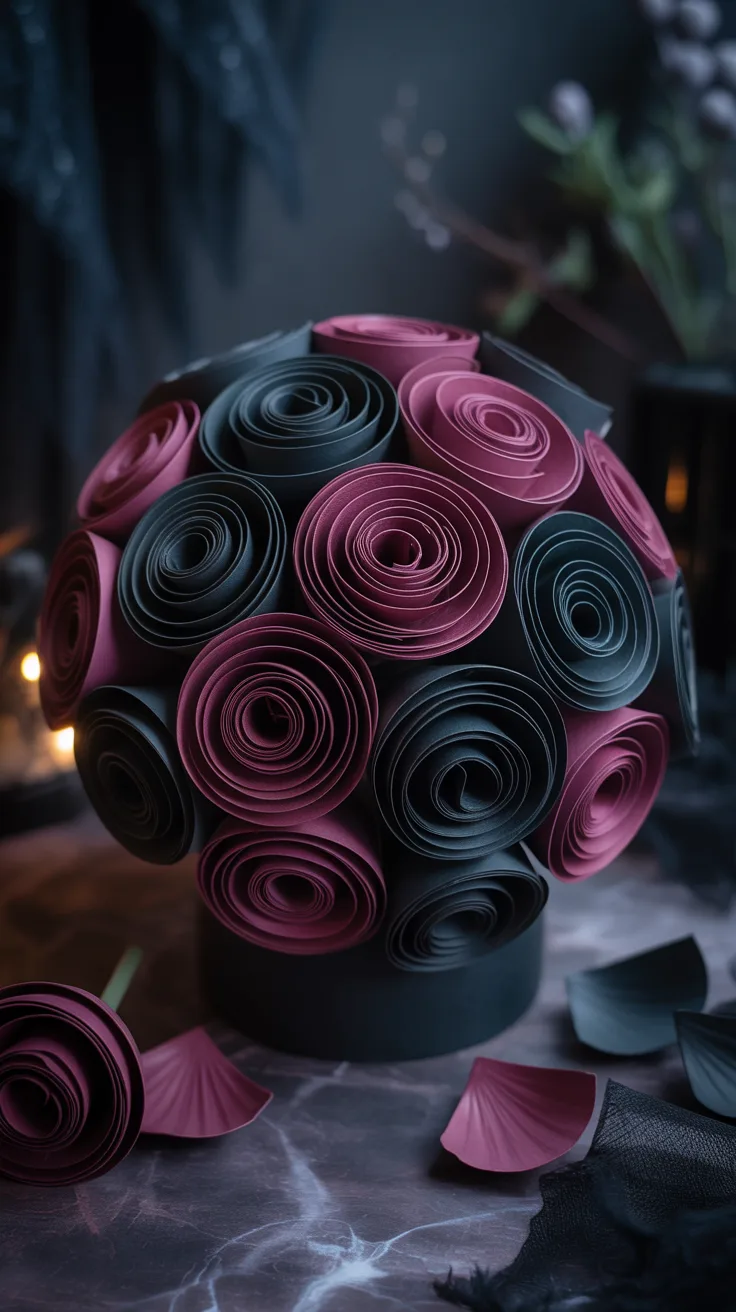
Rolled roses are simple enough for beginners but can look surprisingly sophisticated when made from black, burgundy, dark purple, or antique-looking cardstock. Make several in different sizes and cluster them together for a gothic floral arrangement.
How to Create Them
Begin by cutting a circle from cardstock. Draw a loose spiral from the outside edge toward the center and cut along the line until you have one long spiral of paper.
Starting at the outside end, roll the cardstock tightly around itself. Continue rolling toward the center while allowing the outer layers to become slightly looser so the paper begins to resemble rose petals.
When you reach the circular section at the center of the spiral, allow the rose to relax slightly in your hand. Place hot glue on the center section and press the rolled flower onto it to secure the shape.
For a less perfect gothic appearance, gently curl a few outer edges backward with a pencil. You can also lightly distress the edges before assembling the flower to give it an aged appearance.
Create several roses in different diameters because mixing small buds with larger open roses makes an arrangement appear fuller.
3. Black Crepe Paper Poppies
The Idea
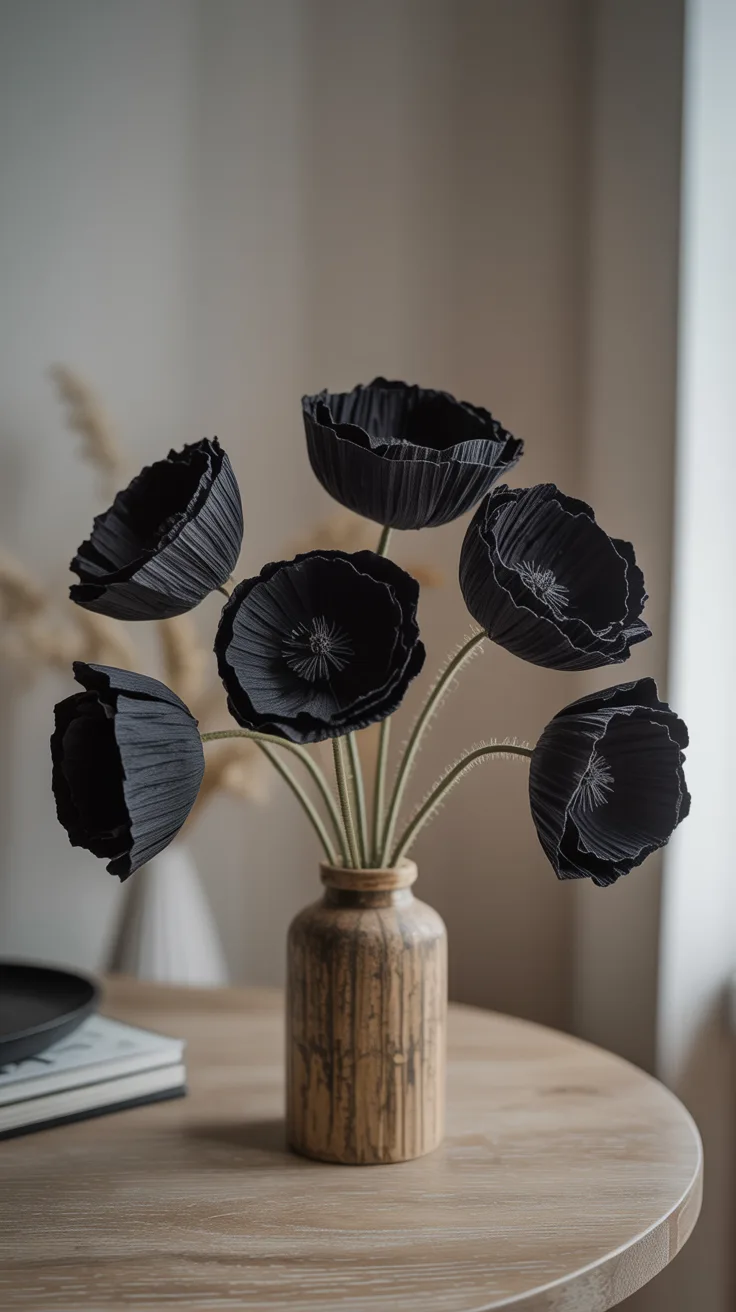
Black poppies offer a darker and more elegant take on Halloween florals. Their simple petal structure makes them approachable for intermediate crafters, while the crepe paper creates enough texture to make the flowers look surprisingly realistic.

View on AmazonAs an Amazon Associate, I earn from qualifying purchases.

View on AmazonAs an Amazon Associate, I earn from qualifying purchases.
How to Create Them
Cut four to six rounded poppy petals from black crepe paper, making sure the grain of the paper runs vertically through each petal. Cut the petals slightly larger than you think you need because shaping will reduce their width.
Hold each petal with both hands and gently stretch the center while leaving the outer edges relatively untouched. This creates the shallow cup shape seen in natural poppy petals.
Create the center by wrapping a small ball of paper or cotton around the end of a piece of floral wire. Cover it with dark green, purple, or black paper and secure it underneath.
Cut a narrow strip of black paper and create a fringe along one edge. Wrap this around the center to form the poppy’s dark stamens.
Position the petals around the center one at a time, slightly overlapping each petal with the previous one. Secure everything with floral tape and continue wrapping the tape down the wire to create the stem.
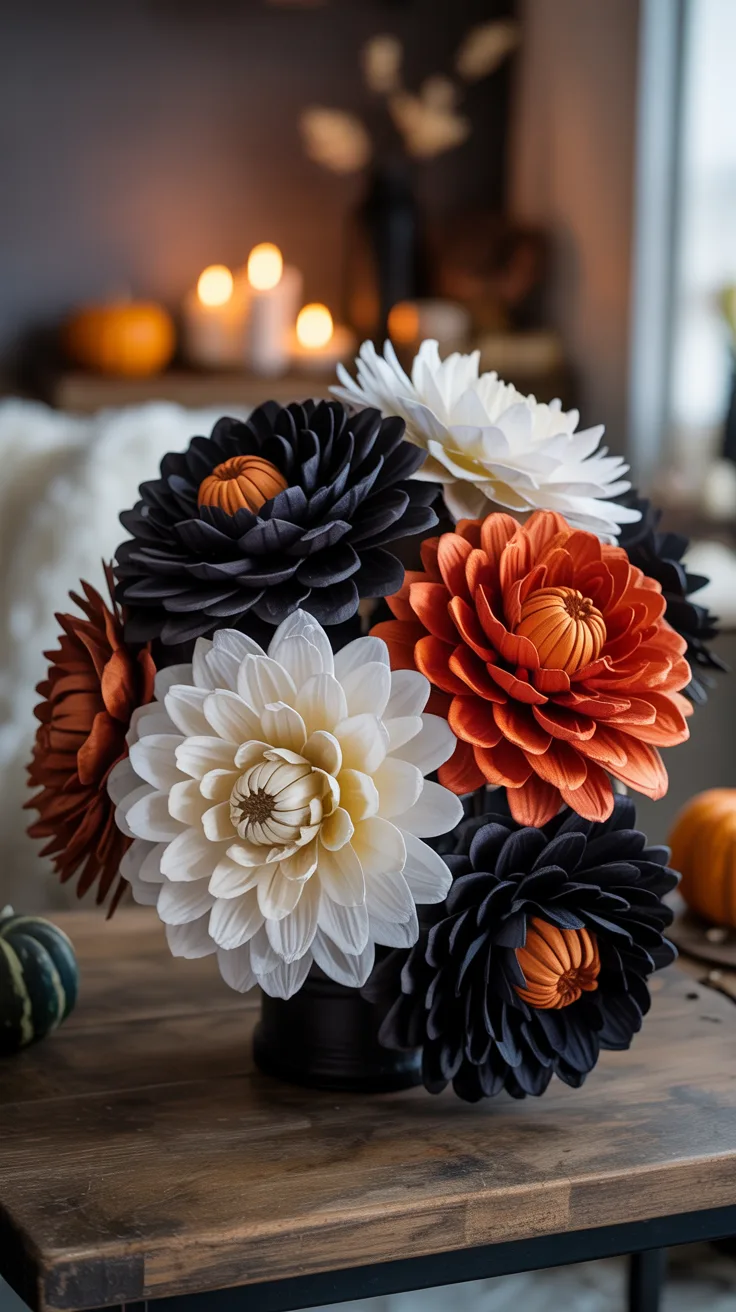
4. Layered Halloween Paper Dahlias
The Idea
Paper dahlias are ideal when you want a dense statement flower for a Halloween centerpiece. Deep burgundy, plum, burnt orange, and black work especially well because the many layers of petals emphasize subtle differences between the colors.
How to Create Them
Cut a sturdy circle of cardstock to use as the flower base. Next, cut approximately 30 to 40 pointed petals, creating at least three different sizes.
Gently curve each petal by wrapping it around a pencil or shaping it between your fingers. The petals should not all be identical because slight differences help the finished flower look more natural.
Begin with the largest petals around the outside edge of the cardstock circle. Glue them in place one at a time with the pointed ends facing outward.
Add a second row of slightly smaller petals, positioning each new petal between two petals in the previous row. Continue working toward the center while switching to progressively smaller petals.
Finish the middle with tightly curled miniature petals or a fringed paper center. Fluff and reposition the petals once the glue has cooled.
For a dramatic table arrangement, create one large dahlia and surround it with several smaller paper roses and foliage.
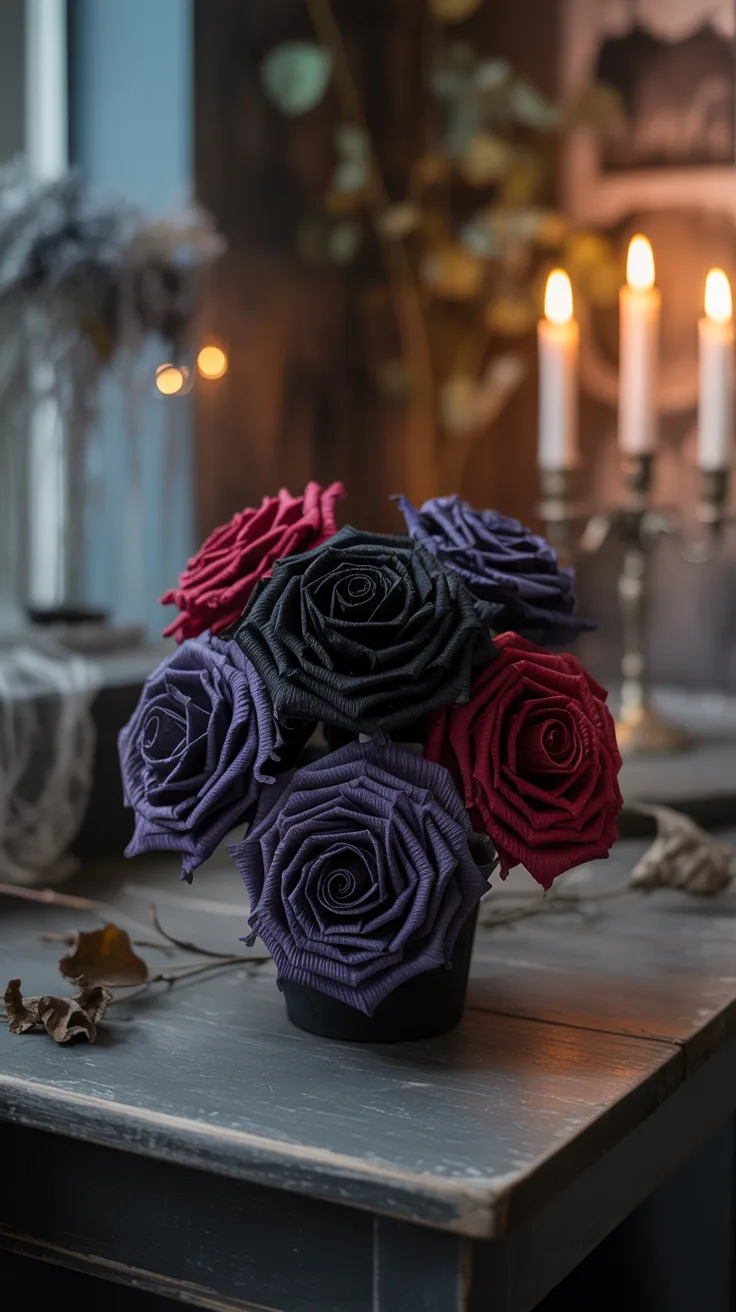
5. Realistic Haunted Crepe Paper Roses
The Idea
For a sophisticated Halloween arrangement, create realistic roses in burgundy, nearly black red, dusty purple, or faded antique pink. The finished flowers work especially well for gothic-romance centerpieces, Halloween weddings, mantel displays, and vintage-inspired decorations.
How to Create Them
Cut individual crepe-paper rose petals in several sizes. Plan on approximately 15 to 30 petals for each rose depending on how full you want the finished bloom.
Start with the smallest petals and gently stretch their centers to create a curved shape. Keep the inner petals relatively tight and curl the edges of the larger outer petals backward using a pencil or dowel.
Create a small center around the top of a floral-wire stem. Wrap the smallest petals around this center one at a time and secure them at the base.
Continue adding progressively larger petals while rotating the flower. Overlap each petal slightly so you do not leave obvious gaps.
As you reach the outer rows, allow the petals to open farther away from the center. This gradual transition from tight inner petals to open outer petals gives the rose its realistic appearance.
Wrap the base and stem with floral tape once the flower is complete.
Pro Tip: Look at a photograph of an open rose while shaping the petals and notice how tightly curled the center remains compared with the outer petals.
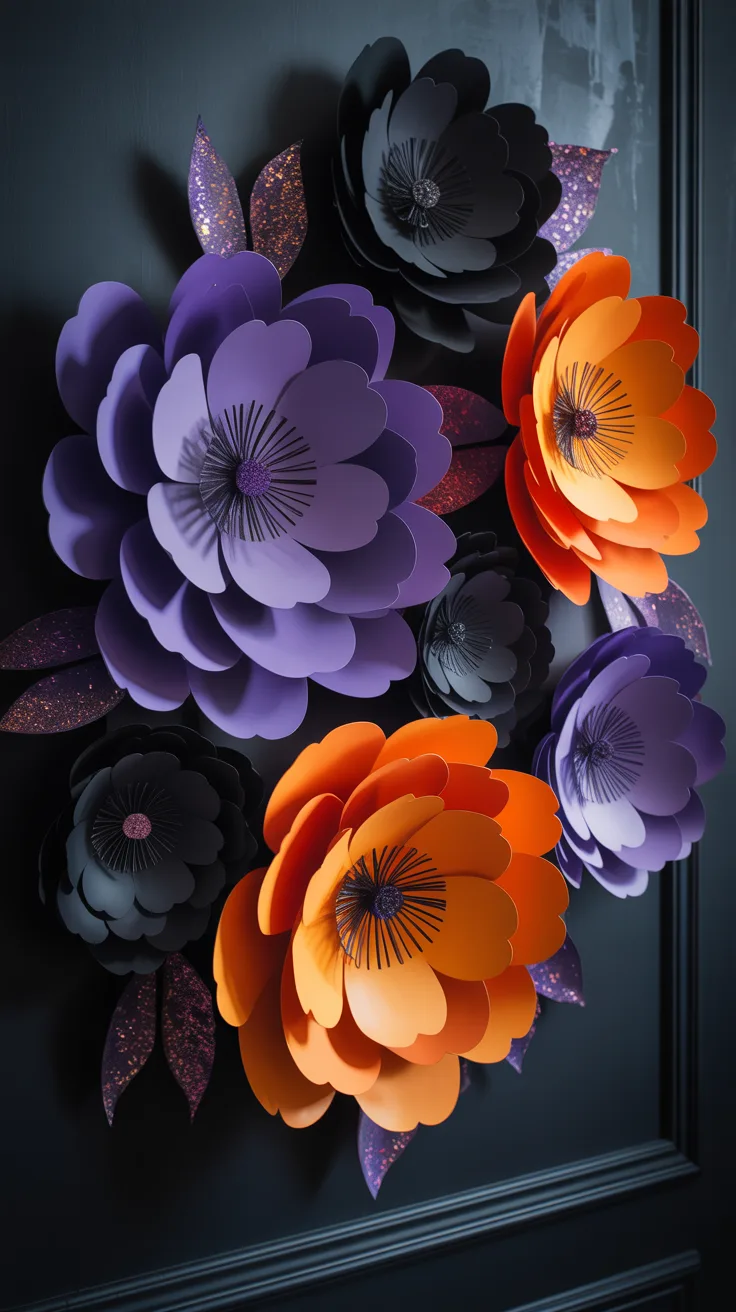
6. Giant Halloween Wall Flowers
The Idea
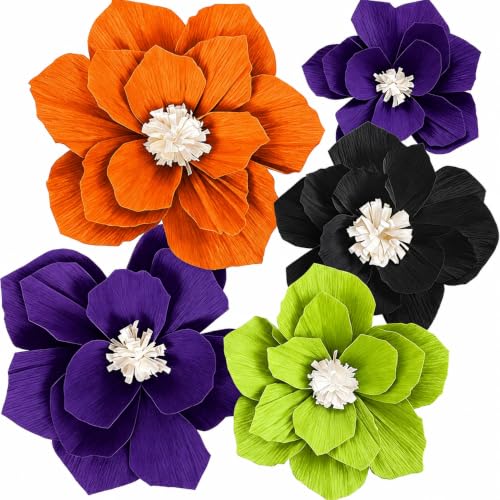
Oversized paper flowers can transform an empty wall into a Halloween party backdrop or photo area. Instead of making dozens of small decorations, create several flowers measuring one to three feet across and group them together for maximum visual impact.
How to Create Them
Begin with a sturdy cardboard or poster-board circle for each flower. The larger the flower, the stronger the base should be.
Cut large petals from cardstock or heavyweight paper in at least three sizes. Make the outer petals the largest and gradually reduce the size for each layer moving toward the center.
Cut a small slit at the bottom of each petal. Slightly overlap the two sides of the slit and glue them together to make the flat paper petal curve forward.
Attach the largest petals around the outer edge of the base. Add the medium petals as a second layer and smaller petals toward the middle.
Create a dramatic center using tightly rolled paper, fringe, or several miniature petals. Black centers look striking against orange, burgundy, purple, and faded cream petals.
Make several flowers in different sizes and arrange them asymmetrically across the wall rather than placing them in a perfectly straight line.
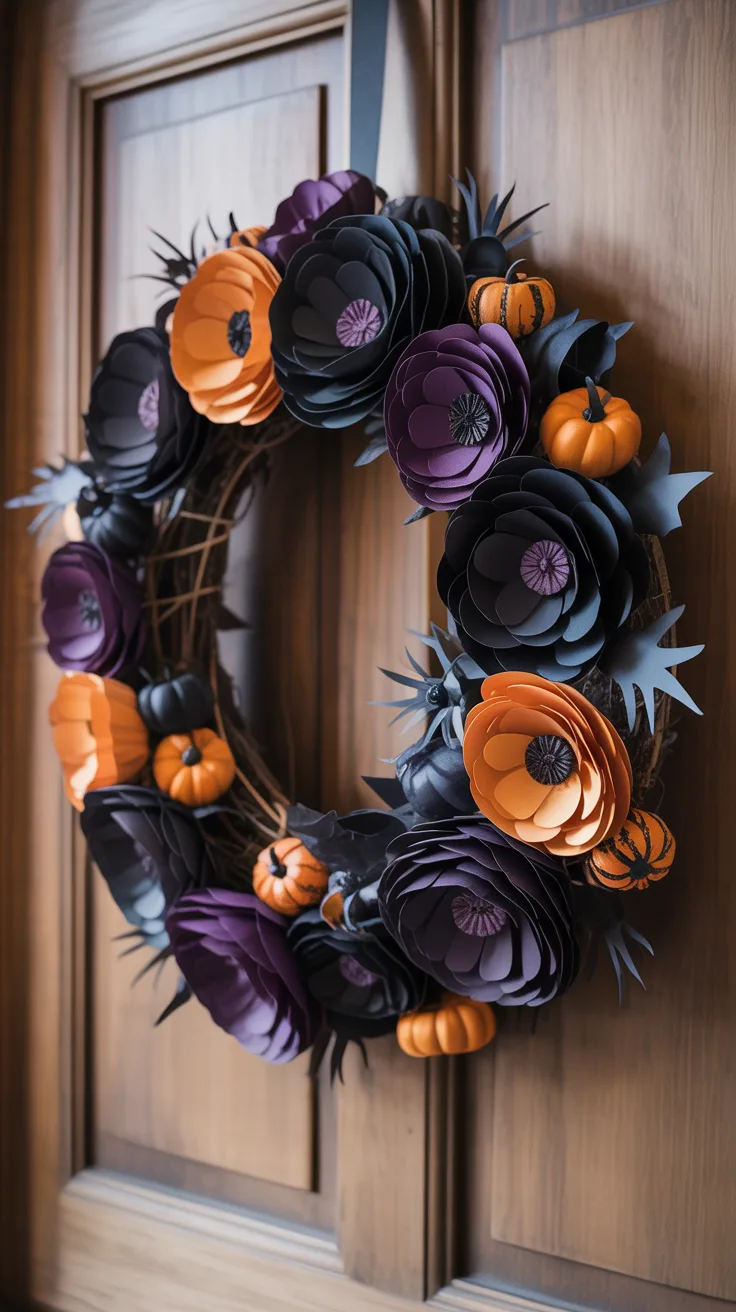
7. Halloween Paper Flower Wreath
The Idea
A Halloween wreath gives all of your individual paper flowers a practical purpose. Mix roses, dahlias, poppies, and smaller folded flowers around a grapevine or foam wreath base and add just enough Halloween detail to make the theme obvious.
How to Create It
First, make a collection of paper flowers in at least three sizes. Choose a limited palette such as burgundy, black, dusty purple, and antique cream.
Place the largest flowers around the wreath without attaching them and experiment with the arrangement. Positioning them slightly off-center often produces a more modern result than spacing them evenly around the entire wreath.
Once you like the layout, secure the large flowers with floral wire or hot glue. Fill the spaces with medium and small flowers.
Add paper leaves, dried-looking paper foliage, black ribbon, miniature spiders, or another Halloween accent between selected blooms. Leave some of the wreath base visible if you prefer a more natural, less crowded design.
You can build the arrangement on a grapevine wreath base for crafts.
8. Halloween Paper Flower Garland
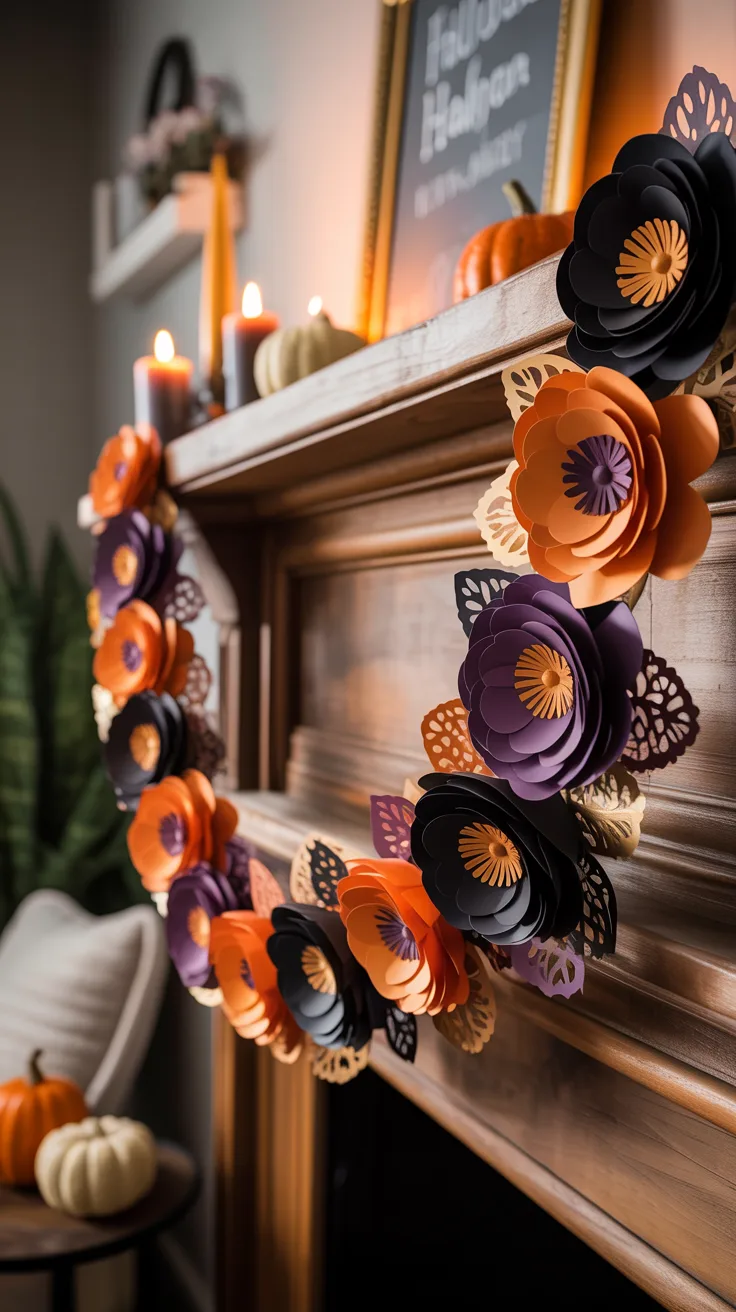
The Idea
A flower garland is an easy way to carry the same Halloween floral theme across a mantel, doorway, staircase, party table, or photo backdrop. Smaller paper flowers work best because they keep the finished garland flexible enough to hang naturally.
How to Create It
Make a collection of small rolled roses, folded flowers, paper leaves, and a few miniature dahlias. Choose two or three flower sizes so the garland does not look repetitive.
Cut a length of sturdy twine or ribbon slightly longer than the area you want to decorate. Lay it flat on a table before attaching anything.
Arrange the largest flowers along the twine first, leaving space between them. Fill those spaces with smaller flowers, leaves, paper bats, or other lightweight accents.
Attach each piece securely with hot glue or floral wire. Keep the flowers facing slightly different directions so the garland looks full when viewed from the front.
Before hanging it, lift the garland carefully and check for loose flowers. Reinforce any weak attachment points and leave enough twine at both ends for hanging.
Creative Applications for Halloween Paper Flowers
Once you understand the basic techniques, the same flowers can be adapted to many different Halloween decorations. A collection of paper blooms can become a centerpiece one year and be reused in a wreath or mantel arrangement the next.
Table Centerpieces
Arrange paper flowers in vintage vases, apothecary-style containers, decorative pumpkins, or dark ceramic vessels. Mixing the paper blooms with dried branches, seed pods, preserved leaves, or artificial greenery can make the arrangement appear fuller.
Mantel Displays
Combine a paper flower garland with candles, pumpkins, branches, and seasonal decorations. Concentrate the largest flowers near one end or around a central focal point rather than spacing every flower evenly.
Halloween Party Backdrops
Giant flowers can frame a dessert table, bar area, entryway, or photo backdrop. Combine different flower sizes and allow some blooms to overlap for a more dimensional display.
Color Palettes for Halloween Paper Flowers
Orange and black are classic choices, but Halloween paper flowers can also take on a romantic, vintage, whimsical, or harvest-inspired appearance depending on the colors selected.
- Gothic Romance: Deep burgundy, black, dusty purple, and antique gold
- Harvest Festival: Burnt orange, rust, cream, and sage green
- Witchy Elegance: Purple, black, silver, and midnight blue
- Colorful Halloween: Hot pink, orange, yellow, purple, and turquoise
- Haunted Victorian: Faded pink, gray, black, and ivory
Pro Tip: Limiting an arrangement to three or four main colors can help individual flowers feel like part of one coordinated display.
Preservation and Storage Tips
With careful storage, Halloween paper flowers DIY creations can potentially be reused for multiple seasons. Place finished flowers in sturdy boxes rather than compressing them into bags, and use tissue paper between delicate pieces to reduce crushing.
Keep paper decorations away from moisture and prolonged direct sunlight. Before displaying stored flowers again, gently reshape crepe-paper petals and remove dust with a soft, dry brush.
Frequently Asked Questions
How long does it take to make paper flowers for Halloween decorations?
Simple folded flowers can often be completed quickly, while detailed crepe-paper flowers require considerably more cutting, shaping, and assembly. The total time depends on the size of the flowers and how many individual petals the design requires.
Can beginners make Halloween paper flowers?
Yes. Accordion-fold flowers and rolled cardstock roses are good starting points because they require relatively few individual pieces. Once those techniques feel comfortable, you can progress to layered dahlias and shaped crepe-paper flowers.
What is an inexpensive paper for large Halloween flower projects?
Tissue paper is useful for large projects because several lightweight layers can create substantial volume. Cardstock is more structured and works better when the petals need to hold a precise shape.
Can Halloween paper flowers be displayed outdoors?
Paper flowers are best suited to indoor or protected displays because moisture and humidity can damage the paper. A covered porch may work temporarily in dry conditions, but decorations should be moved indoors if rain or damp weather is expected.
What can I use if I do not want to cut every petal by hand?
Templates, craft punches, cutting machines, and pre-cut paper flower kits can reduce repetitive cutting and make larger projects easier to complete.