Introduction
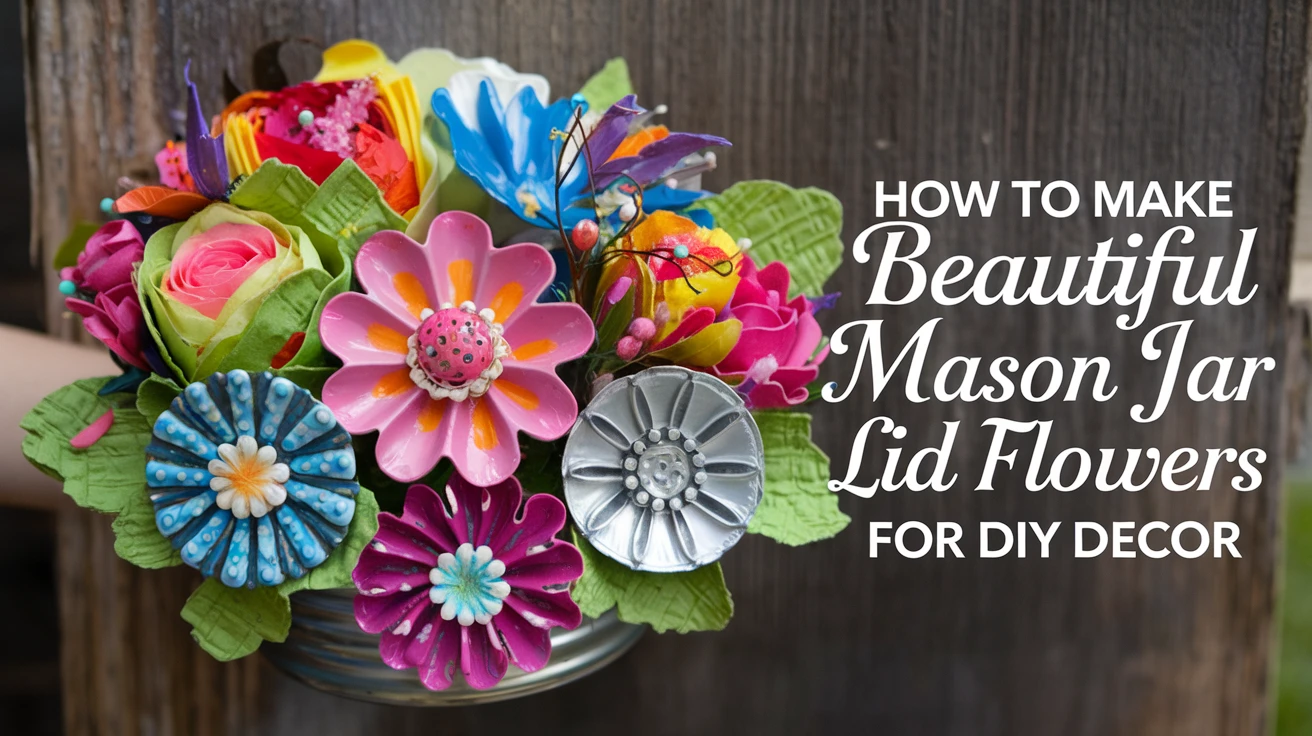
Mason jar lid flowers are a creative way to turn ordinary canning lids into colorful DIY decorations for your home, garden-inspired displays, seasonal arrangements, or handmade gifts. With a few basic craft supplies, old or unused lids can become rustic flowers that fit farmhouse, vintage, modern, and even whimsical decorating styles.
This project is also easy to customize. Changing the paint colors, flower centers, stem materials, and finishing details can completely transform the final look. Whether you already have spare mason jar lids or are starting with new ones, this guide walks through the materials, preparation, painting, assembly, and decorating techniques needed to create your own mason jar lid flowers.
Essential Materials for Mason Jar Lid Flowers

Most of the supplies for this project are inexpensive craft basics, and you may already have several of them at home. Used mason jar lids work especially well for an upcycled project as long as they are clean and free from excessive rust or sharp damage.
| Basic Materials | Optional Embellishments | Tools Required |
|---|---|---|
| Mason jar lids | Rhinestones | Pliers |
| Acrylic paint | Buttons | Wire cutters |
| Craft or floral wire | Glitter | Hot glue gun |
| Hot glue sticks | Pearls | Paintbrushes |
| Metal primer | Fabric or burlap scraps | Sandpaper |

View on AmazonAs an Amazon Associate, I earn from qualifying purchases.

View on AmazonAs an Amazon Associate, I earn from qualifying purchases.
You can gather several basics at once by browsing mason jar lid craft supplies.
Pro Tip: Save used mason jar lids throughout the year for future projects. Wash them thoroughly and inspect the edges before crafting, discarding any lids that are badly rusted or damaged.
How to Make Mason Jar Lid Flowers
1. Prepare the Mason Jar Lids
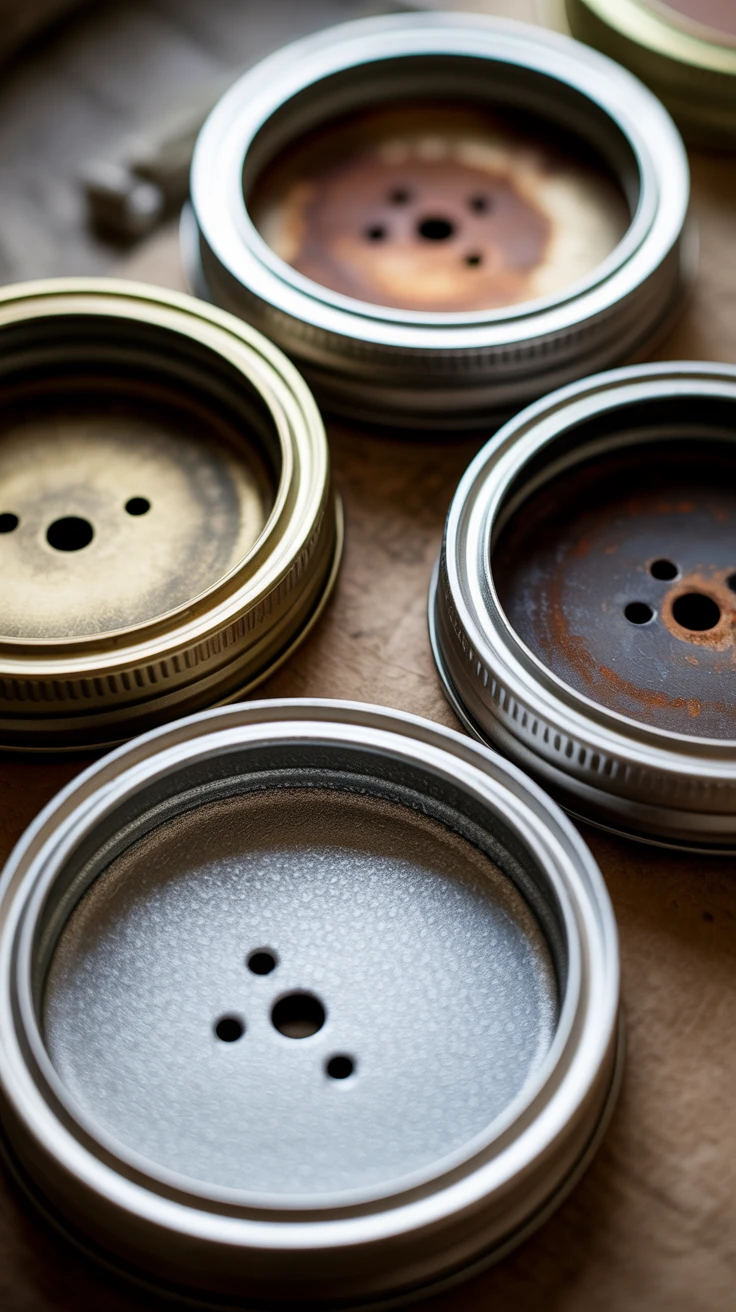
Good preparation creates a cleaner finish and helps the paint adhere properly. Begin with lids that are clean, dry, and safe to handle.
- Remove any loose rubber seals or unwanted material from the lids
- Sand rough areas and minor surface rust
- Wash the lids with soap and water
- Allow them to dry completely
- Apply a metal-compatible primer before painting
A small piece of fine-grit sandpaper can also lightly scuff a glossy metal surface so the primer and paint have a better surface to grip.

View on AmazonAs an Amazon Associate, I earn from qualifying purchases.

View on AmazonAs an Amazon Associate, I earn from qualifying purchases.
2. Paint the Flower Pieces
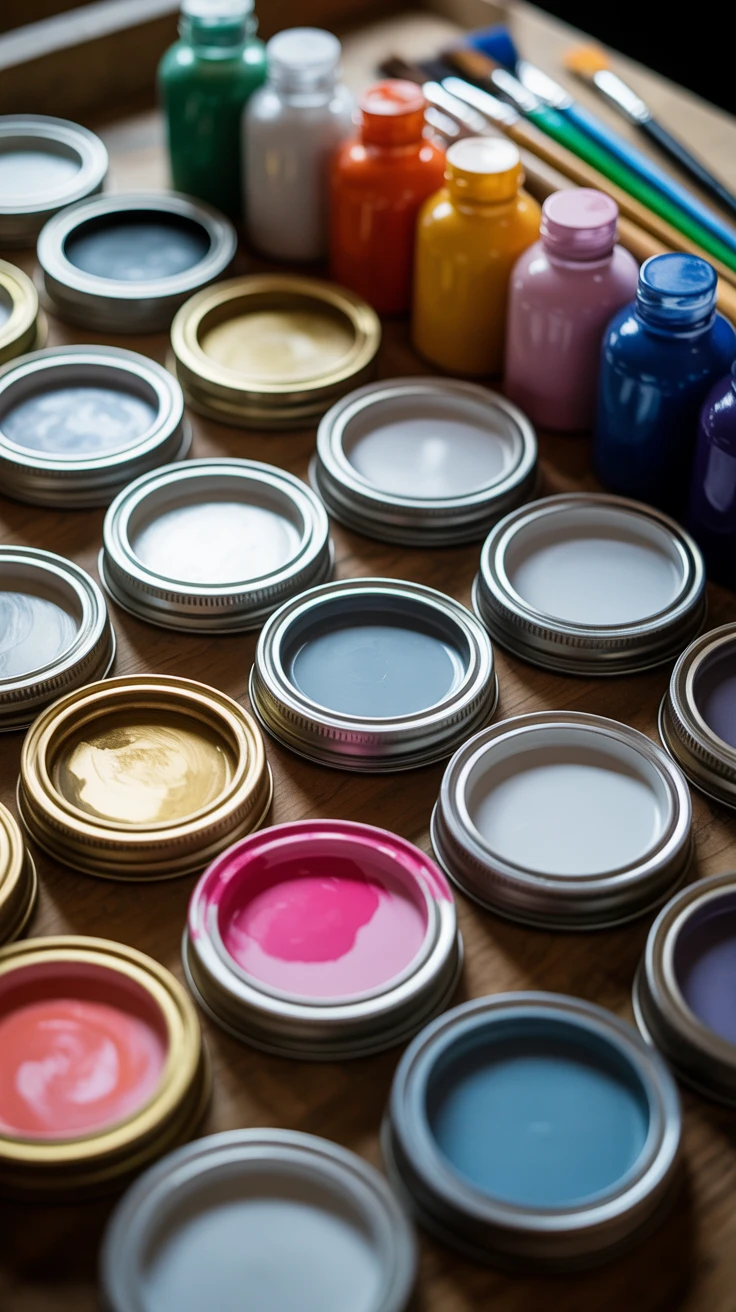
Once the primer is dry, paint each lid in the colors chosen for the flower. Thin coats generally produce a smoother finish than one heavy coat, particularly when working with metal.
| Paint Layer | Suggested Approach | Purpose |
|---|---|---|
| Primer | Apply a thin, even layer | Helps paint adhere to the metal |
| Base coat | Cover the lid evenly | Establishes the primary flower color |
| Second coat | Add after the first coat dries | Improves coverage when needed |
| Decorative details | Add after the base is dry | Creates shading, patterns, or petal details |

View on AmazonAs an Amazon Associate, I earn from qualifying purchases.

View on AmazonAs an Amazon Associate, I earn from qualifying purchases.
Pro Tip: Paint several lids at the same time and let each layer dry before applying the next coat to reduce fingerprints, smudges, and uneven coverage.
3. Shape and Assemble the Flower
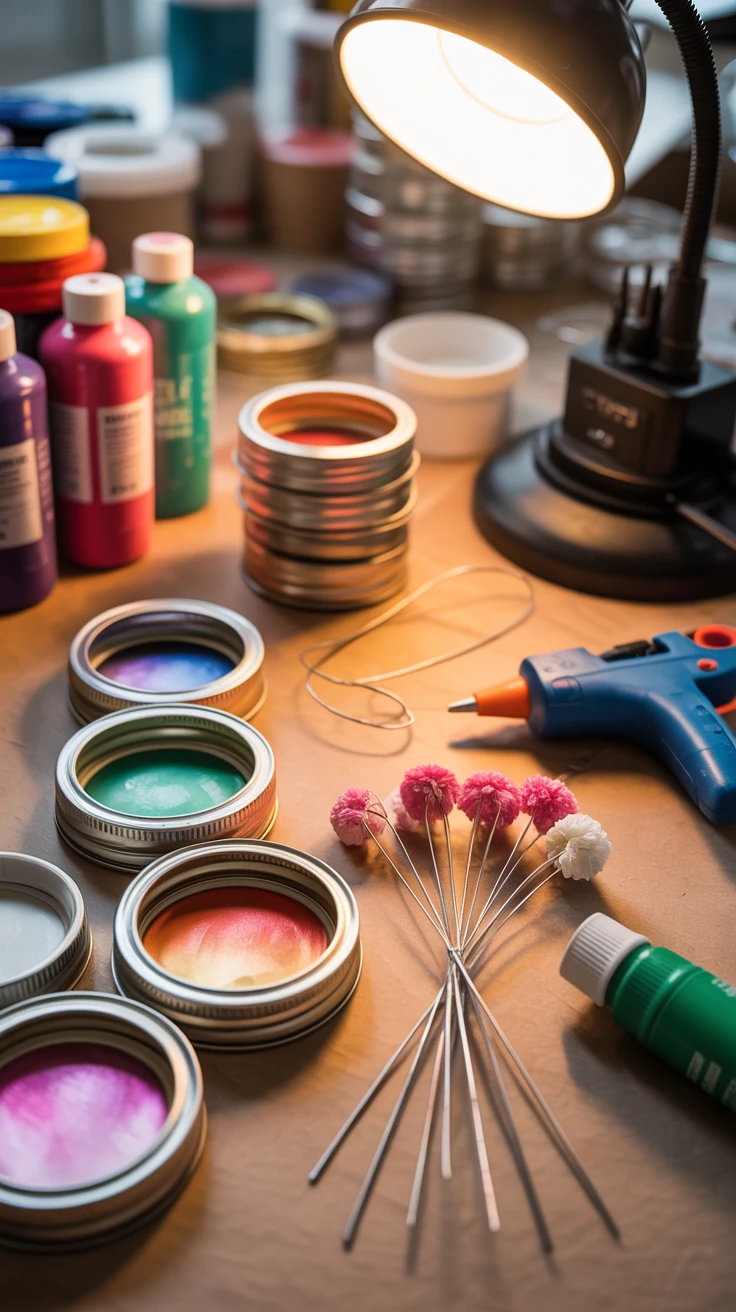
After the painted pieces are completely dry, arrange the lids into a flower shape before attaching anything permanently. Experimenting with the layout first makes it easier to adjust the number and position of the petals.
- Gently shape or position the lids to form petals
- Arrange the pieces around a central lid or decorative center
- Layer smaller pieces over larger ones for added dimension
- Secure the pieces with hot glue
- Attach a wire stem to the back of the finished flower
A hot glue gun and craft wire kit can provide the main assembly supplies for this project.
Pro Tip: Arrange every piece before applying glue so you can check the spacing and overall flower shape from several angles.
4. Add the Flower Center and Details
The center is an easy place to give each flower its own personality. Buttons create a farmhouse look, pearls work well for vintage-inspired flowers, and small decorative pieces can introduce contrasting colors or texture.
- Buttons for rustic or farmhouse designs
- Pearls for vintage-inspired flowers
- Rhinestones for a little sparkle
- Fabric or burlap circles for extra texture
- Painted details for a simpler finished look
Keep embellishments proportional to the flower so the center adds interest without overwhelming the painted lid petals.
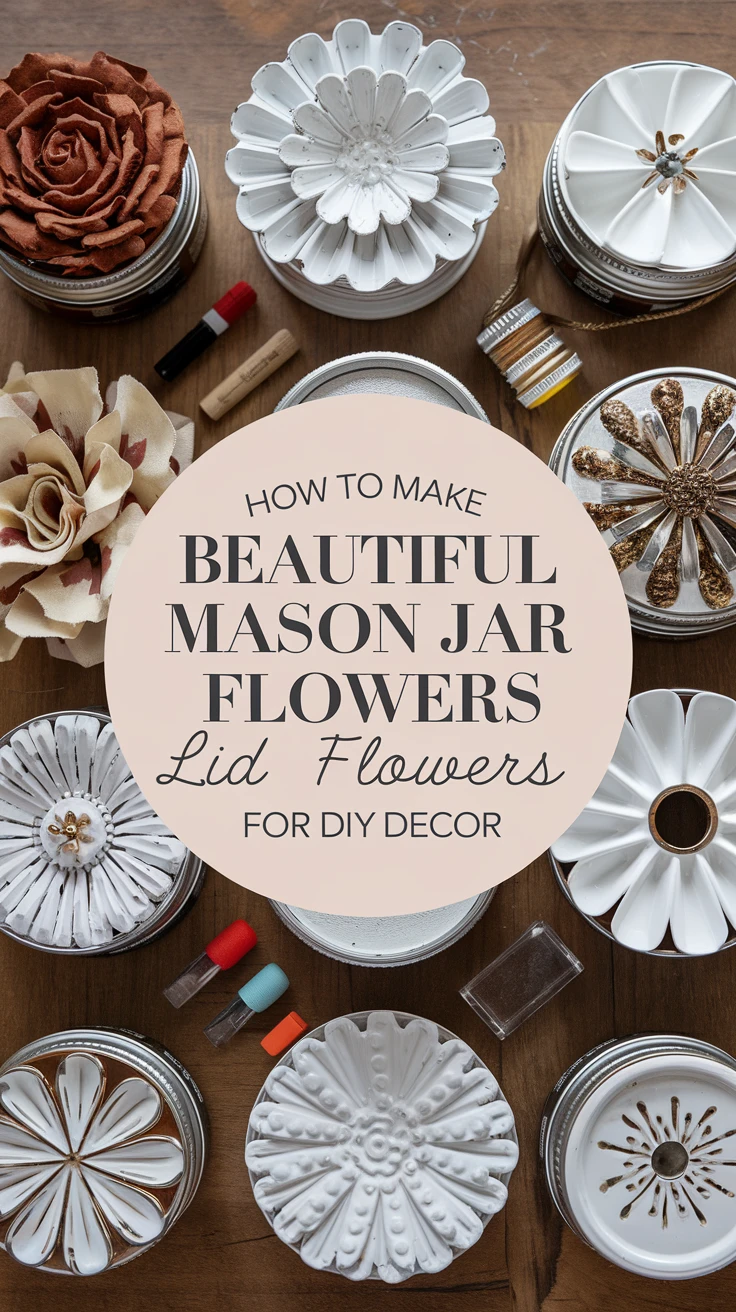
Creative Mason Jar Lid Flower Designs
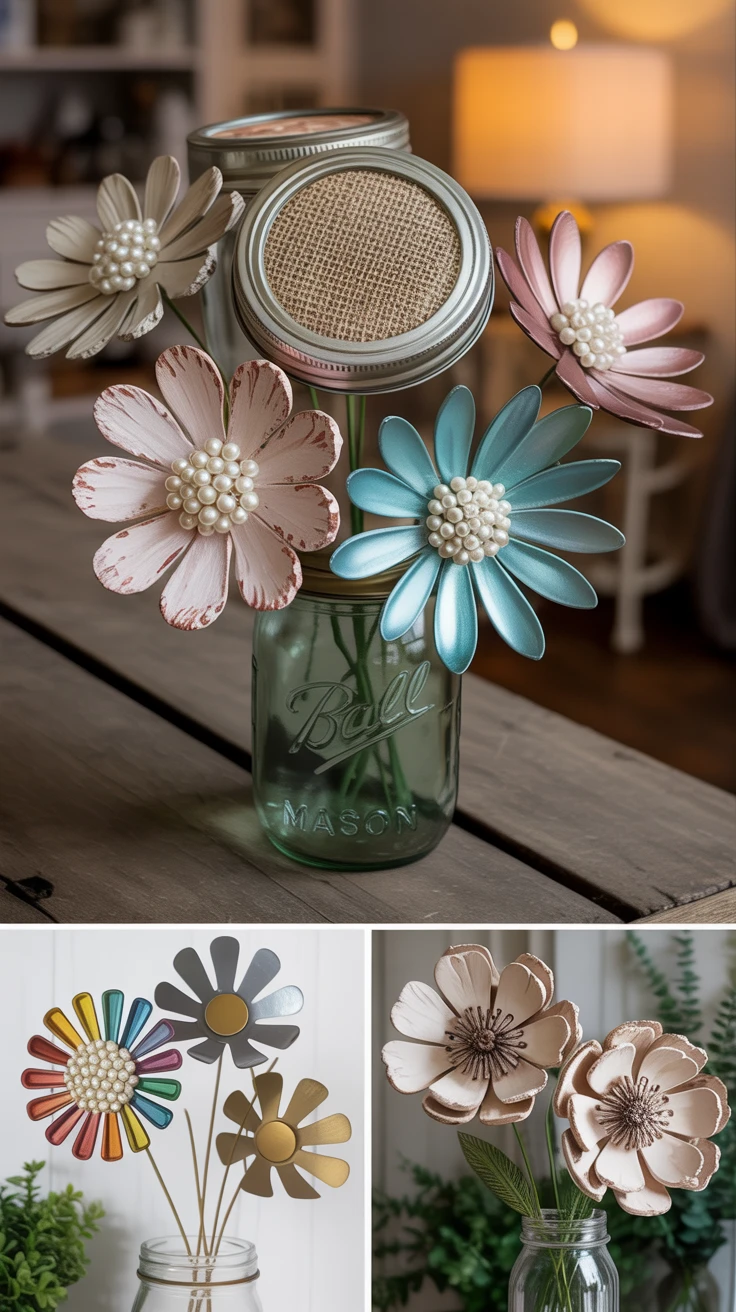
The same basic technique can produce dramatically different flowers depending on the colors, textures, and embellishments you choose. These four styles offer easy starting points for customizing the project.
Rustic Farmhouse
Use cream, sage, dusty blue, or other muted colors and pair them with burlap or simple button centers. Lightly distressed edges can give the finished flowers a weathered farmhouse appearance.
Vintage Charm
Metallic finishes, antique-inspired colors, pearl centers, and layered lids work well for a vintage look. Soft gold, aged bronze, ivory, and faded pastel shades can make new materials appear more timeworn.
Modern and Colorful
Choose bold contrasting colors and cleaner patterns for a more contemporary design. Geometric details, bright flower centers, and metallic accents can make the project feel less rustic and more graphic.
Garden Inspired
Use natural flower colors, painted petal details, textured finishes, and green floral wire to create a garden-inspired version. Leaves made from craft materials can also be attached to the stems for a more complete flower shape.
Seasonal Color Ideas
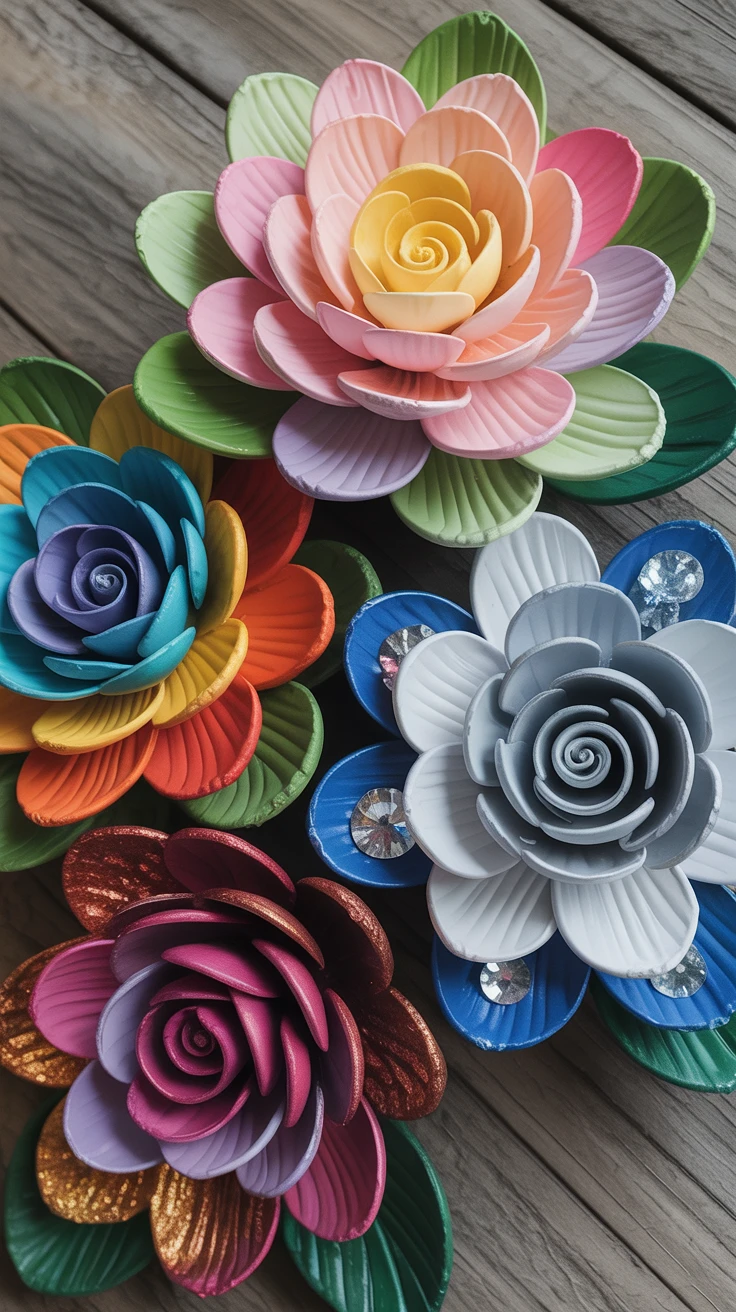
Mason jar lid flowers are easy to adapt for different seasons because the basic construction stays the same while the color palette changes.
| Season | Primary Colors | Accent Ideas |
|---|---|---|
| Spring | Pink, yellow, lavender | White and light green |
| Summer | Blue, orange, red | Yellow and deep green |
| Fall | Burgundy, rust, brown | Gold and copper |
| Winter | White, silver, deep blue | Metallic and crystal-inspired details |
Finishing Tips for a Polished Look
Small finishing details can make a noticeable difference once the basic flower is assembled. Instead of relying on a single flat paint color, use subtle variations in tone and texture to add dimension.
- Add light and dark shading around the petals
- Use dry brushing to create subtle texture
- Touch up visible glue after assembly
- Add leaves or decorative stems where appropriate
- Apply a compatible clear protective finish after the paint has fully dried
You can compare options for the final protective layer with clear protective sprays for painted crafts.
Ways to Display Mason Jar Lid Flowers
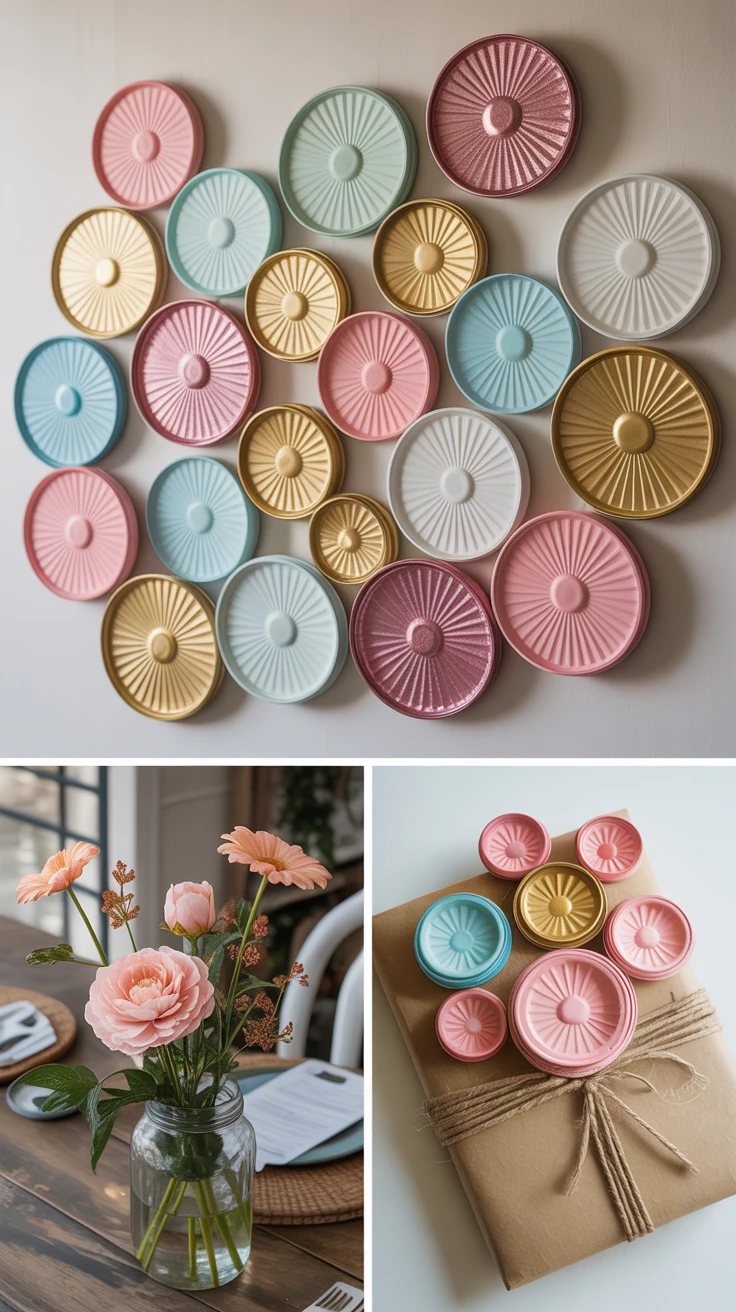
Finished mason jar lid flowers can be displayed individually or grouped into larger arrangements. Because they do not wilt, they are especially useful for seasonal decorations that you want to store and reuse.
Wall Art
- Create a collection of flowers in coordinating colors
- Mix them with other farmhouse or garden wall décor
- Arrange several flowers into a geometric pattern
- Use different sizes to add visual depth
Centerpieces
- Arrange several stems inside a mason jar or rustic container
- Combine them with artificial greenery or flowers
- Add them to wreaths or garlands
- Create different arrangements for each season
Handmade Gifts
- Attach a small flower to a wrapped gift
- Create a reusable decorative bouquet
- Coordinate flower colors with a holiday or special occasion
- Make a personalized arrangement for the recipient
Frequently Asked Questions
How many mason jar lids do I need for one flower?
The number depends on the design and size of the lids, but three to five pieces can provide a simple starting point. More elaborate layered flowers may require additional pieces.
What type of paint works best for mason jar lid flowers?
Acrylic craft paint can be used over a suitable metal primer. Preparing the metal first is important because smooth, untreated surfaces can make it more difficult for paint to adhere evenly.
Can I use old mason jar lids?
Yes. Reusing lids is one of the appeals of this project, provided they are thoroughly cleaned and do not have dangerous sharp edges, severe corrosion, or other damage.
How do I help prevent the lids from rusting?
Remove existing surface rust during preparation, use an appropriate primer, and protect the finished paint with a compatible clear coating. Keeping the finished flowers dry will also help preserve them.
What is the best way to attach the stems?
Floral or craft wire can be secured to the back of the assembled flower with hot glue. Make sure the connection has completely cooled and hardened before handling the flower by its stem.
Can children make mason jar lid flowers?
Children can participate in age-appropriate decorating and painting with adult supervision. Adults should handle sharp metal edges, wire cutters, hot glue guns, and other potentially hazardous tools.
Can mason jar lid flowers be displayed outdoors?
They can be used in sheltered outdoor displays, but prolonged exposure to moisture and weather can damage painted metal. A suitable outdoor protective finish can provide additional protection, although covered areas are preferable for longer-lasting results.
How should mason jar lid flowers be cleaned?
Use a soft dry cloth or gentle duster to remove surface dust. Avoid soaking the flowers because moisture can affect paint, glue, embellishments, and exposed metal.
What can I use for the center of the flower?
Buttons, beads, pearls, rhinestones, fabric circles, small painted lids, and other lightweight craft embellishments can all work as flower centers.
Can I make these flowers without stems?
Yes. Stemless mason jar lid flowers can be attached to wreaths, signs, wall displays, gift packages, or other DIY décor projects.
Final Thoughts
Mason jar lid flowers turn a simple household item into reusable décor that can be adapted to almost any style or season. The project is flexible enough for beginners while still offering plenty of opportunities to experiment with layered designs, paint techniques, embellishments, and creative displays.
Start with a few lids and a simple flower design before experimenting with larger arrangements. Once you have the basic preparation, painting, and assembly process down, the same technique can be used to create seasonal centerpieces, wall décor, handmade gifts, and colorful floral displays throughout the year.