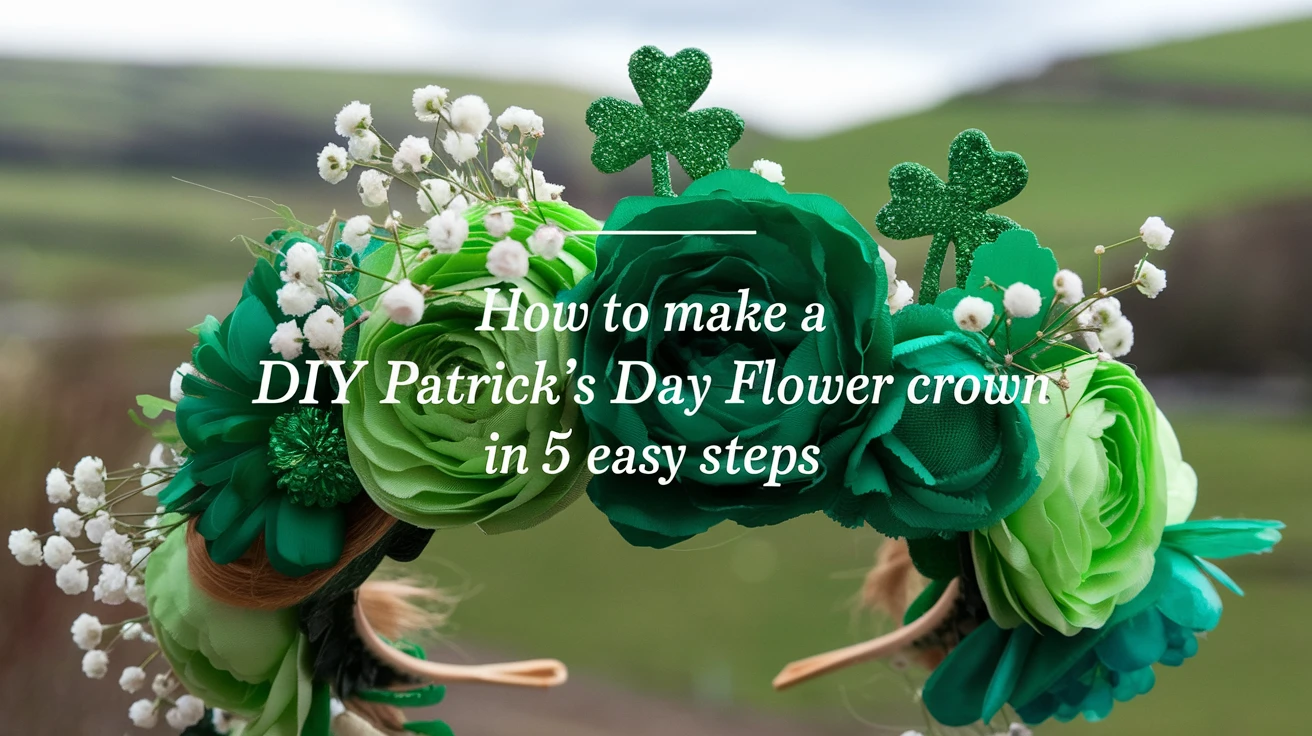
As St. Patrick’s Day approaches, there’s no better way to celebrate than by creating your own stunning floral headpiece that captures the spirit of the Emerald Isle. Whether you’re planning to attend a parade, host a party, or simply want to add a touch of Irish magic to your outfit, a DIY St. Patrick’s Day flower crown is the perfect accessory. As someone who’s been crafting these beautiful pieces for local celebrations for years, I’m excited to share my tried-and-true method for creating a professional-looking crown that’ll make you feel like you’re dancing through the rolling hills of Ireland.
Essential Materials for Your St. Patrick’s Day Flower Crown
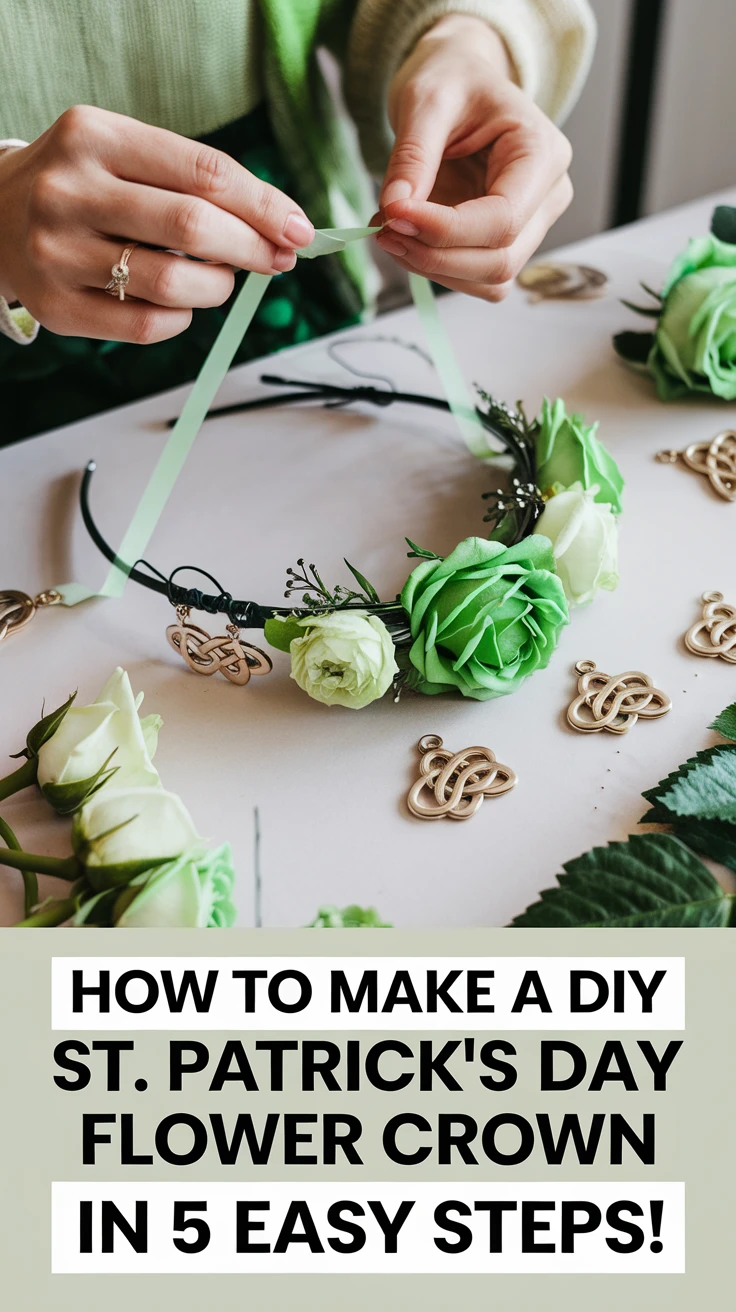
Before we dive into the creative process, let’s gather all the necessary materials. Having everything prepared beforehand will make the crafting process smooth and enjoyable.
| Basic Materials | Quantity | Purpose |
|---|---|---|
| Floral wire (22-gauge) | 2-3 pieces (18 inches each) | Crown base structure |
| Floral tape (green) | 1 roll | Securing elements |
| Green silk flowers | 15-20 stems | Main decoration |
| White baby’s breath | 2-3 sprigs | Filler flowers |
Optional Decorative Elements:
– Gold ribbon or metallic accents
– Shamrock ornaments
– Small celtic knot charms
– Green pearls or beads
– Miniature leprechaun hats
Step-by-Step Crown Creation Process
Step 1: Preparing the Base Structure
Start by measuring your head circumference using the floral wire. Add an extra inch for overlap and securing. I learned the hard way that skipping this step can result in an ill-fitting crown – trust me, you don’t want your creation sliding off during the parade!
Step 2: Creating the Foundation
Carefully twist two pieces of floral wire together to create a stronger base. This doubles the durability of your crown. Cover the entire wire structure with green floral tape, wrapping it tightly and slightly overlapping each turn.
Step 3: Preparing Your Flowers
| Flower Type | Preparation Method | Special Notes |
|---|---|---|
| Green roses | Trim to 2-inch stems | Main focal points |
| Shamrock-shaped foliage | Group in threes | Traditional Irish symbol |
| Baby’s breath | Small clusters | Delicate filler |
Step 4: Attaching the Flowers
Begin attaching your prepared flowers to the crown base. Work in small sections, securing each piece with floral tape. Create a natural flow by varying the size and height of your arrangements.
Step 5: Adding Final Touches
This is where your crown truly becomes unique. Consider incorporating:
– Trailing ribbons at the back
– Small Celtic knot embellishments
– Tiny shamrock charms
– Sparkly green accents
Expert Tips for a Professional Finish
Through years of creating these festive crowns, I’ve discovered several tricks that make a significant difference:
Care and Maintenance Tips:
– Store your crown in a cool, dry place
– Spray with artificial flower preservative
– Handle gently when wearing
– Keep away from direct sunlight
– Use hairpins for extra security
Common Mistakes to Avoid:
1. Overcrowding the crown with too many elements
2. Using weak wire for the base
3. Skipping the floral tape layer
4. Not securing flowers properly
5. Making the crown too heavy
Creative Variations and Style Ideas
While traditional green is perfect for St. Patrick’s Day, don’t be afraid to experiment with different styles:
Modern Minimalist:
– Use single type of green flowers
– Add metallic accents
– Keep design sleek and simple
Traditional Irish:
– Incorporate real shamrocks
– Add white and orange flowers
– Include Celtic symbols
Festival Style:
– Mix in larger blooms
– Add flowing ribbons
– Include sparkly elements
Conclusion
Creating your own St. Patrick’s Day floral headpiece is more than just a craft project – it’s a way to connect with Irish tradition while expressing your creativity. With these five simple steps and attention to detail, you’ll create a beautiful crown that’s sure to turn heads at any St. Patrick’s Day celebration. Remember, practice makes perfect, and don’t be afraid to add your own personal touch to make your crown truly unique.
Key Takeaways
- Proper preparation and material gathering is crucial for success
- A strong base structure ensures your crown will last throughout the celebrations
- Balancing traditional elements with personal style creates unique pieces
- Regular maintenance helps preserve your crown for future use
- Attention to detail in flower attachment prevents falling pieces
Frequently Asked Questions
How long will my flower crown last?
With proper care and storage, an artificial flower crown can last for several years. Store it in a box away from direct sunlight and dust.
Can I use real flowers instead of artificial ones?
While possible, real flowers will only last a day or two. Artificial flowers are recommended for longer-lasting wear and reusability.
How do I keep the crown secure on my head?
Use small bobby pins or hair combs attached to the base of the crown. You can also add elastic bands for extra security.
What’s the best way to transport my flower crown?
Use a large, shallow box and place tissue paper around the crown to maintain its shape during transport.
Can children make these crowns?
With adult supervision, children 8 and older can help create flower crowns. Have them work with the artificial flowers while adults handle the wire construction.
How much should I expect to spend on materials?
The total cost typically ranges from $15-30, depending on the quality of materials and where you purchase them.
Can I make multiple crowns from one set of materials?
Yes! Most material packages contain enough supplies to make 2-3 medium-sized crowns.
What if I don’t have floral tape?
While floral tape is ideal, you can substitute with green washi tape or thin ribbon, though these may not be as durable.
How do I clean my flower crown?
Gently dust with a soft brush or use compressed air to remove debris. Avoid getting artificial flowers wet.
Can I customize the size for children?
Absolutely! Simply adjust the wire base measurement to fit the child’s head circumference, typically reducing it by 2-3 inches.
