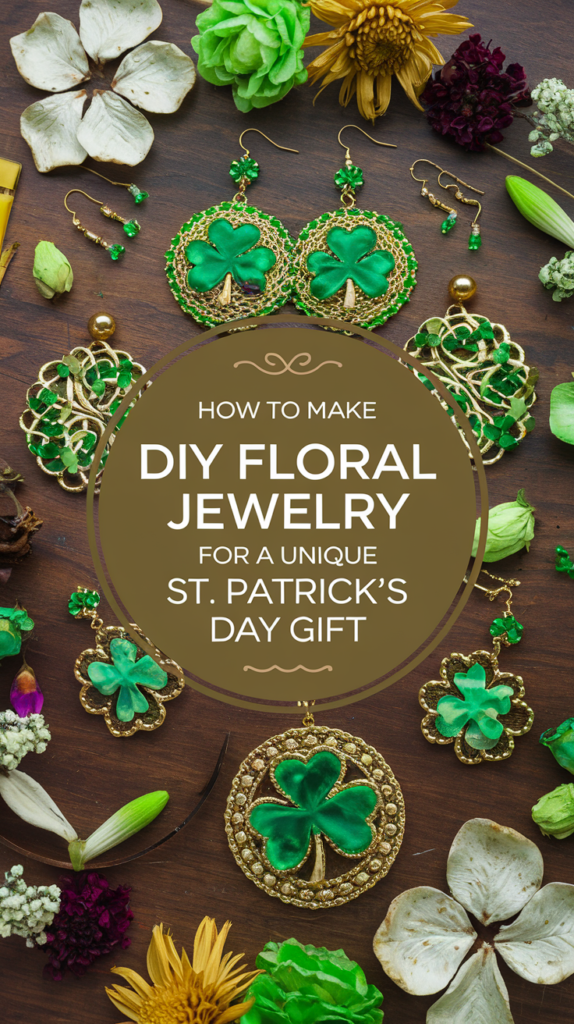
Creating handmade floral jewelry for St. Patrick’s Day combines the beauty of nature with Irish tradition in a uniquely personal way. Whether you’re looking to make a special gift or want to craft something meaningful for yourself, DIY floral jewelry offers an opportunity to incorporate authentic Irish elements with delicate botanical beauty. This guide will walk you through everything you need to know to create stunning pieces that capture the spirit of the Emerald Isle while preserving the delicate essence of flowers.
Essential Materials for Creating Floral Jewelry
Before diving into the creative process, gathering the right supplies is crucial for success. Here’s a comprehensive list of materials you’ll need:
| Basic Materials | Optional Enhancements |
|---|---|
|
– Clear epoxy resin – Silicone molds – Real or dried flowers – Green wire (20-24 gauge) – Jewelry findings |
– Green glitter – Gold leaf flakes – Shamrock charms – Celtic knot components – Pearl beads |
When selecting flowers, consider these Irish-inspired options:
– White clover (shamrock)
– Green chrysanthemums
– Baby’s breath
– Small daisies
– Forget-me-nots
Pro tip: I learned the hard way that collecting flowers at least two weeks before starting your project allows proper drying time. This prevents bubbling and discoloration in your final pieces.
Basic Techniques for Working with Flowers
From my experience, mastering these fundamental techniques will set you up for success:
1. Flower Preservation Methods
-
– Press flowers between book pages for 1-2 weeks
– Use silica gel for 3D preservation
– Microwave pressing for quick results
– Air drying for delicate blooms
2. Resin Working Tips
| Common Mistakes | Solutions |
|---|---|
| Bubbles in resin | Use a heat gun or torch briefly |
| Flowers floating | Pour in layers, letting each cure |
| Discoloration | Seal flowers with clear sealant first |
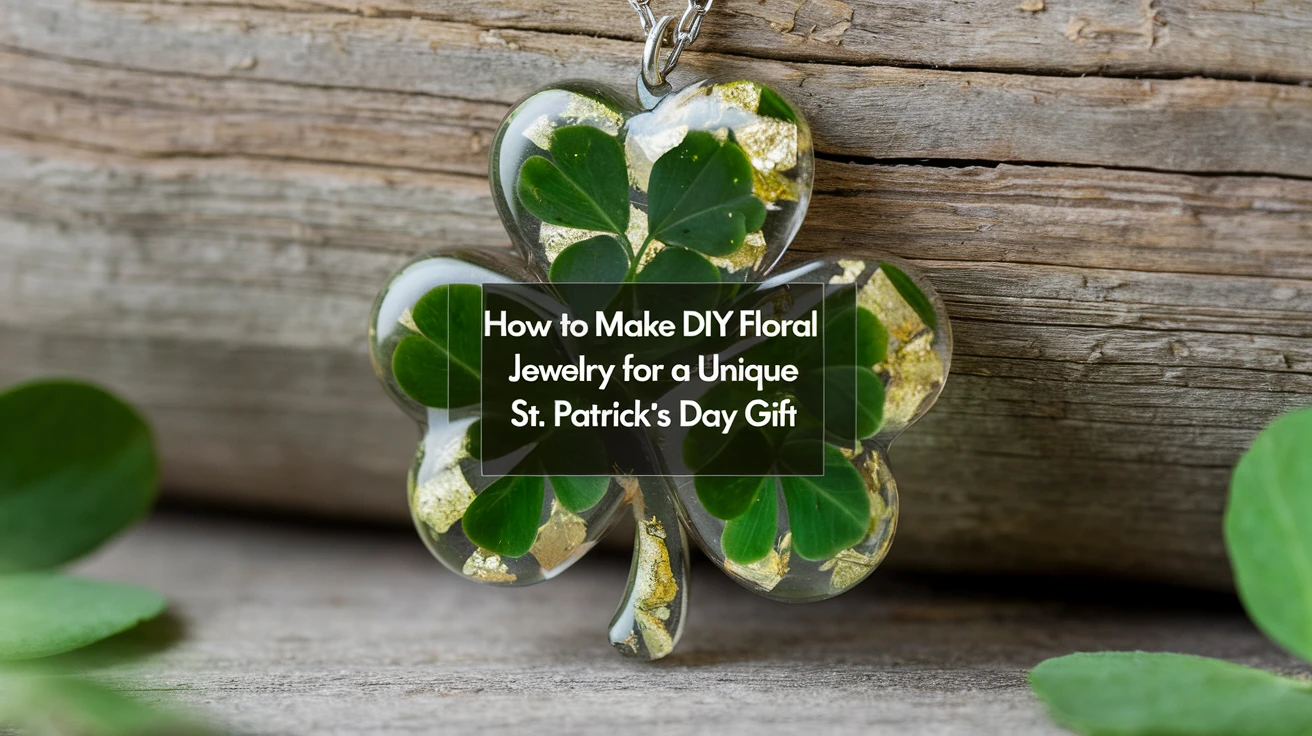
Step-by-Step Shamrock Pendant Tutorial
Let me guide you through creating a signature piece that I’ve perfected over many attempts:
1. Preparation
– Select three perfect shamrock leaves
– Press them for one week minimum
– Prepare your workspace with non-stick mat
2. Creating the Pendant
– Mix resin according to package instructions
– Pour a thin base layer
– Arrange shamrock leaves in a traditional pattern
– Add optional green glitter for sparkle
– Pour final layer of resin
Remember my first attempt when I rushed the process? The leaves floated up and created a mess. Take your time with each layer, allowing 30 minutes between pours for the best results.
Creating Celtic-Inspired Floral Earrings
The beauty of Celtic design lies in its intricate patterns. Here’s how to incorporate this into your floral jewelry:
1. Design Elements
-
– Trinity knot patterns
– Interwoven flowers
– Circular designs
– Green and gold color schemes
2. Assembly Steps
– Create wire frameworks in Celtic patterns
– Attach dried flowers at intersection points
– Seal with resin or clear coating
– Add earring findings
Personal tip: I discovered that using thin wire to create a basic Celtic knot pattern before adding flowers creates more professional-looking pieces.
Preserving Your Floral Jewelry Creations
Proper preservation ensures your pieces last beyond the holiday:
| Storage Method | Best For | Duration |
|---|---|---|
| Airtight container | Resin pieces | Years |
| Soft cloth bag | Wire-wrapped items | 1-2 years |
| UV-protected case | All pieces | 5+ years |
Creative Gifting and Presentation Ideas
Make your handmade jewelry even more special with these presentation touches:
– Create custom gift boxes using green and gold paper
– Include care instructions with Celtic designs
– Add dried shamrocks to packaging
– Write a personal note about Irish blessing traditions
– Include the meaning behind your design choices
Remember to mention that each piece is handcrafted with love and carries a bit of Irish luck!
Conclusion
Creating DIY floral jewelry for St. Patrick’s Day allows you to share a piece of Irish heritage while expressing your creativity. These unique pieces become treasured keepsakes that combine natural beauty with cultural significance. Whether you’re crafting for yourself or as gifts, the time and love invested in each piece make them truly special.
Key Takeaways
- Proper flower preservation is crucial for creating lasting jewelry pieces
- Working in layers with resin prevents common issues like floating and bubbles
- Celtic designs can be incorporated for authentic Irish touches
- Careful storage and preservation extend the life of your creations
- Thoughtful presentation enhances the gifting experience
Frequently Asked Questions
How long does it take to make a piece of floral jewelry?
Including drying and curing time, expect to spend 2-3 days for a complete piece. The actual hands-on work takes 1-2 hours.
Can I use artificial flowers instead of real ones?
Yes, artificial flowers can work, but real preserved flowers offer more authentic results and natural beauty.
How do I prevent bubbles in resin?
Work in a warm environment, pour slowly, and use a heat gun or torch briefly to remove bubbles after pouring.
Will the green color of shamrocks fade?
Properly preserved and sealed shamrocks maintain their color for several years when kept out of direct sunlight.
What’s the best way to dry flowers for jewelry making?
Press flowers between absorbent paper in a heavy book for 1-2 weeks for best results.
How should I price my creations if I want to sell them?
Calculate materials cost, time invested (including drying time), and add 2-3x markup for handmade artisan pieces.
Can I make adjustments once the resin has cured?
Once cured, resin cannot be adjusted. Plan your design carefully before pouring.
What type of resin is food-safe for jewelry?
Look for FDA-approved epoxy resins specifically labeled as safe for skin contact.
How do I ensure my jewelry findings are secure?
Use strong adhesive or embed findings directly in resin during the casting process.
Can I mix different types of flowers in one piece?
Yes, but ensure all flowers are dried to the same moisture level to prevent uneven results.
