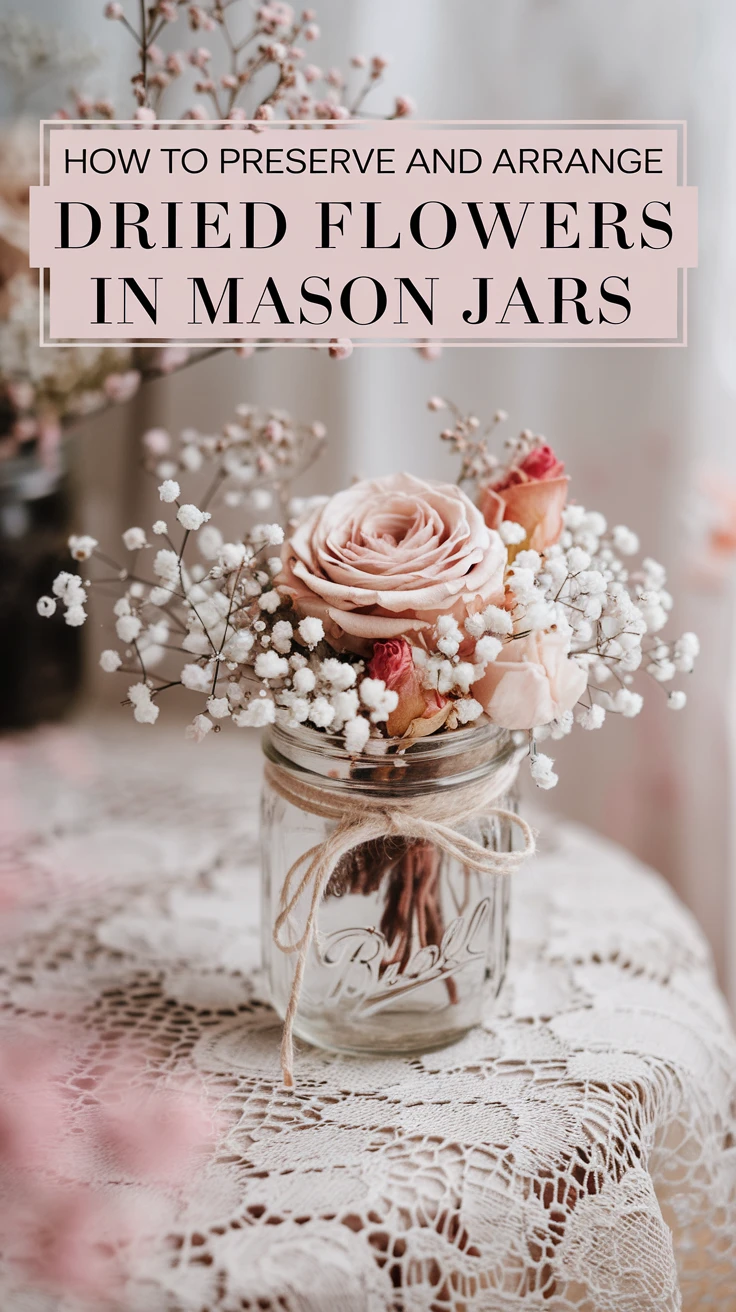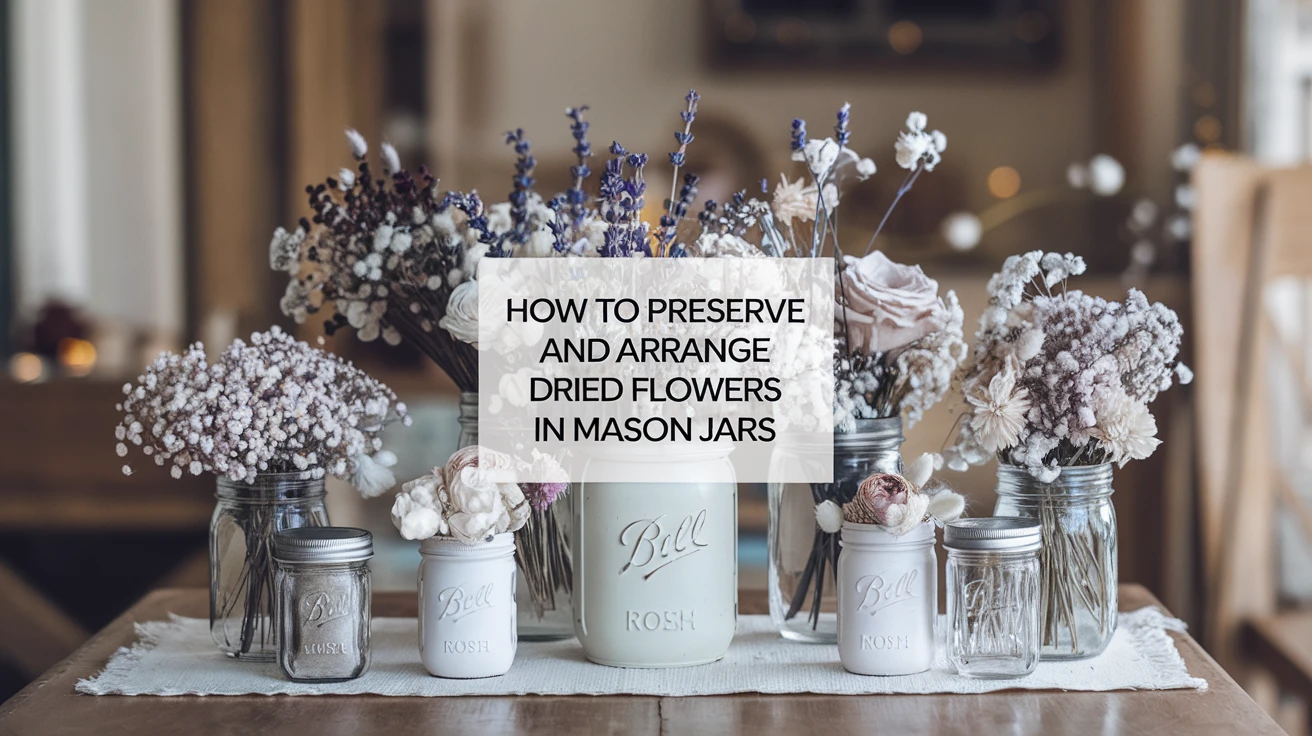
Dried flowers in mason jars are an easy way to turn garden blooms, leftover bouquets, or meaningful flowers into home decor that can be enjoyed long after fresh petals would normally fade.
The project is beginner-friendly and does not require professional floral design skills. The most important steps are choosing flowers that dry well, removing moisture completely, selecting a jar that suits the stems, and arranging everything without overcrowding the flowers.
This updated guide walks through the process from fresh flowers to a finished mason jar arrangement, including several drying methods and simple techniques you can recreate at home.
What You Need
- Fresh flowers or pre-dried flowers
- Clean mason jar
- Floral scissors or pruning shears
- Twine, ribbon, or raffia
- Rubber bands for air drying
- Optional silica gel for preserving fuller flower shapes
- Optional floral wire for fragile stems
- Optional mason jar flower frog or grid lid
- Optional dried grasses, eucalyptus, wheat, or seed pods
A basic set of flower drying supplies can make it easier to prepare blooms for your arrangement.
1. Choose Flowers That Dry Well
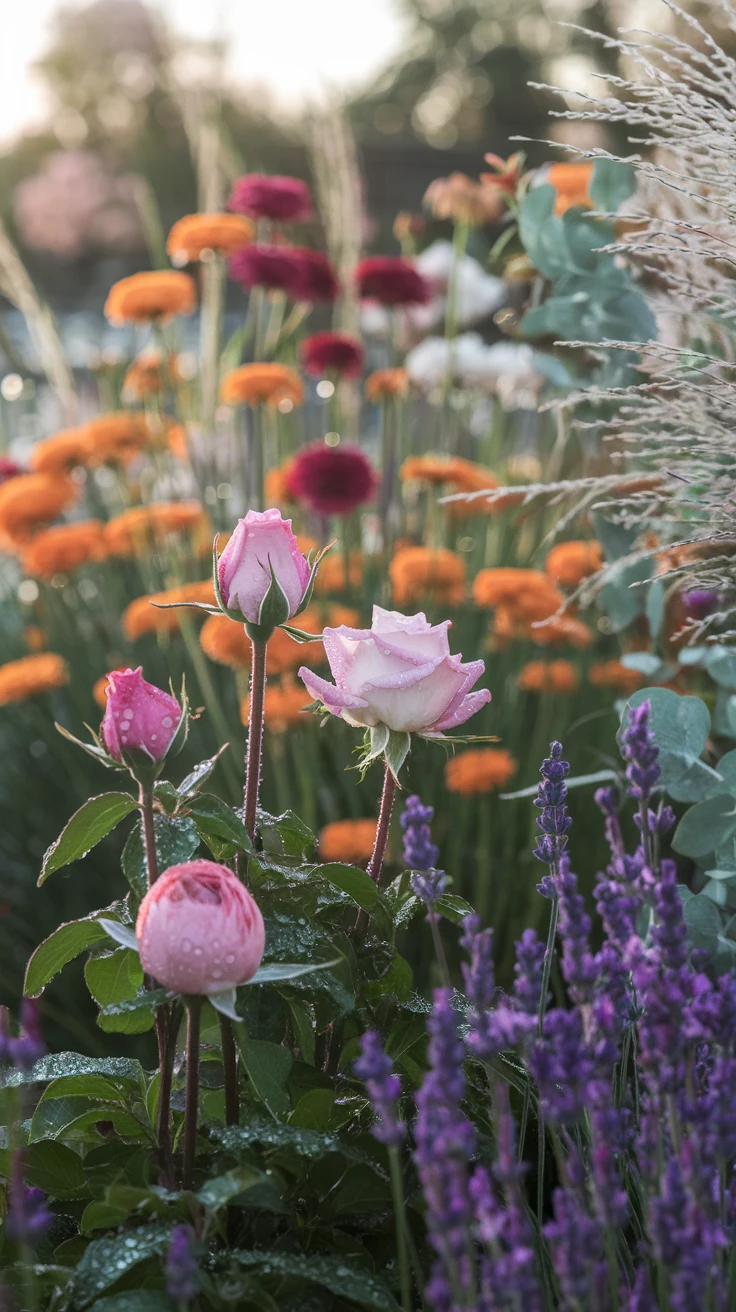
The best dried flower arrangements begin with varieties that hold their shape after moisture is removed. Flowers with sturdy petals and relatively low moisture content are generally easier for beginners to preserve than very soft, fleshy blooms.
Good Flowers for Beginners
- Lavender: Adds fragrance, color, and vertical shape.
- Statice: Retains its papery texture and works well as filler.
- Strawflower: Naturally has a crisp texture that makes it particularly suitable for drying.
- Globe amaranth: Adds small rounded blooms and strong color.
- Baby’s breath: Creates light, airy volume between larger flowers.
- Roses: Provide a classic focal flower when dried carefully.
- Hydrangeas: Create substantial volume with only a few stems.
- Celosia: Adds unusual texture and rich color.
Add Texture With Greenery and Grasses
Dried eucalyptus, wheat, bunny tails, seed heads, ornamental grasses, and similar botanical elements help fill empty spaces and create contrast between the flowers.
If you’re cutting flowers from the garden, harvest healthy stems after surface moisture or morning dew has dried. Remove damaged petals and strip foliage from the lower portion of each stem before beginning the drying process.

View on AmazonAs an Amazon Associate, I earn from qualifying purchases.

View on AmazonAs an Amazon Associate, I earn from qualifying purchases.
2. Dry the Flowers
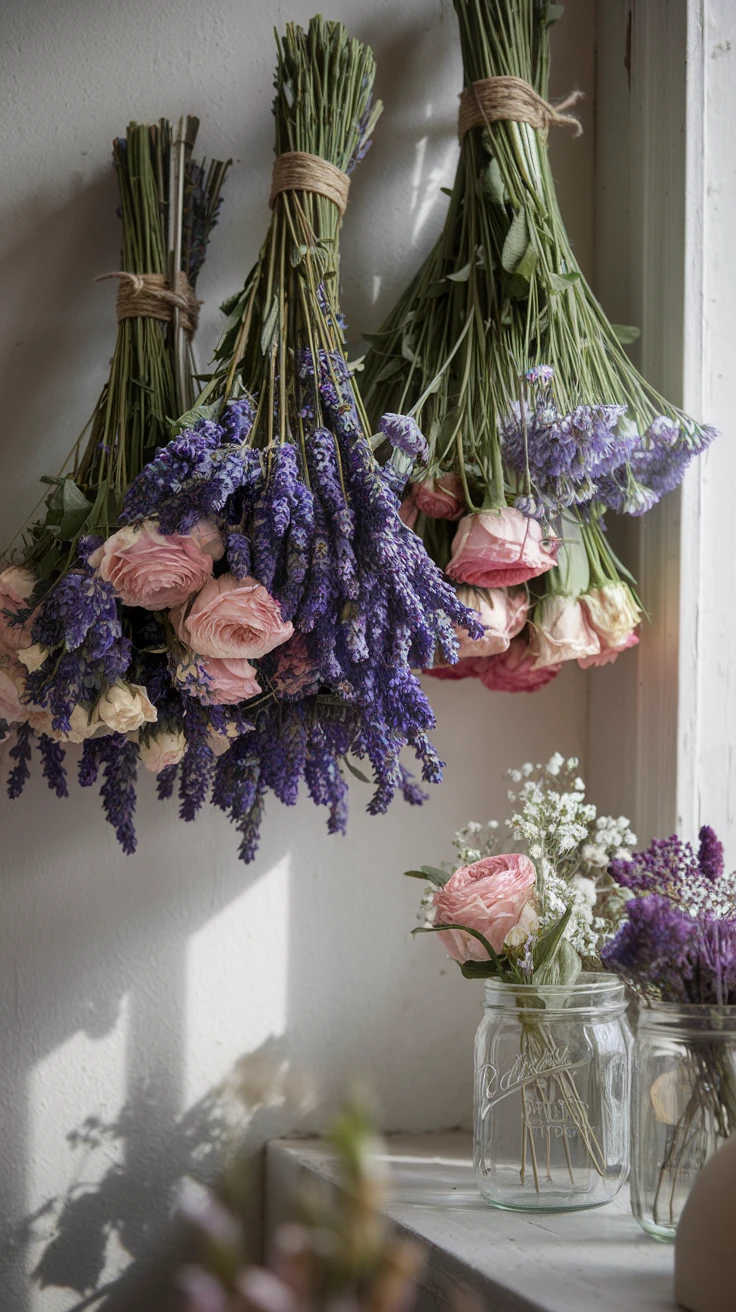
There is no single best drying method for every flower. Air drying is simple and inexpensive, while silica gel can be useful when maintaining a flower’s fuller three-dimensional shape is important.
Method 1: Air Drying
Air drying is the easiest place to start because it requires very little equipment.
- Remove excess leaves from each stem.
- Gather approximately five to eight stems into a loose bundle.
- Secure the stems with a rubber band or twine.
- Hang the bundle upside down in a dry location away from direct sunlight.
- Allow air to circulate around the flowers.
- Leave the bundle until the stems and flower heads feel completely dry.
A closet, spare room, pantry, or other dry indoor area can work well as long as there is adequate ventilation.
Drying time varies with the flower, room humidity, stem thickness, and bundle size, so use the condition of the flowers rather than the calendar alone to decide when they are ready.
Method 2: Silica Gel Drying
Silica gel is useful for flowers such as roses when you want to preserve more of their original shape.
- Pour a shallow layer of flower-drying silica gel into an airtight container.
- Place the flower heads carefully into the gel.
- Slowly pour additional gel around and over the petals.
- Cover the flowers completely without crushing them.
- Seal the container.
- Check the flowers according to the drying product’s instructions and remove them carefully when dry.

View on AmazonAs an Amazon Associate, I earn from qualifying purchases.

View on AmazonAs an Amazon Associate, I earn from qualifying purchases.
Pro Tip: Test the process with one or two flowers before drying an entire sentimental bouquet.
3. Prepare Your Mason Jar
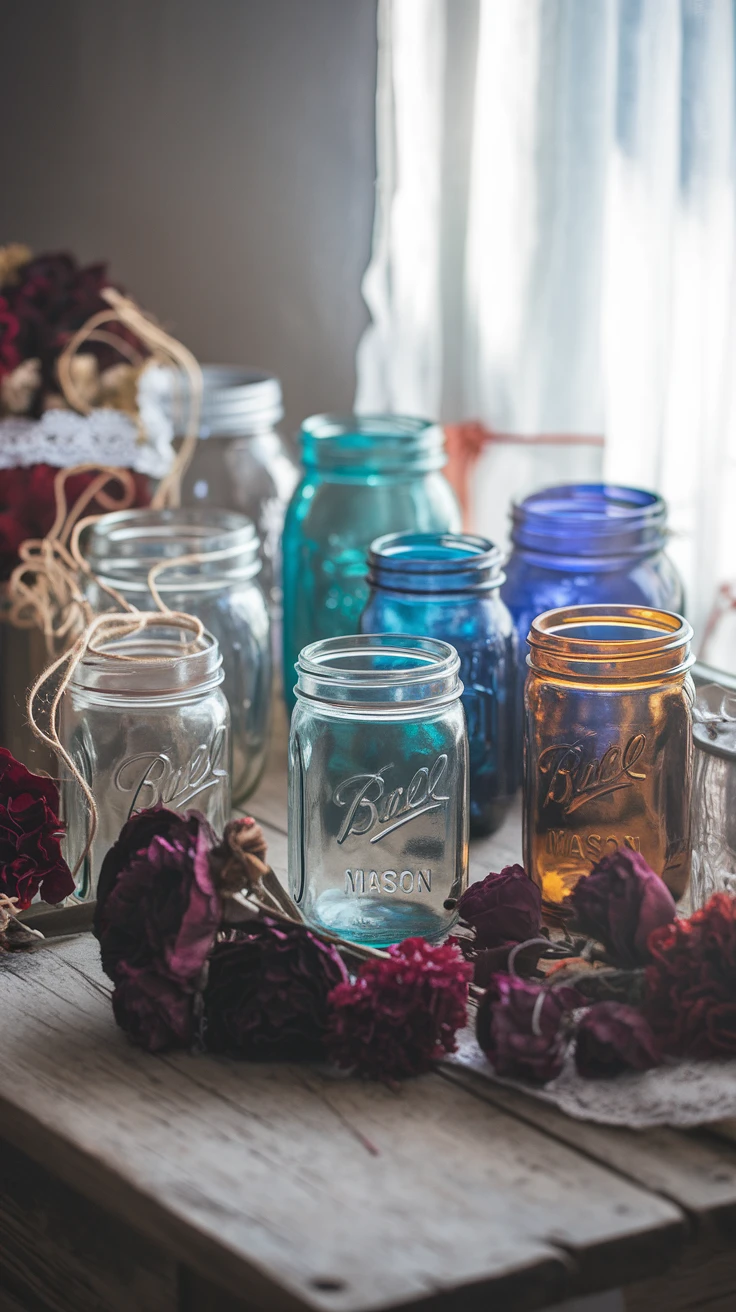
Before arranging the flowers, make sure the mason jar is completely clean and dry. Any lingering moisture is undesirable around dried botanical material.
Choose the Right Jar Size
A small jar works well for short stems, bedside arrangements, gifts, and small clusters of lavender or baby’s breath. Quart jars provide more room for mixed arrangements, while larger jars can accommodate tall grasses and substantial dried bouquets.
Regular-mouth jars naturally hold stems closer together. Wide-mouth jars offer more freedom to create loose, spreading arrangements.
Clear glass keeps the focus on the flowers, while blue, amber, and vintage-style jars can become part of the color palette.
If you need jars for several arrangements, mason jars for flower arrangements are available in different sizes and glass finishes.
Remove Old Labels
Soak reused jars in warm soapy water and peel away the label. Stubborn adhesive can usually be loosened with an appropriate adhesive-removal method before the jar is washed and dried again.

View on AmazonAs an Amazon Associate, I earn from qualifying purchases.
View on AmazonAs an Amazon Associate, I earn from qualifying purchases.
4. Arrange Dried Flowers in the Mason Jar
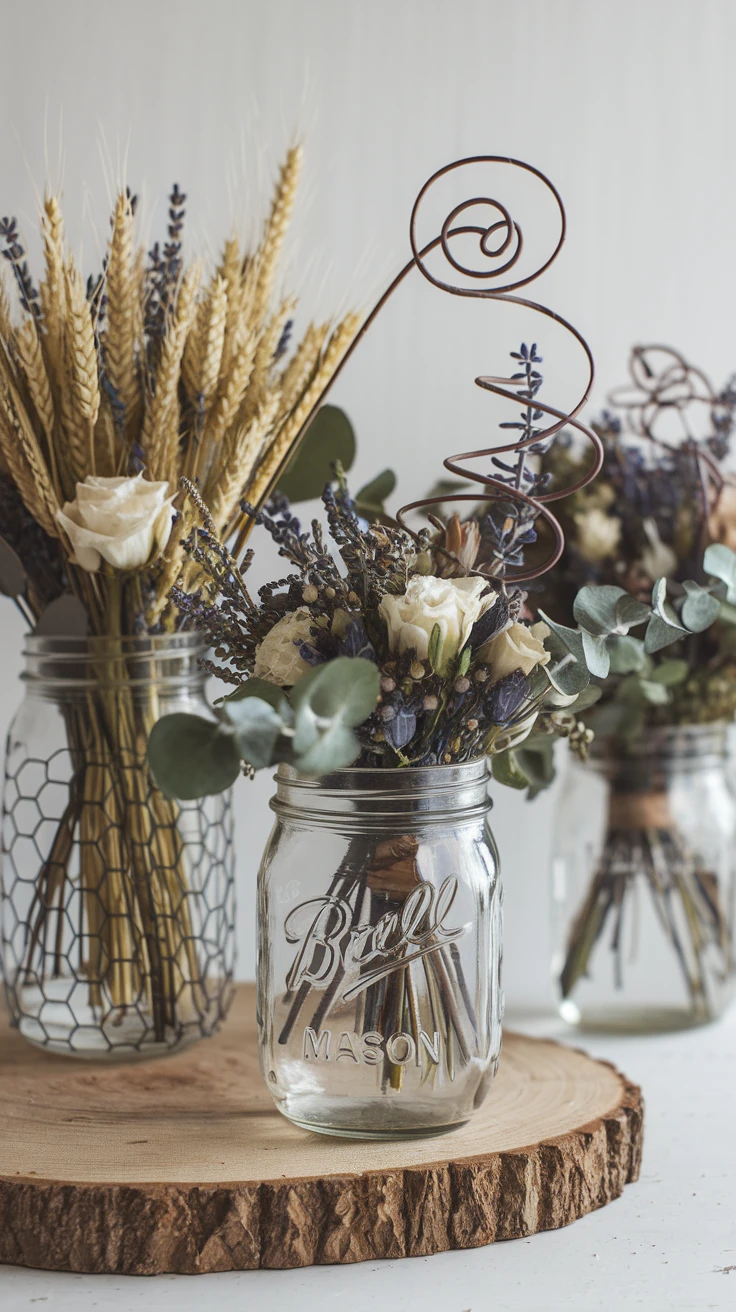
Once the flowers and jar are ready, you can build the arrangement directly in the container. Work slowly because fully dried stems can be brittle.
Easy Method for Beginners
- Choose one to three of your tallest stems to establish the height.
- Place your largest or most interesting flowers around those stems.
- Add medium-height flowers to build the body of the arrangement.
- Fill open areas with baby’s breath, statice, grasses, or eucalyptus.
- Rotate the jar as you work and look for obvious gaps.
- Remove stems if the arrangement begins to look crowded.
- Trim overly long stems carefully before making final adjustments.
A dried arrangement does not need to be perfectly symmetrical. Slight variations in height usually create a more relaxed, natural look.
Use a Flower Frog for More Control
If stems keep shifting inside a wide-mouth jar, a grid-style flower frog can divide the opening into smaller sections. Insert individual stems through different openings to control their spacing and direction.
A mason jar flower frog lid can help keep individual stems positioned where you want them.
Try the Hand-Tied Method
You can also assemble the bouquet in your hand before placing it into the jar. Start with a focal stem and add the remaining flowers around it while gradually rotating the bundle.
Once you like the shape, loosely secure the stems with twine and test the bouquet inside the jar. Adjust the stem length until the flowers sit naturally above the rim.
5. Choose a Color Palette
A simple color plan can make an assortment of unrelated dried flowers feel intentional.
- Neutral farmhouse: Cream, beige, wheat, white, and muted green.
- Soft romantic: Dusty pink, cream, lavender, and faded green.
- Autumn: Rust, burgundy, burnt orange, wheat, and brown.
- Cottage garden: Lavender, pale yellow, soft pink, blue, and green.
- Minimal: One flower variety in several heights.
If your flowers already contain many colors, use a simple clear jar and minimal embellishment to keep the finished project from becoming visually busy.
6. Decorate the Mason Jar
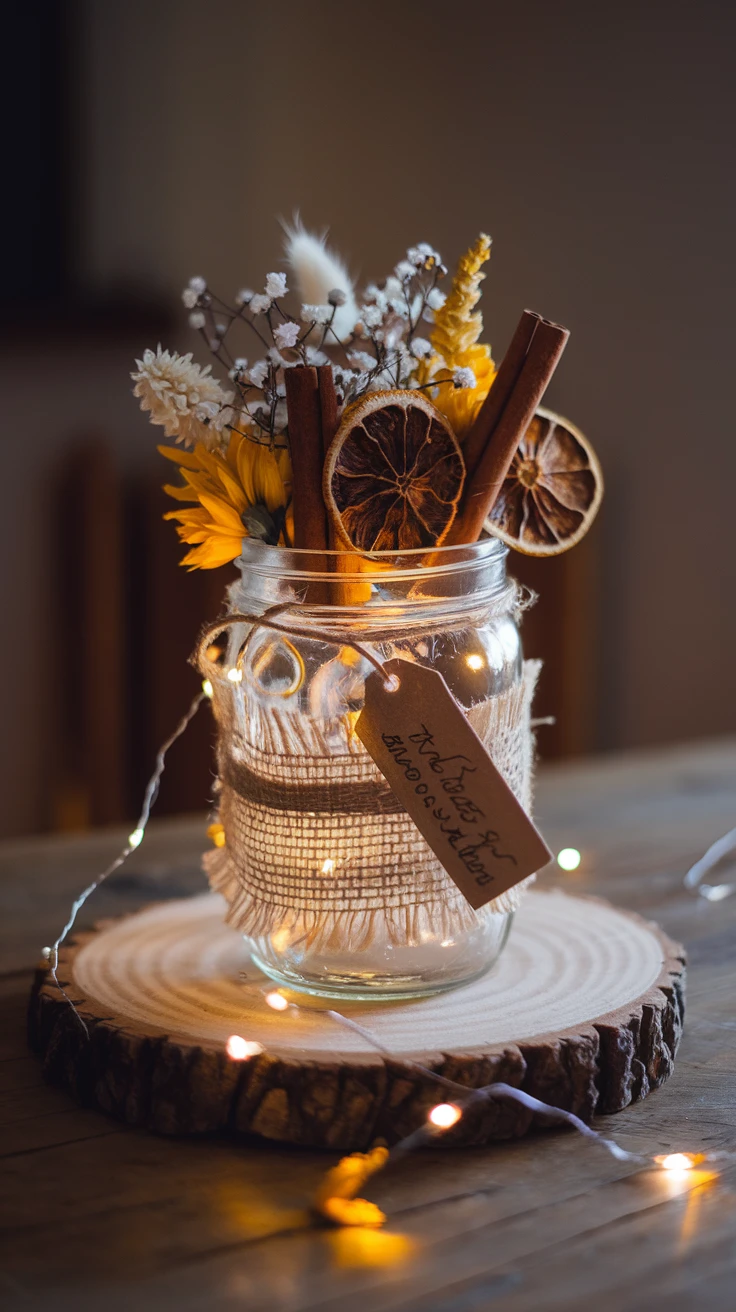
The jar can be left completely plain or decorated to match your home, season, or occasion.
Easy Mason Jar Finishing Ideas
- Wrap natural jute twine several times around the neck.
- Tie a narrow velvet ribbon around the rim.
- Add a strip of lace for a vintage look.
- Attach a kraft-paper gift tag.
- Wrap the lower portion of the jar with burlap.
- Add a wooden bead or small charm to the twine.
For a farmhouse arrangement, pair a clear jar with twine and wheat. For something more romantic, use dried roses with a soft ribbon. For fall, combine rust-colored flowers with wheat, seed pods, and a simple raffia bow.
7. Make a Simple Dried Flower Mason Jar at Home
If you want an easy project to copy rather than designing from scratch, this arrangement uses only a few materials and works well for beginners.
You’ll Need
- 1 quart-size mason jar
- 5 dried lavender stems
- 3 dried roses or strawflowers
- 5 to 7 stems of dried baby’s breath or statice
- 3 stems of dried eucalyptus
- 2 pieces of wheat or ornamental grass
- Twine
- Floral scissors
How to Make It
- Place the eucalyptus into the jar to establish the basic width of the arrangement.
- Add the lavender at slightly different heights.
- Position the three larger flowers in a loose triangle so they become the focal points.
- Fill the gaps with baby’s breath or statice.
- Add the wheat or grass slightly above the flowers for height and movement.
- Rotate the jar and adjust any crowded areas.
- Trim stems if the arrangement feels too tall for the container.
- Wrap twine around the neck of the jar and tie a simple bow.
The finished arrangement should look loose rather than tightly packed, with enough space between flowers to see their individual shapes.
8. Create a Set of Three Mason Jar Arrangements
Instead of making one large arrangement, try grouping three jars of different heights. This works especially well on dining tables, mantels, shelves, coffee tables, and entry consoles.
Use the tallest jar for grasses and long eucalyptus stems. Fill the medium jar with your main flowers and use the smallest jar for short filler flowers such as statice, globe amaranth, or baby’s breath.
Repeating one flower or color in all three jars connects the individual arrangements and makes the group feel cohesive.
9. Turn Dried Flower Jars Into Gifts
Dried flower mason jars are easy to personalize for birthdays, housewarmings, teacher gifts, bridal showers, wedding favors, and seasonal gifts.
For an individual gift, create a small arrangement in a pint-size jar and tie a handwritten tag around the neck. If you’re making wedding or party favors, choose two or three inexpensive dried flower varieties and repeat the same miniature design across all the jars.
Avoid packing the arrangement too tightly if it will be transported. Leaving some flexibility between the stems can reduce pressure on delicate petals.
10. Add Seasonal Details
The same basic dried flower arrangement can be refreshed throughout the year without replacing every stem.
- Spring: Add pastel ribbon and pale dried flowers.
- Summer: Use lavender, grasses, and bright strawflowers.
- Fall: Add wheat, seed pods, rust-colored flowers, or a raffia bow.
- Winter: Mix neutral dried flowers with small pinecones or evergreen-inspired decorative accents.
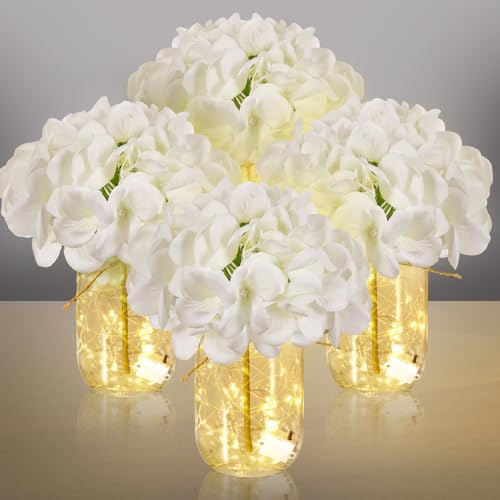
Small battery-operated fairy lights for mason jars can add a soft glow to seasonal displays.
How to Care for Dried Flowers in Mason Jars
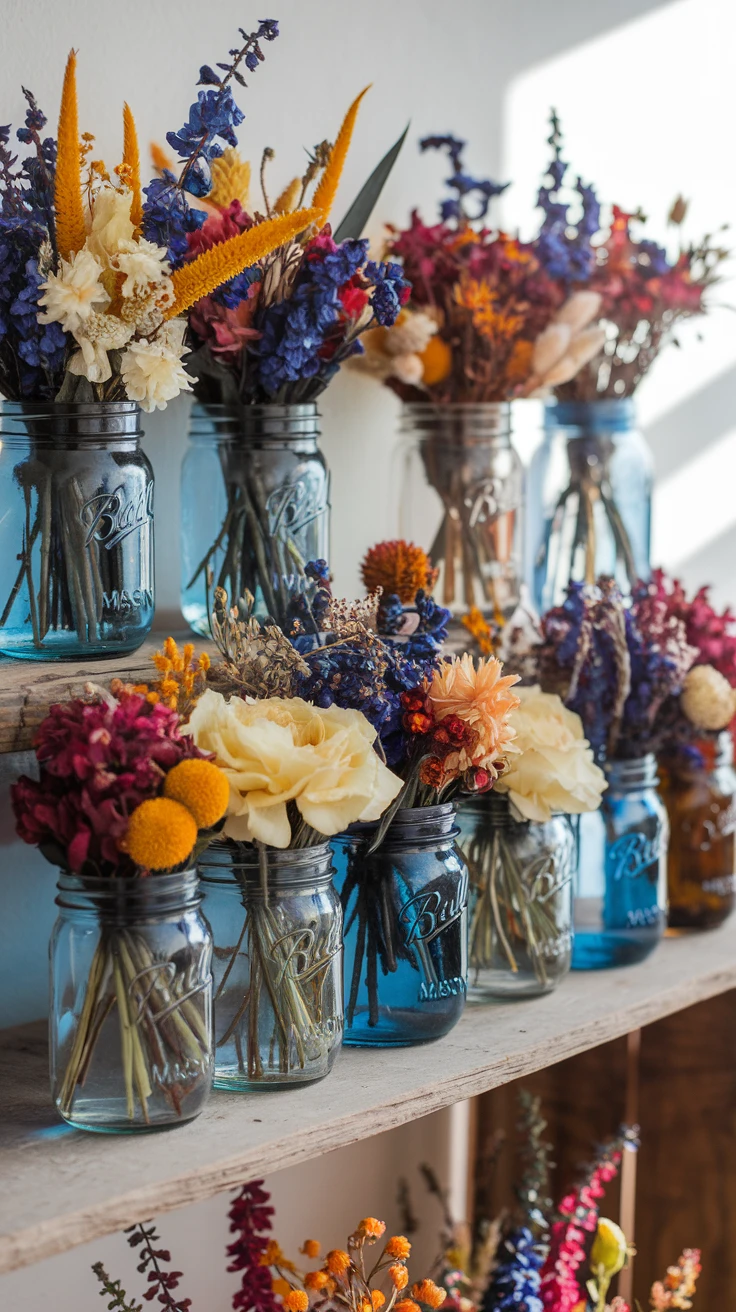
Dried flowers require much less maintenance than fresh flowers, but their placement can have a major effect on how they age.
- Keep arrangements away from direct sunlight to slow fading.
- Avoid damp or humid locations.
- Do not add water to the jar.
- Handle flowers by their stems whenever possible.
- Keep arrangements away from frequently opened windows where wind may damage delicate petals.
- Remove dust gently rather than wiping brittle flowers with a cloth.
A soft artist’s brush or makeup brush can be useful for carefully removing dust from sturdy dried flowers. Very delicate arrangements can also be cleaned with a gentle stream of cool air from a suitable distance.
Creative Ways to Display Dried Flower Mason Jars
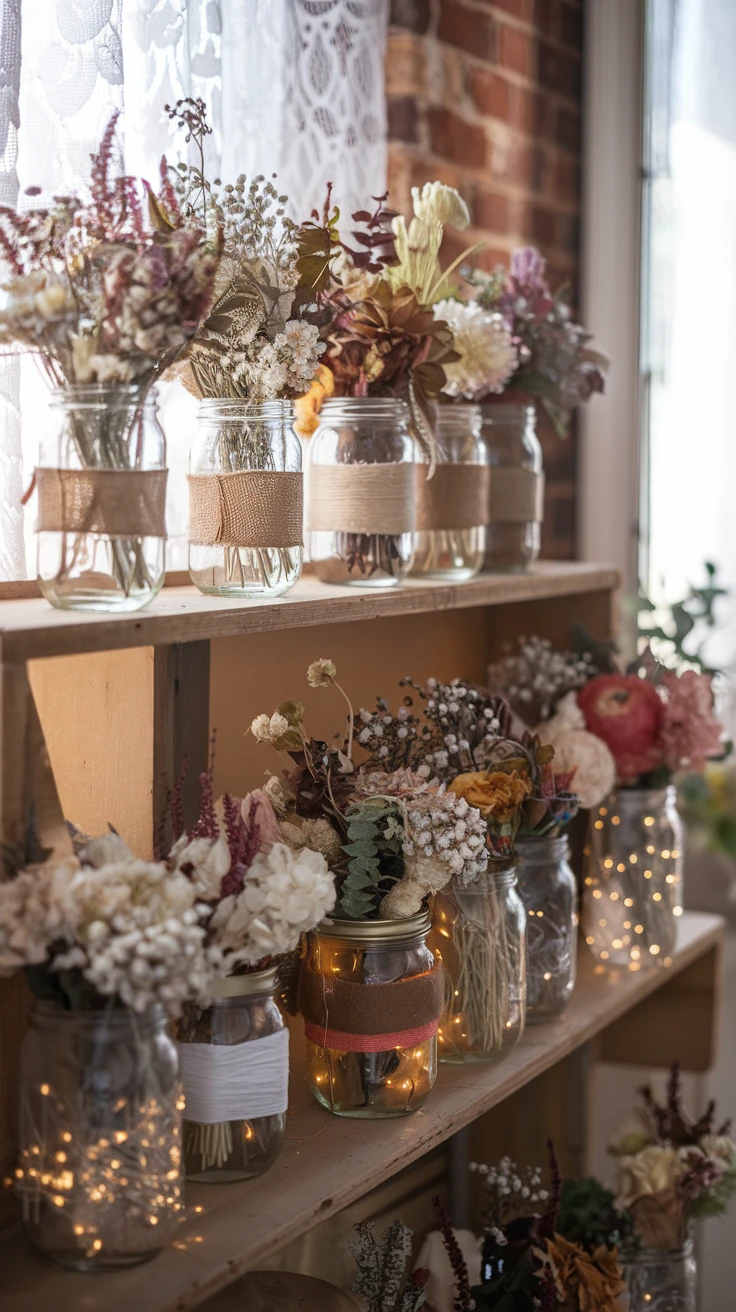
Once you’ve mastered the basic arrangement, the same technique can be adapted for different areas of the home and special occasions.
- Dining table: Create several low arrangements so guests can see across the table.
- Mantel: Mix jars of different heights with other seasonal decor.
- Entryway: Use a larger jar with taller grasses for extra impact.
- Bookshelf: Create a small arrangement that fits comfortably between books and decorative objects.
- Wedding tables: Repeat a simple arrangement across multiple jars for coordinated DIY centerpieces.
- Home office: Use a compact arrangement that adds texture without taking up much desk space.
Troubleshooting Common Problems
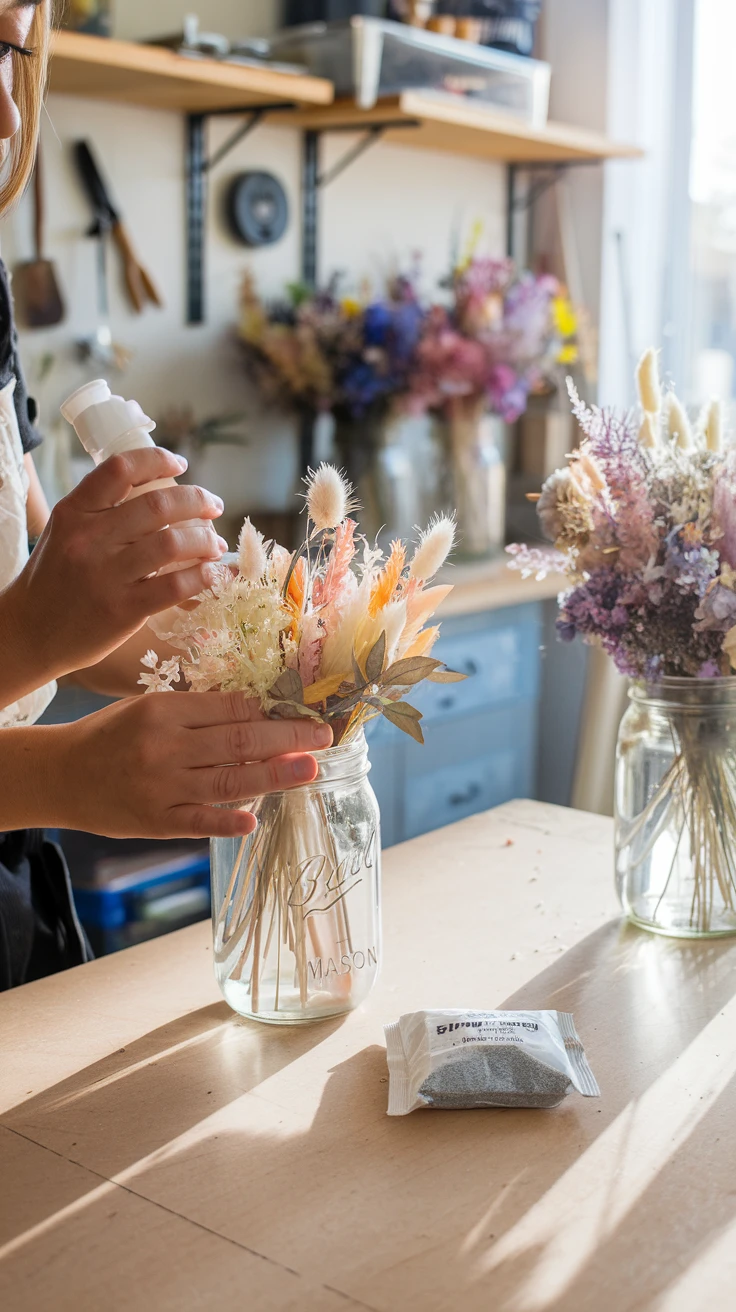
The Flowers Are Fading
Some fading is a normal part of dried flower aging. Moving the arrangement away from direct sunlight can help slow additional color loss.
The Arrangement Looks Too Crowded
Remove several filler stems and create small pockets of open space between focal flowers. Dried arrangements often look more natural when every gap is not completely filled.
The Arrangement Keeps Falling to One Side
Check whether one side contains substantially heavier flower heads. Redistribute the larger stems or use a flower frog to support their positions.
The Stems Keep Breaking
Dried stems become brittle, so avoid repeatedly bending them into position. Fragile stems can sometimes be supported with floral wire before they are placed in the jar.
The Flowers Smell Musty
A musty odor can indicate that botanical material retained moisture or has been exposed to excessive humidity. Inspect the arrangement carefully and discard material showing mold rather than placing affected stems back with clean dried flowers.
The Jar Has Moisture Inside
Remove the flowers immediately and allow the jar and botanical material to dry completely before reassembling the arrangement. Dried flower jars should not contain water.
Common Mistakes to Avoid
- Arranging flowers before they are completely dry.
- Placing dried flowers in water.
- Using an oversized jar for a small number of stems.
- Overfilling the arrangement until individual flowers disappear.
- Keeping the finished arrangement in strong direct sunlight.
- Putting dried flowers in persistently humid areas.
- Handling delicate petals every time the arrangement is adjusted.
Frequently Asked Questions
How long do dried flowers in mason jars last?
There is no exact lifespan because different flowers age differently and environmental conditions matter. Keeping dried flowers away from direct sunlight, moisture, and frequent handling generally helps them remain attractive longer.
What flowers are easiest to dry for beginners?
Lavender, statice, strawflower, globe amaranth, baby’s breath, and many ornamental grasses are practical choices for a first project because they can retain useful shape and texture after drying.
Do you put water in mason jars with dried flowers?
No. Dried flowers should be placed in a dry jar without water because adding moisture defeats the purpose of preservation and can encourage deterioration.
Can I use flowers from an old bouquet?
Yes, provided the flowers are still in suitable condition for drying. Begin preserving them before the petals become badly wilted, damaged, or moldy.
How do you keep dried flowers upright in a mason jar?
A regular-mouth jar naturally supports a small bundle of stems. For a wide-mouth jar or more precise arrangement, use a flower frog, grid insert, or hand-tie the bouquet before placing it inside.
Should dried flowers be sealed inside a mason jar?
For the open floral arrangement shown in this project, the jar is used as a vase and is not sealed with its standard lid. Keeping the flowers exposed also makes it easier to rearrange or replace individual stems.
How do you clean dusty dried flowers?
Use a very soft brush for sturdy blooms or carefully direct cool, gentle air toward the arrangement from a distance. Avoid rubbing dried petals because they can break easily.
Can I make these arrangements with store-bought dried flowers?
Yes. Starting with already-dried flowers skips the preservation stage entirely and is one of the easiest ways to complete the project in a single crafting session.
Final Thoughts
Creating dried flowers in mason jars does not require complicated equipment or advanced floral arranging skills. Start with a clean, completely dry jar and a handful of flowers that preserve well, then build the arrangement from the tallest structural stems to the focal flowers and smaller fillers.
The easiest designs are often the most effective. A few dried roses with eucalyptus, a jar filled with lavender, or a simple mixture of strawflowers and wheat can create a finished arrangement without requiring dozens of different materials.
Once you’ve made your first jar, experiment with different heights, flower combinations, vintage glass, ribbon, and seasonal accents. The same basic technique can be adapted into everyday home decor, handmade gifts, wedding centerpieces, or arrangements that preserve flowers with personal meaning.