Introduction
Floral design is both an art and a science, blending creativity with technical skill to create arrangements that captivate and inspire. As someone who’s spent over a decade creating floral designs for everything from intimate dinner parties to grand weddings, I’ve learned that mastering a few key principles can transform ordinary blooms into extraordinary displays. Whether you’re a budding enthusiast or looking to refine your existing skills, these floral design tips will help you create arrangements that look professionally crafted. In this guide, I’ll share ten essential techniques that have consistently helped me create stunning arrangements that leave lasting impressions.

Floral Design Fundamentals
Before diving into specific techniques, it’s crucial to understand the foundational principles that guide all successful floral design. These fundamentals serve as the backbone of any beautiful arrangement.
- Balance: Creating visual equilibrium in your arrangement is essential. Symmetrical balance uses identical elements on both sides, creating a formal look. Asymmetrical balance, which I personally prefer for most settings, uses different elements that have equal visual weight, resulting in a more dynamic and natural appearance.
- Proportion: The relationship between your flowers, container, and display location matters tremendously. I once created what I thought was a masterpiece, only to have it completely overwhelm a client’s coffee table! As a rule of thumb, arrangements should be about 1.5 to 2 times the height of your container.
- Rhythm: This refers to the movement your eye follows through an arrangement. Create rhythm by repeating colors, shapes, or textures throughout your design.
- Focal Point: Every arrangement needs a “star” – typically your largest or most dramatic flowers that immediately draw the eye.
Pro Tip: When I’m struggling with balance, I step back and photograph my arrangement. Looking at it through a camera lens often reveals imbalances I didn’t notice while working up close.
Picking Perfect Blooms

The foundation of any stunning arrangement begins at the flower selection stage. I’ve learned (sometimes the hard way) that not all beautiful flowers work well together or last equally long.
- Choose flowers with different textures and shapes to create visual interest. Combine round forms (like roses or ranunculus) with spiky blooms (like stock or snapdragons).
- Select flowers at various stages of opening. I include some fully open blooms for immediate impact and some buds that will open later, extending the arrangement’s beauty.
- Check stems carefully for firmness and leaves for freshness. Avoid flowers with browning petals or slimy stems.
- Consider fragrance combinations. Some flowers, like lilies, have strong scents that can overwhelm more delicate fragrances.
Pro Tip: When shopping for flowers, gently squeeze the base of rose blooms. If they’re firm, they’re fresh. If they feel soft, they’re likely past their prime and won’t last long in your arrangement.
Creating Color Harmony
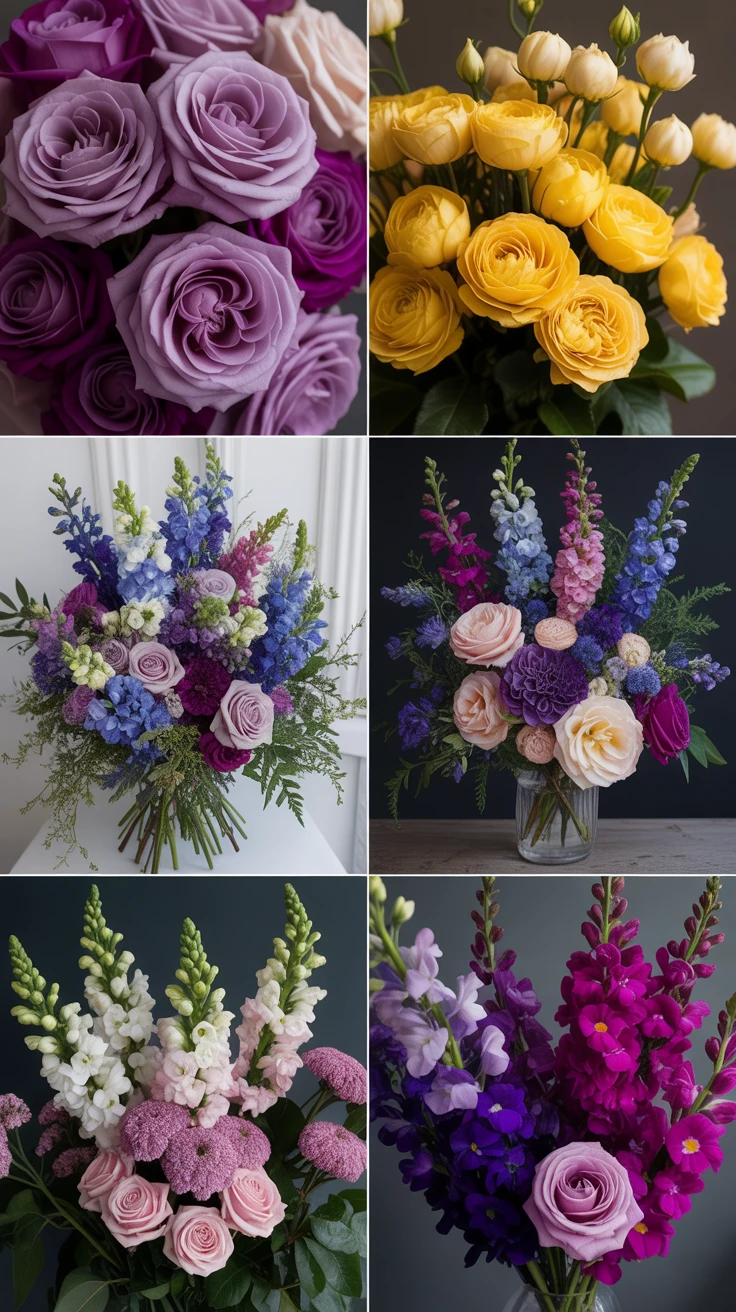
Color selection can make or break your floral design. Understanding color theory will help you create arrangements that evoke specific moods and complement their surroundings.
- Complementary colors: Colors opposite each other on the color wheel (like purple and yellow) create vibrant, high-contrast arrangements.
- Analogous colors: Colors adjacent on the color wheel (like blue, blue-purple, and purple) create harmonious, soothing arrangements.
- Monochromatic schemes: Using different shades of a single color creates sophisticated, elegant arrangements. I find these particularly striking for formal events.
- Neutral enhancers: White, cream, and green act as palate cleansers that make other colors pop.
I once created what I thought would be a stunning red and purple arrangement, only to discover the colors competed rather than complemented. Now I always test small color combinations before committing to a full design.
Styles and Arranging Techniques
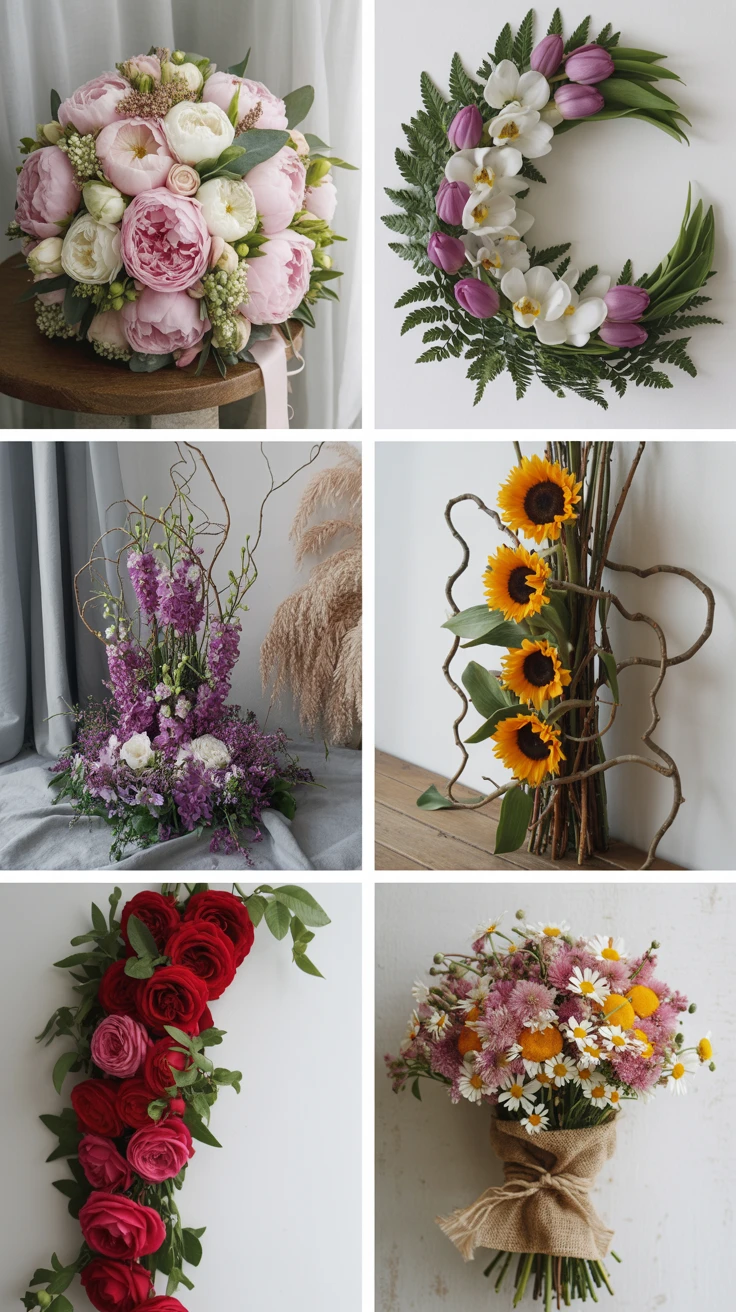
Different occasions and settings call for different arrangement styles. Mastering various techniques allows you to create designs appropriate for any situation.
- Round/domed arrangements: These symmetrical designs look polished from all angles, making them perfect for center tables.
- Crescent designs: These curved arrangements create a sense of movement and work beautifully on mantels or side tables.
- Vertical arrangements: Tall, upright designs make dramatic statements in entryways or on buffet tables.
- Cascading arrangements: These flowing designs create drama and work wonderfully for special events.
- Hand-tied bouquets: These natural-looking, spiral-stemmed arrangements have a gathered-from-the-garden feel.
Pro Tip: When creating a hand-tied bouquet, hold stems at a slight angle as you add each flower. This creates a natural spiral that makes the arrangement more stable and gives it that professional look.
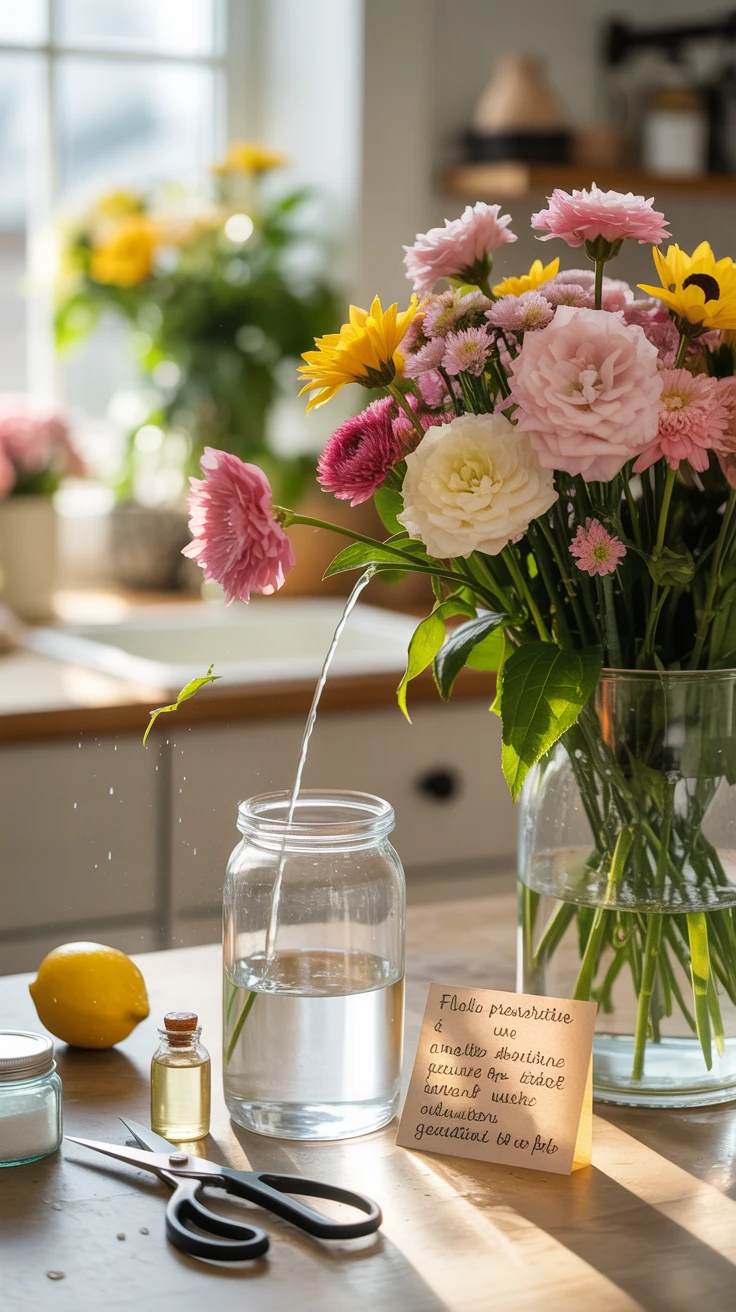
Keeping Flowers Fresh
All your creative efforts are wasted if your flowers wilt prematurely. These preservation techniques have helped me extend the life of my arrangements significantly.
- Always cut stems at a 45-degree angle under running water to prevent air bubbles from blocking water uptake.
- Remove all foliage that would sit below the waterline to prevent bacterial growth.
- Change water every 2-3 days, recutting stems each time.
- Keep arrangements away from direct sunlight, heating vents, and ripening fruit (which releases ethylene gas that speeds flower aging).
- Add floral preservative to the water, or make your own with 1 teaspoon sugar, 1 teaspoon bleach, and 2 teaspoons lemon juice per quart of water.
Pro Tip: For arrangements without floral foam, add a few drops of bleach to the water to inhibit bacterial growth. This simple step has doubled the lifespan of many of my arrangements.
Essential Tools for Floral Design

Having the right tools makes floral design easier and more enjoyable. These are the items I wouldn’t work without:
- Sharp floral shears: Regular scissors crush stems, reducing water uptake. Invest in quality floral shears for clean cuts.
- Floral knife: Perfect for delicate stems and precise cutting.
- Floral tape: Creates grids across vase openings to hold flowers in place.
- Floral foam: Provides structure and water for complex arrangements.
- Wire: Supports weak stems and helps position flowers precisely.
- Variety of containers: Different designs require different vessels.
I once attempted a complex arrangement without proper tools, using kitchen scissors and makeshift supports. The result was disappointing and didn’t last. Proper tools make a tremendous difference in both the process and the result.
Seasonal Design Insights
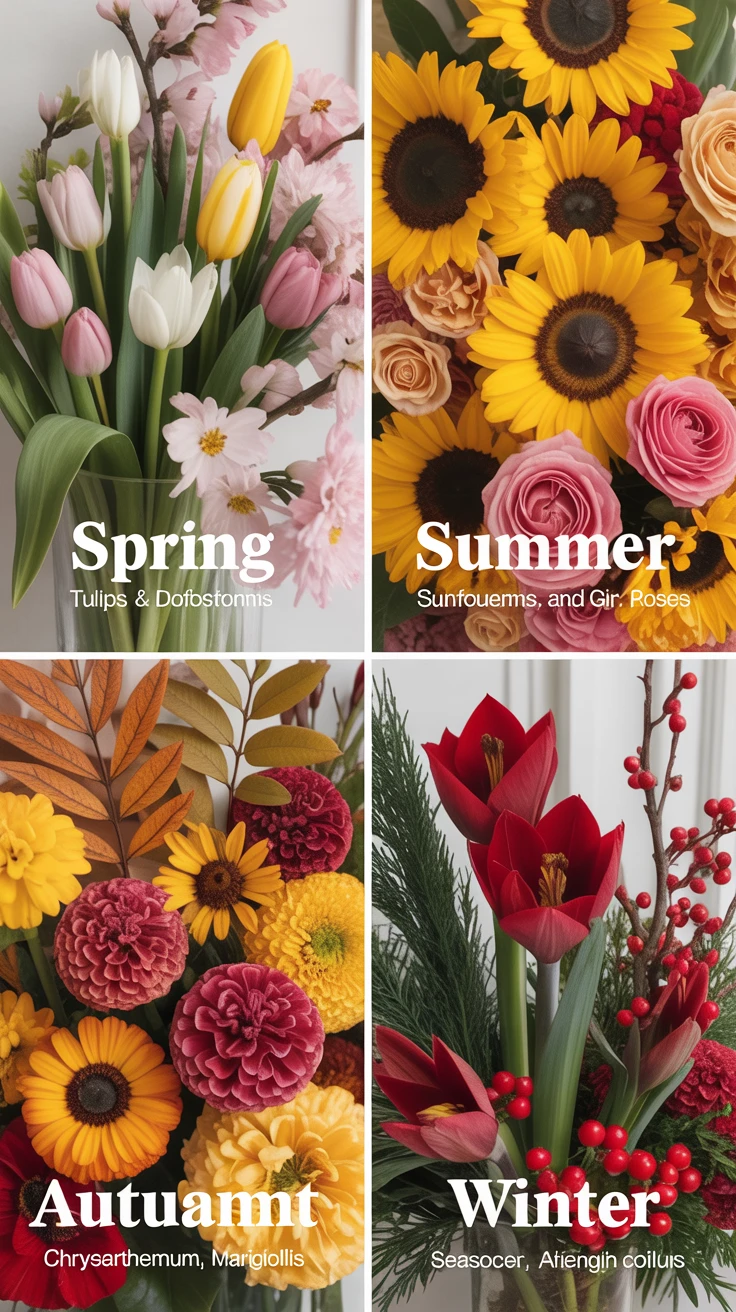
Working with seasonal flowers not only ensures fresher blooms at better prices but also creates arrangements that feel in harmony with the time of year.
- Spring: Embrace tulips, daffodils, hyacinths, and cherry blossoms for light, airy designs.
- Summer: Incorporate sunflowers, zinnias, dahlias, and garden roses for vibrant, abundant arrangements.
- Fall: Use chrysanthemums, marigolds, celosia, and branches with colorful leaves for warm, rich designs.
- Winter: Work with amaryllis, paperwhites, evergreens, and berries for festive, structured arrangements.
Pro Tip: Don’t limit yourself strictly to flowers of the current season. Adding one or two out-of-season blooms can make your arrangement uniquely memorable while still maintaining a seasonal feel.
Adding Foliage for Extra Dimension
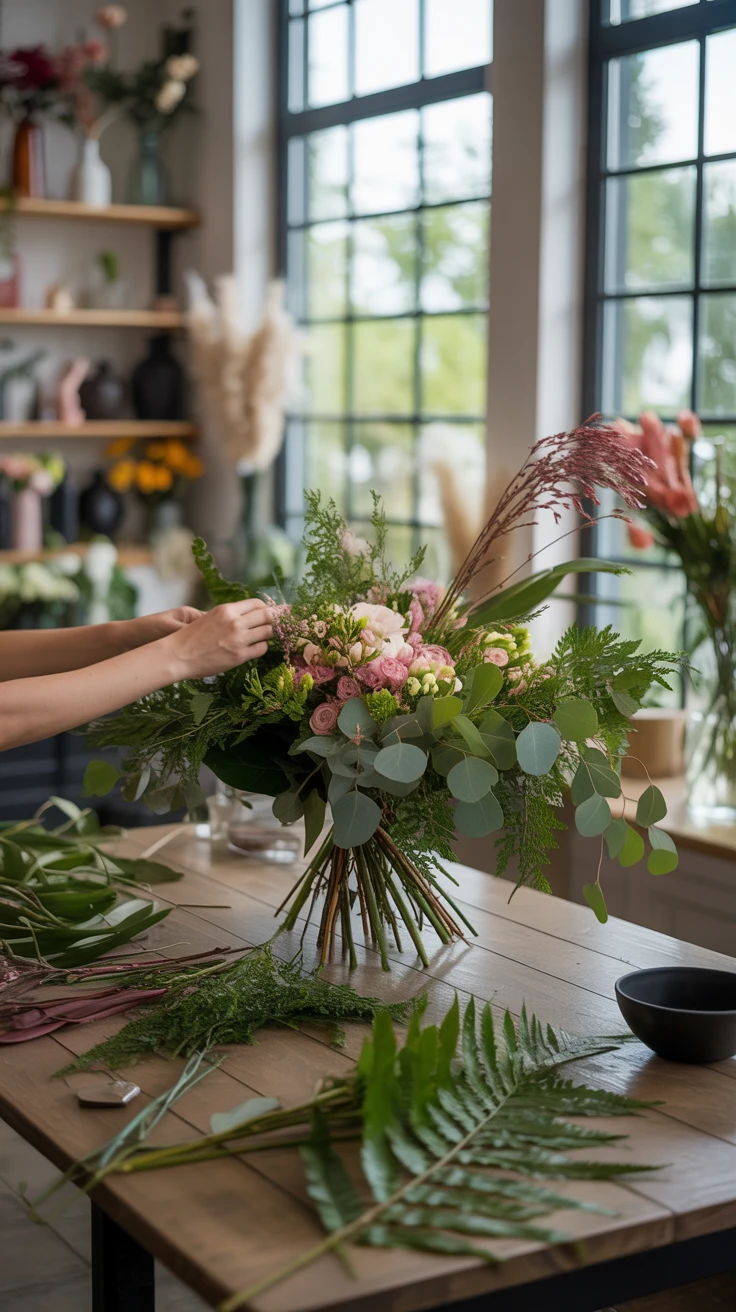
Foliage isn’t just filler—it’s a crucial design element that adds texture, structure, and often longevity to arrangements. I’ve found that the right greens can elevate even the simplest flower selection.
- Structural foliage: Leather leaf, salal, and eucalyptus provide the backbone for many arrangements.
- Textural elements: Ferns, dusty miller, and lamb’s ear add interesting surfaces and colors.
- Dramatic accents: Curly willow, bear grass, or lily grass create height and movement.
- Seasonal touches: Berried branches, pine boughs, or autumn leaves add seasonal character.
I typically establish a green framework first, creating the overall shape before adding a single flower. This approach has transformed my design process and results.
Presenting Like a Pro

The final touches can transform a good arrangement into a truly professional one. These presentation techniques make all the difference:
- Clean your container thoroughly—water spots or fingerprints detract from the overall impression.
- Hide mechanics like foam, tape, or chicken wire with strategic foliage placement.
- Consider the viewing angle—table centerpieces should look good from all sides, while mantel arrangements may only need to look good from the front.
- Add unexpected elements like fruits, vegetables, or unique branches for conversation-starting arrangements.
- For gift arrangements, wrap containers beautifully and include care instructions.
Pro Tip: Before delivering or displaying an arrangement, I always do a “spin test”—slowly rotating it to check for gaps, awkward stems, or imbalances that need fixing.
Solving Floral Design Challenges
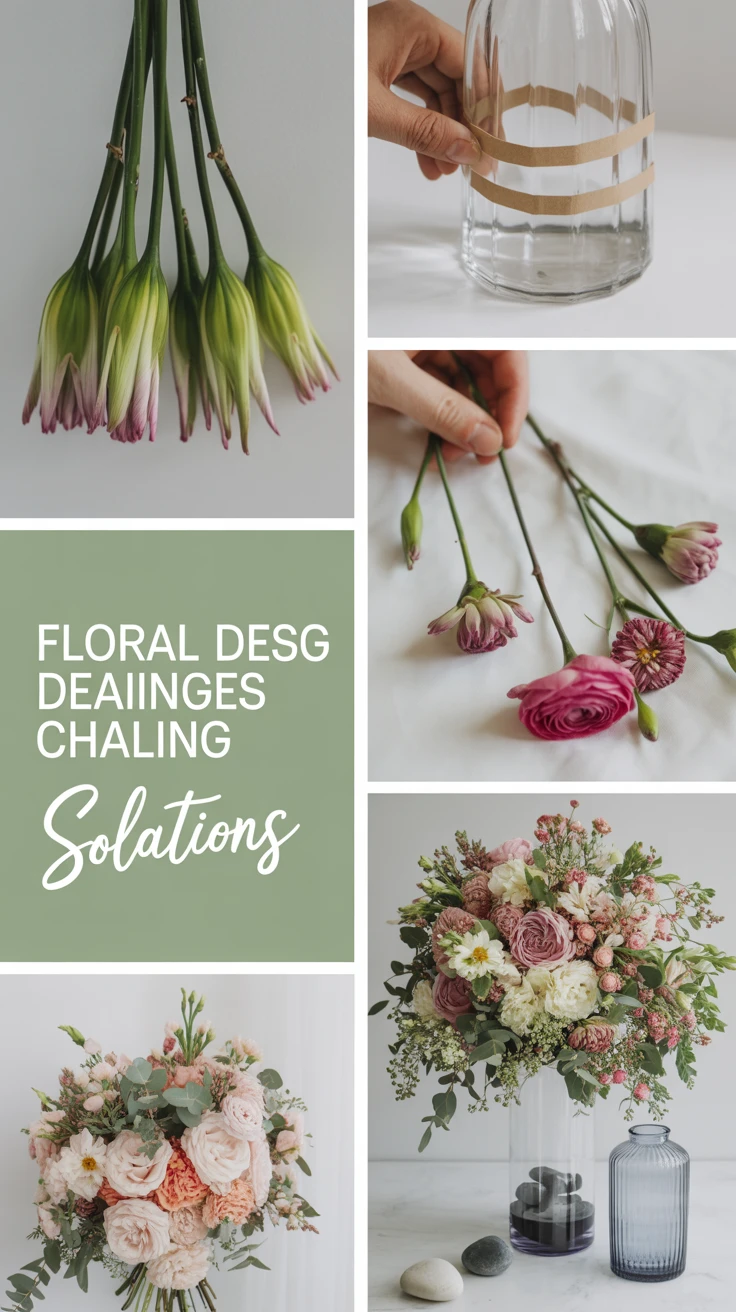
Even experienced designers encounter challenges. These troubleshooting techniques have saved many of my arrangements:
- Drooping flowers: Recut stems and place in warm water with preservative for 1-2 hours.
- Unstable arrangements: Create a grid with clear tape across the vase opening or use smaller containers inside larger ones for support.
- Wilting blooms: Remove them immediately to prevent ethylene gas from affecting other flowers.
- Top-heavy designs: Add weight to the bottom of containers with stones or marbles.
- Arrangements falling to one side: Rebalance by adding material to the lighter side or removing from the heavier side.
I once saved a wedding centerpiece that collapsed an hour before the reception by quickly transferring it to a smaller vase hidden inside the original container. No one noticed, and the bride was none the wiser!
Conclusion
Creating stunning floral arrangements is a skill that combines artistic vision with technical knowledge. By mastering these ten floral design tips, you’ll be well on your way to creating arrangements that delight and impress. Remember that practice is essential—I still learn something new with each arrangement I create. Don’t be afraid to experiment, make mistakes, and develop your unique style. The beauty of floral design is that it’s both an ancient art form and an evolving creative expression. Your next masterpiece is just a bloom away!
Frequently Asked Questions
- What are the best flowers for beginners to use in arrangements?
Carnations, chrysanthemums, alstroemeria, and roses are excellent choices for beginners as they’re relatively sturdy, affordable, and long-lasting. They’re also available year-round and come in many colors. - How can I make my floral arrangements last longer?
Change the water every 2-3 days, recut stems each time, keep arrangements away from direct sunlight and heat sources, remove any foliage below the waterline, and use flower preservative in the water. - What’s the biggest mistake beginners make in floral design?
Overcrowding arrangements is the most common mistake. It’s better to use fewer flowers with room to shine than to pack too many together. This not only looks more professional but also allows each bloom proper air circulation, extending the arrangement’s life. - How do I choose the right container for my arrangement?
Consider the setting, style, and size of your arrangement. The container should complement rather than compete with the flowers. For formal arrangements, choose classic vases; for casual designs, consider unique containers like teacups, mason jars, or repurposed items that suit the occasion’s theme. - Do I need to use floral foam for my arrangements?
No, floral foam isn’t necessary for all arrangements. While it provides stability for complex designs, many beautiful arrangements can be created using tape grids, chicken wire, or simply careful stem placement. Many designers are moving away from traditional floral foam due to environmental concerns.