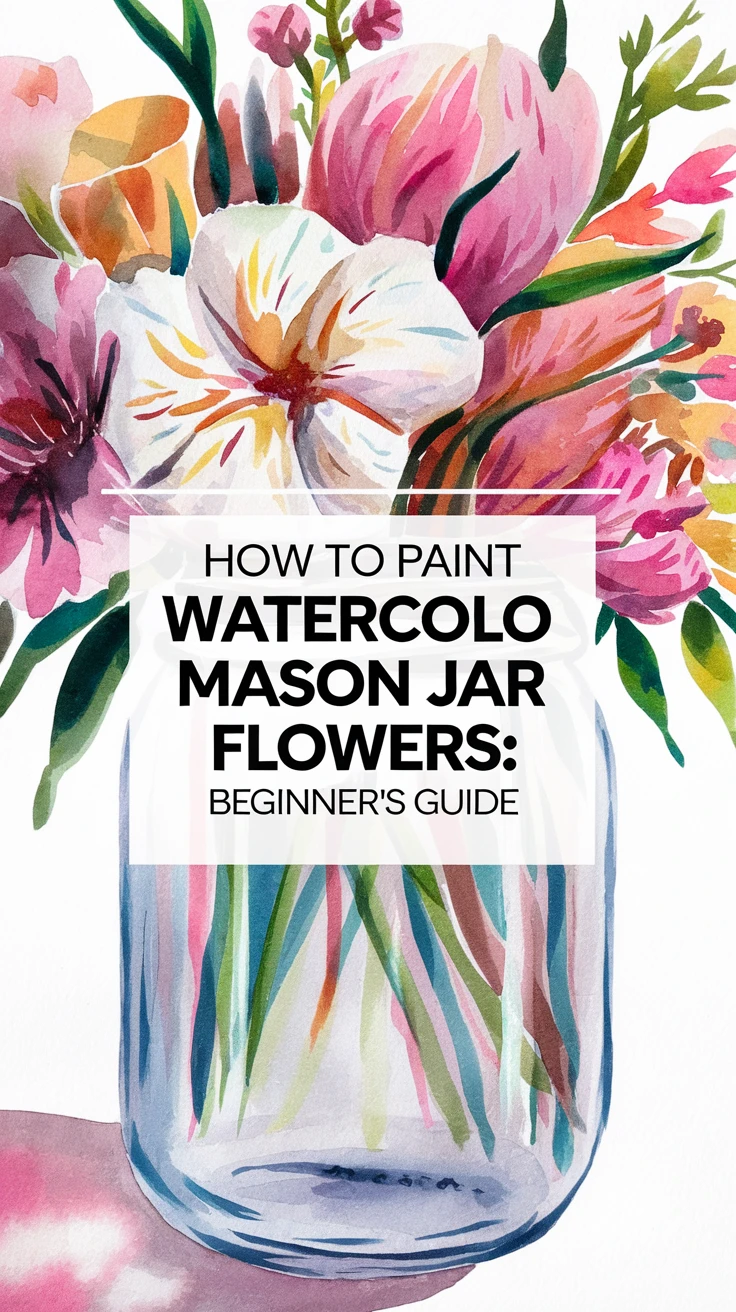
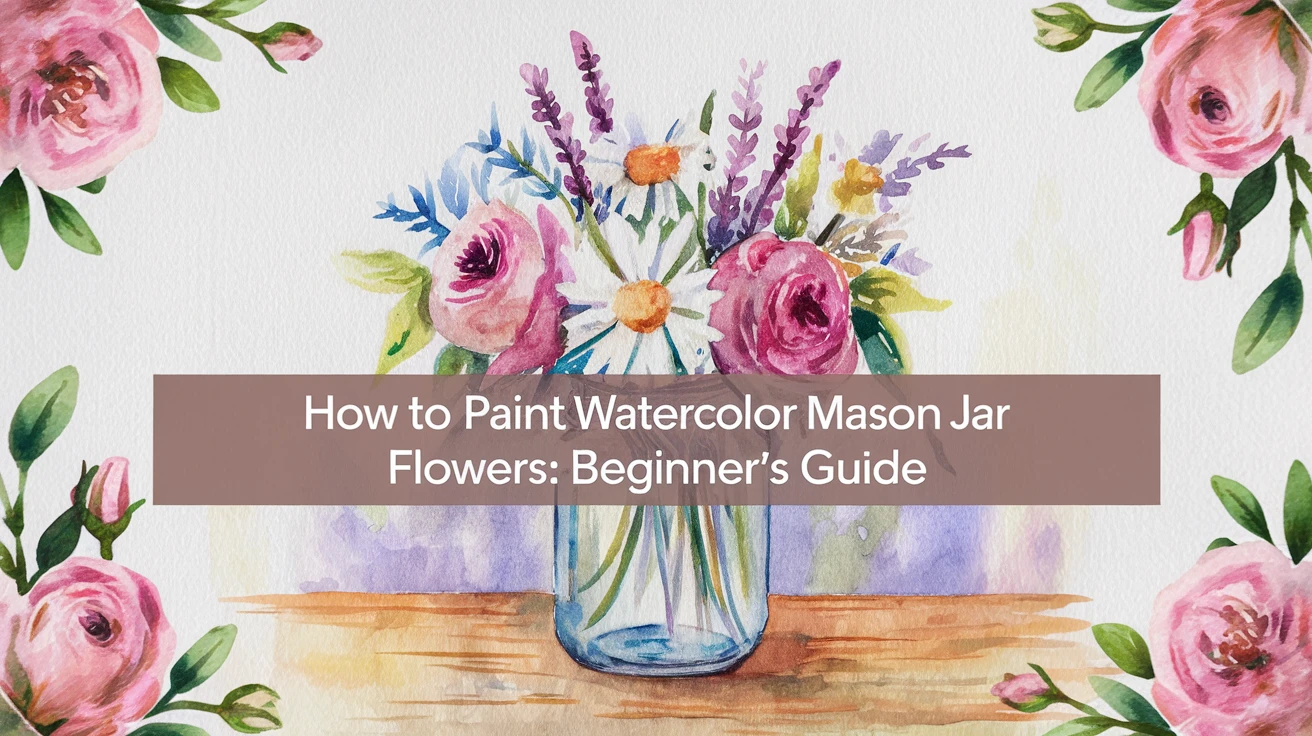
Watercolor mason jar flowers have become increasingly popular in recent years, combining rustic charm with delicate artistic expression. As someone who’s spent countless hours perfecting this technique, I can tell you that creating these beautiful pieces is both rewarding and therapeutic. Whether you’re looking to decorate your home, create beautiful cards, or simply explore a new artistic avenue, this comprehensive guide will walk you through everything you need to know about painting watercolor mason jar flowers. Let’s embark on this creative journey together!
Essential Materials for Your Watercolor Mason Jar Journey
Before we dive into the painting process, let’s ensure you have all the necessary supplies. Having the right materials can make a significant difference in your final result.
Basic Supplies Checklist
- Watercolor paper (140lb/300gsm cold-pressed recommended)
- Watercolor paints (student or artist grade)
- Round brushes (sizes 2, 6, and 10)
- Flat brush (½ inch)
- Pencil and eraser
- Clean water container
- Paper towels
- Palette or mixing tray
Paint Colors You’ll Need
| Essential Colors | Optional Colors | Purpose |
|---|---|---|
| Cobalt Blue | Indigo | Mason jar base |
| Cadmium Yellow | Yellow Ochre | Flower highlights |
| Permanent Rose | Quinacridone Magenta | Flower petals |
| Sap Green | Olive Green | Leaves and stems |
Step-by-Step Guide to Painting Perfect Mason Jar Flowers
1. Sketching Your Composition
Start with a light pencil sketch. Remember, less is more – you want just enough lines to guide you without restricting your watercolor flow. I learned this the hard way after spending hours erasing dark pencil marks that showed through my paint!
2. Painting the Mason Jar
| Layer | Technique | Drying Time |
|---|---|---|
| First Wash | Light blue, very wet | 5-10 minutes |
| Second Wash | Darker blue, less water | 3-5 minutes |
| Details | Concentrated color | 2-3 minutes |
3. Adding Flowers and Foliage
Begin with the largest blooms, working wet-on-wet for soft edges. Layer colors while previous washes are still damp for beautiful color bleeding effects. Add smaller flowers and buds once the main blooms are dry.
4. Final Details
- Add highlights using clean water to lift color
- Create texture in the jar using salt technique
- Define edges with darker values
- Add water drops or reflections
Master These Watercolor Techniques for Better Results
Essential Techniques
After teaching numerous workshops, I’ve found these techniques to be crucial for creating realistic mason jar flowers:
- Wet-on-wet: Perfect for soft, ethereal petals
- Wet-on-dry: Ideal for crisp details and edges
- Glazing: Creates depth and luminosity
- Negative painting: Defines flower shapes and jar details
- Color dropping: Creates natural color variations in petals
Creating Transparency Effects
The key to realistic mason jars lies in mastering transparency. I spent months perfecting this technique, and here’s what works best:
| Effect | Technique | Common Mistakes |
|---|---|---|
| Glass Reflections | Reserved whites + light washes | Too many harsh lines |
| Water Level | Subtle color change | Over-defining the line |
| Stem Distortion | Slight angle shift | Forgetting perspective |
Common Mistakes to Avoid (And How to Fix Them)
Typical Beginner Errors
- Using paper that’s too light (Fix: Use 140lb paper minimum)
- Overworking wet areas (Fix: Let layers dry completely)
- Making the jar too symmetrical (Fix: Embrace imperfection)
- Using paint that’s too thick (Fix: Practice proper paint-to-water ratios)
- Forgetting about light source (Fix: Plan highlights before starting)
Creating Depth and Dimension
One of my earliest mistakes was creating flat-looking paintings. Here’s how to add depth:
| Element | Technique | Result |
|---|---|---|
| Foreground flowers | Stronger colors, more detail | Appears closer |
| Background flowers | Lighter, less defined | Creates distance |
| Shadows | Soft edges, cool tones | Grounds the jar |
Conclusion
Creating watercolor mason jar flowers is a journey that combines technical skill with artistic expression. Remember that every artist’s style is unique, and what matters most is finding joy in the process. Start with these fundamentals, practice regularly, and don’t be afraid to experiment with your own creative variations. With time and patience, you’ll develop your signature style and create beautiful pieces that bring joy to both you and others.
Key Takeaways
- Quality materials, especially paper, make a significant difference in your results
- Master basic techniques before attempting complex compositions
- Patience is key – allow layers to dry properly between applications
- Understanding transparency and light is crucial for realistic mason jars
- Practice makes perfect – keep a sketchbook for regular exercises
Frequently Asked Questions
What type of paper is best for watercolor mason jar paintings?
Cold-pressed watercolor paper, 140lb (300gsm) or higher, is ideal. This paper weight prevents buckling and allows for proper water absorption and color lifting techniques.
How do I prevent my colors from becoming muddy?
Work with clean water, allow layers to dry completely, and limit yourself to 2-3 layers maximum. Clean your brush thoroughly between colors and avoid over-mixing on the paper.
What’s the best way to create realistic glass effects?
Focus on subtle value changes rather than hard lines. Reserve whites for highlights and use very light washes for reflections. Remember that less is often more when painting glass.
How long should I let each layer dry?
Generally, wait 5-10 minutes between layers, depending on your climate and paper type. The paper should feel completely cool to the touch before adding another layer.
Can I use masking fluid for highlights?
Yes, masking fluid works well for preserving highlights, especially on the jar’s rim and water reflections. Just ensure your paper is completely dry before applying it.
What brushes are essential for this project?
At minimum, you need a medium round brush (#6-8) for general work, a small round (#2-4) for details, and a larger flat brush (½ inch) for washes.
How do I fix mistakes in watercolor?
You can lift color while it’s wet using a clean, damp brush or paper towel. For dry mistakes, carefully wet the area and lift color, or use light sandpaper for small areas.
What’s the best way to practice this technique?
Start with simple compositions of 2-3 flowers, focusing on basic shapes and techniques. Gradually increase complexity as you become more comfortable.
How do I achieve varied flower shapes?
Study real flowers and practice different brush strokes. Try holding your brush at various angles and applying different pressures to create diverse petal shapes.
Can I mix different flower types in one composition?
Absolutely! Just ensure your flowers complement each other in size and style. Consider seasonal combinations for more realistic arrangements.
