Introduction
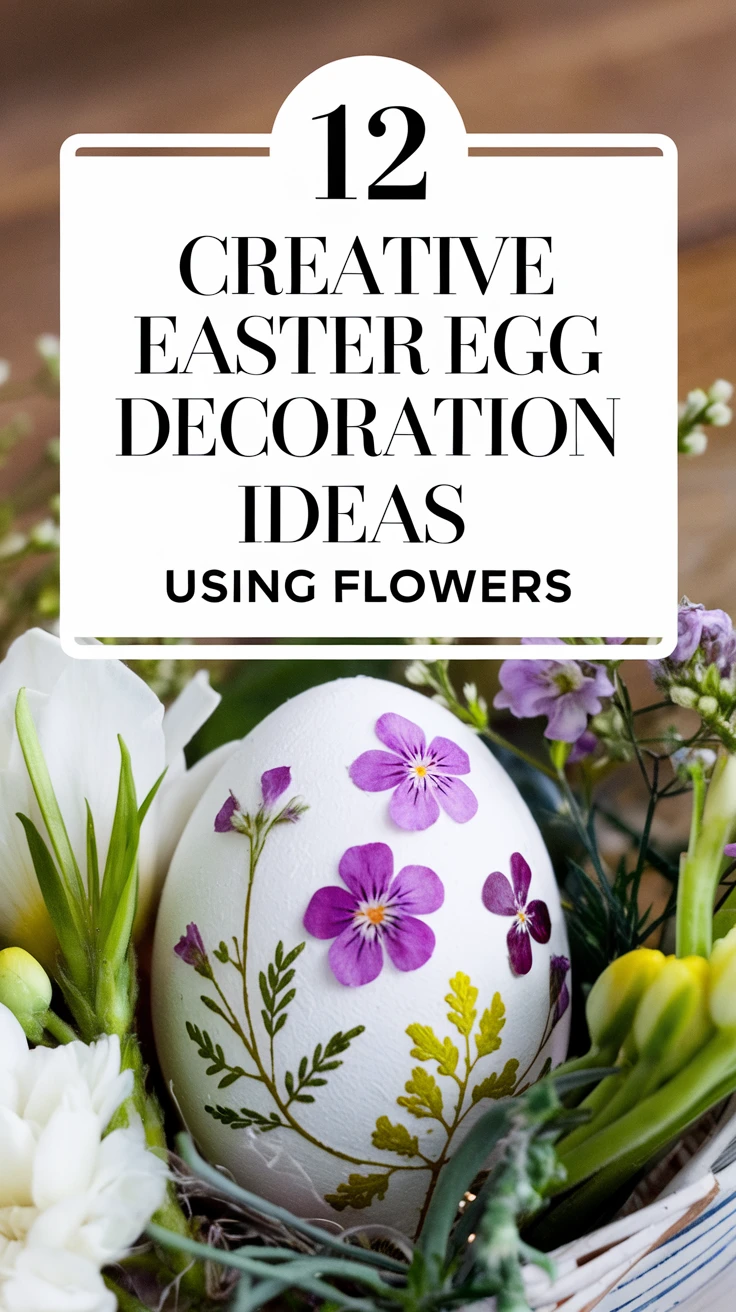
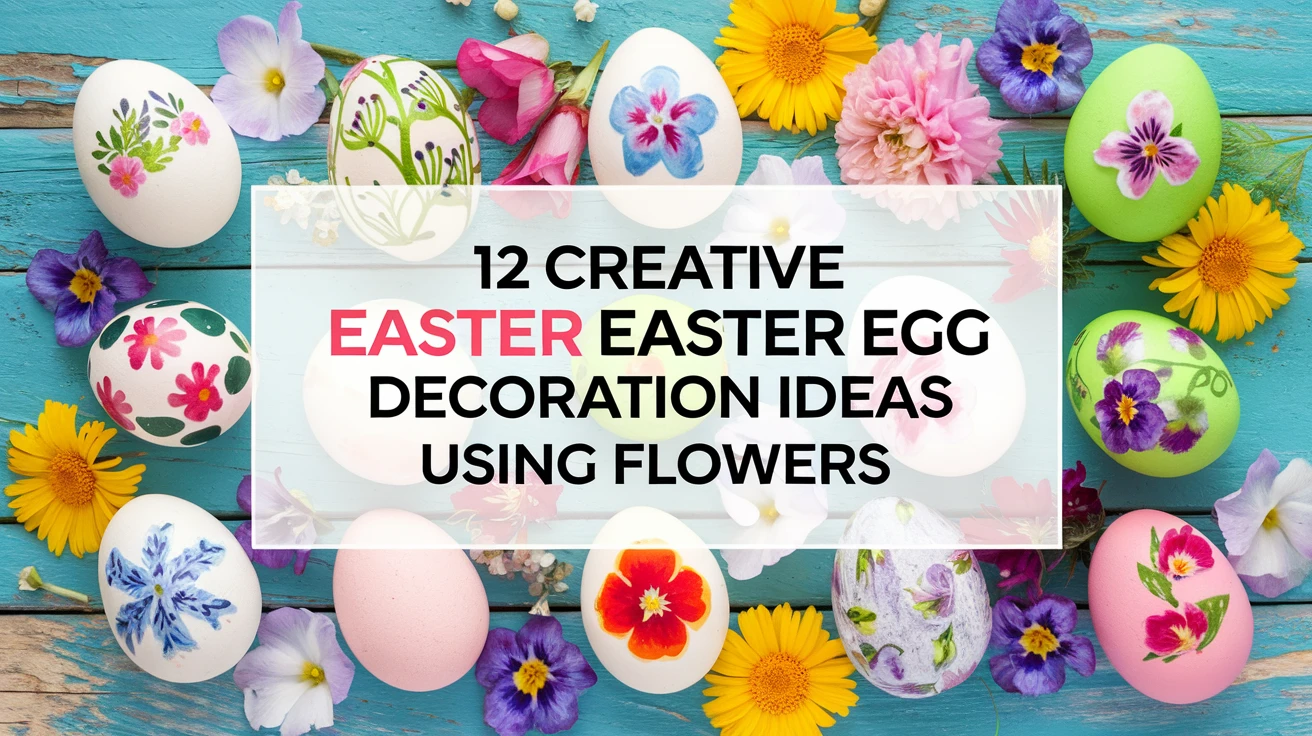
There’s something magical about combining the beauty of spring flowers with the tradition of Easter egg decorating. As nature bursts into bloom, bringing those floral elements into your Easter celebrations creates a fresh, seasonal connection that elevates ordinary eggs into miniature works of art. I’ve always loved how Easter eggs with flowers capture the essence of spring renewal in such a delicate way. Whether you’re planning an elaborate Easter brunch centerpiece or just want to create something special with the kids, these 12 flower-inspired egg decorating ideas will breathe new life into your holiday traditions. Ready to get your hands a little dirty (and possibly a bit sticky)? Let’s dive into these blooming beautiful ideas!

1. Pressed Flower Decoupage Eggs
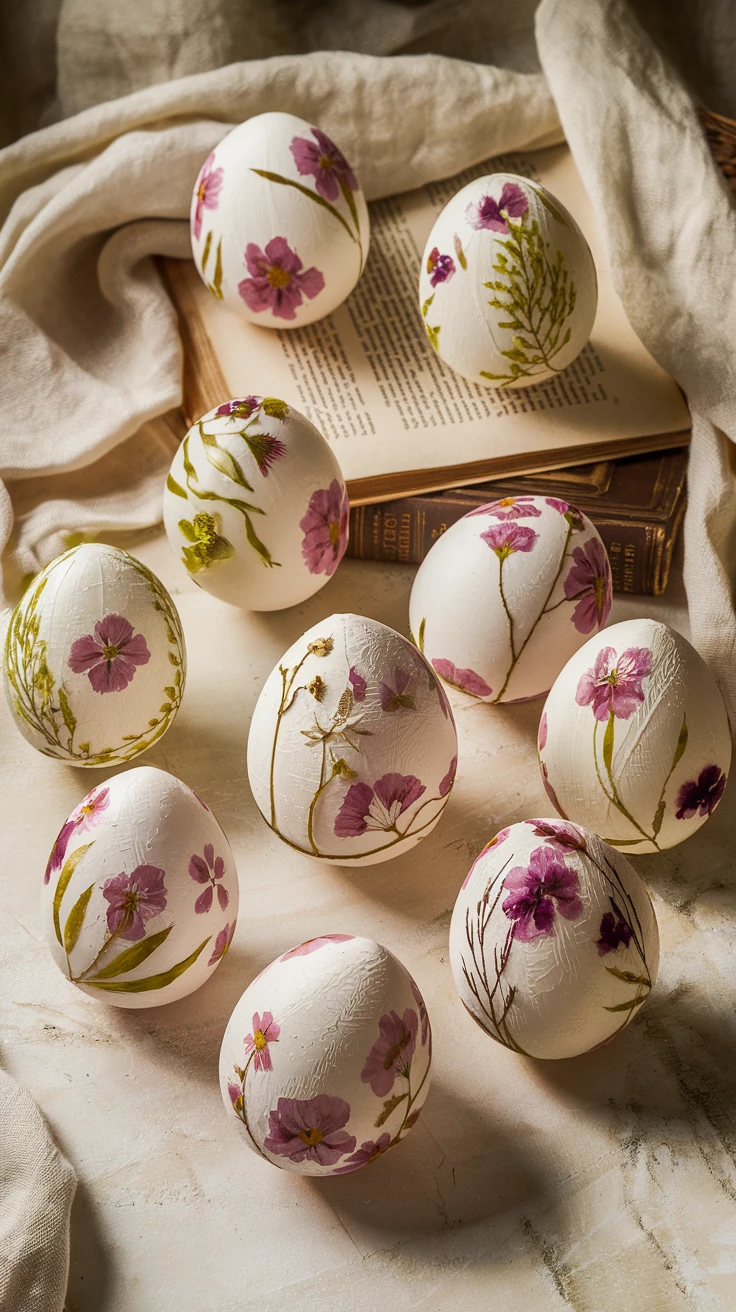
Remember pressing flowers between the pages of heavy books as a child? That nostalgic craft gets a sophisticated upgrade when those delicate pressed blooms meet Easter eggs. This technique creates ethereal, almost vintage-looking decorations that preserve spring’s beauty.
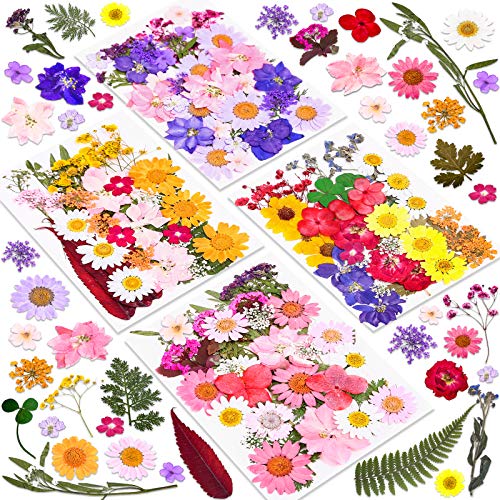
- Works beautifully with small, flat flowers like violets, pansies, and forget-me-nots
- Creates a timeless, botanical illustration effect
- Can be preserved for years as keepsakes
To create these, you’ll need pressed flowers (prepare these 1-2 weeks ahead), decoupage medium like Mod Podge, a small brush, and blown-out or hard-boiled eggs. Simply arrange your pressed flowers on the egg surface, then carefully brush over with a thin layer of decoupage medium. Add 2-3 more layers, allowing drying time between each.
View on AmazonAs an Amazon Associate, I earn from qualifying purchases.

View on AmazonAs an Amazon Associate, I earn from qualifying purchases.
Pro Tip: Use tweezers to position the delicate flowers precisely where you want them. For extra longevity, finish with a clear sealer spray.
2. Floral Wax-Dipped Eggs

There’s something undeniably elegant about the look of wax-dipped Easter eggs with flowers suspended inside. This method creates a translucent, almost snow-globe effect that showcases tiny blooms in a magical way.
- Creates a stunning translucent effect that highlights flower details
- Offers a longer-lasting alternative to fresh flower decorations
- Makes for sophisticated Easter decor that adults will appreciate
For this technique, you’ll need blown-out eggs, small dried flowers, beeswax pellets, and a double-boiler setup. Secure your tiny flowers to the egg with a dot of craft glue, then carefully dip the egg into melted wax (around 160°F). The trick is keeping the wax warm enough to stay liquid but not so hot it discolors.

View on AmazonAs an Amazon Associate, I earn from qualifying purchases.

View on AmazonAs an Amazon Associate, I earn from qualifying purchases.
Pro Tip: Add a drop of essential oil to the melted wax for eggs that not only look beautiful but give off a subtle spring fragrance throughout your home.
3. Botanical Silhouette Eggs
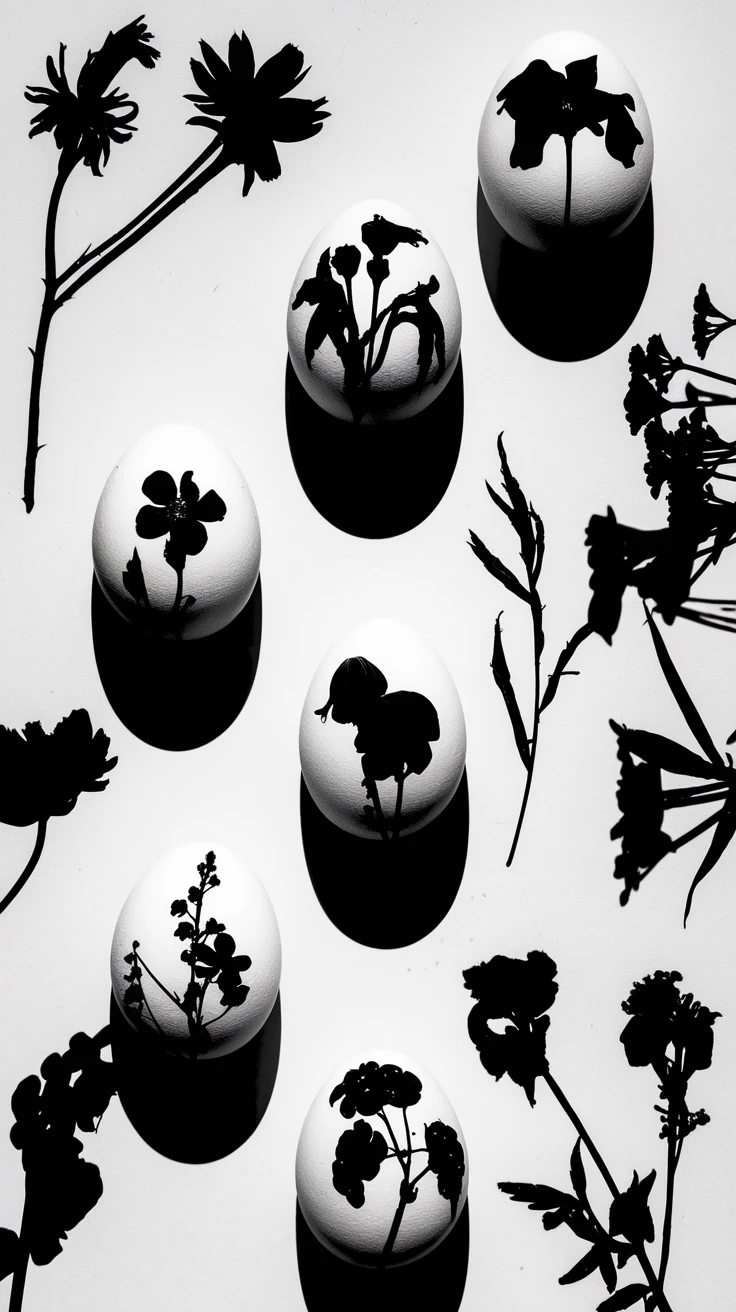
This technique creates dramatic, high-contrast designs using the shadows of flowers rather than the blooms themselves. The result? Sophisticated eggs with professional-looking designs that are surprisingly simple to create.
- Works with any egg-dyeing method, from natural dyes to commercial kits
- Creates graphic, modern designs even from intricate flowers
- Offers endless variation based on the flowers you choose
To make these stunning eggs, place small flowers or leaves against your egg, then wrap tightly with pantyhose or cheesecloth. Secure with string or rubber bands, then submerge in your dye of choice. Once colored and dry, remove the bindings and flowers to reveal the silhouettes.

View on AmazonAs an Amazon Associate, I earn from qualifying purchases.

View on AmazonAs an Amazon Associate, I earn from qualifying purchases.
Pro Tip: Ferns, Queen Anne’s lace, and herb leaves like parsley create particularly detailed silhouettes with intricate patterns.
4. Flower Crown Mini Eggs
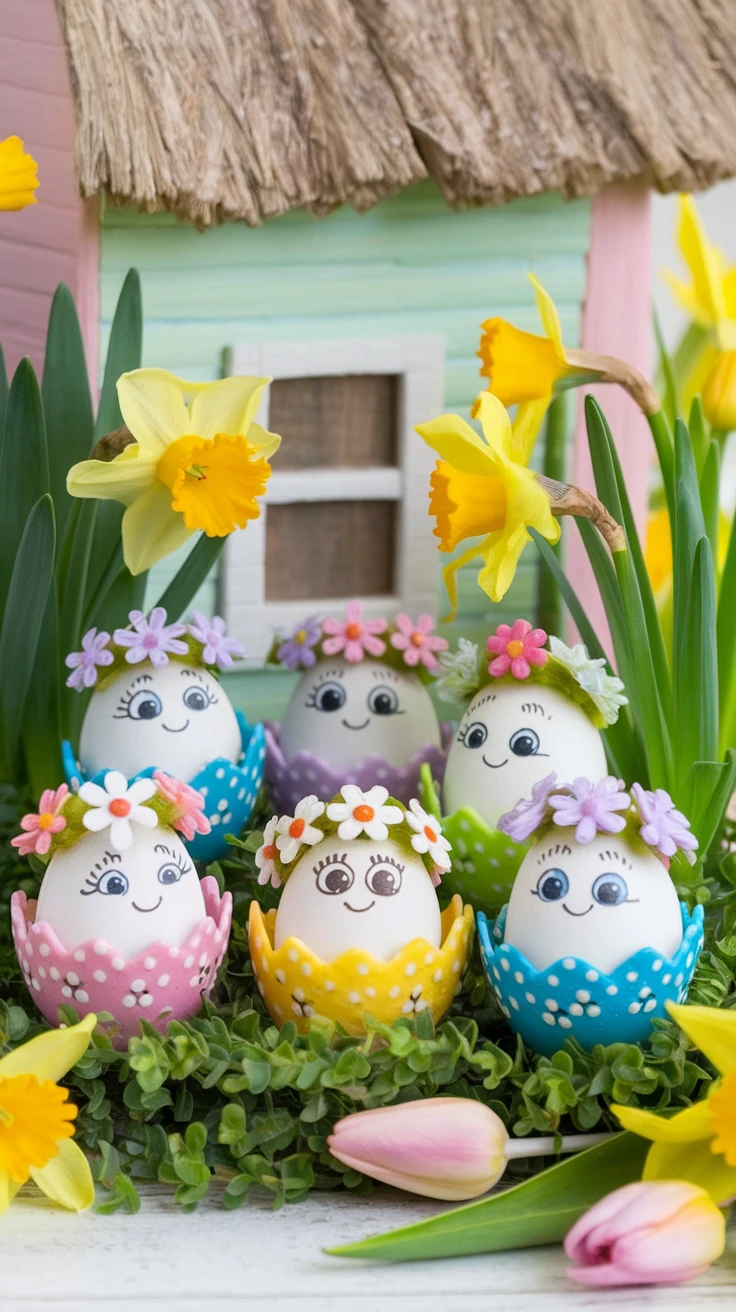
Who says flower crowns are just for people? These adorable miniature wreaths transform ordinary eggs into whimsical characters that bring instant charm to any Easter display.
- Perfect for involving children in Easter decorating
- Creates personalized “egg characters” with distinct personalities
- Combines well with simple egg faces drawn with fine markers
To create these charming crowned eggs, gather tiny blooms like baby’s breath, small daisies, or forget-me-nots. Form miniature wreaths by twisting floral wire into circles sized for your eggs, then wrap with floral tape. Attach your tiny flowers with more floral tape or hot glue, then perch atop hard-boiled or blown eggs.

View on AmazonAs an Amazon Associate, I earn from qualifying purchases.

View on AmazonAs an Amazon Associate, I earn from qualifying purchases.
Pro Tip: Create little egg stands from bottle caps covered in moss or felt to keep your crowned eggs upright in your display.
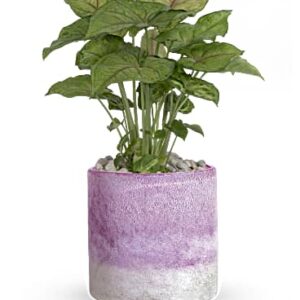
5. Blooming Egg Planters
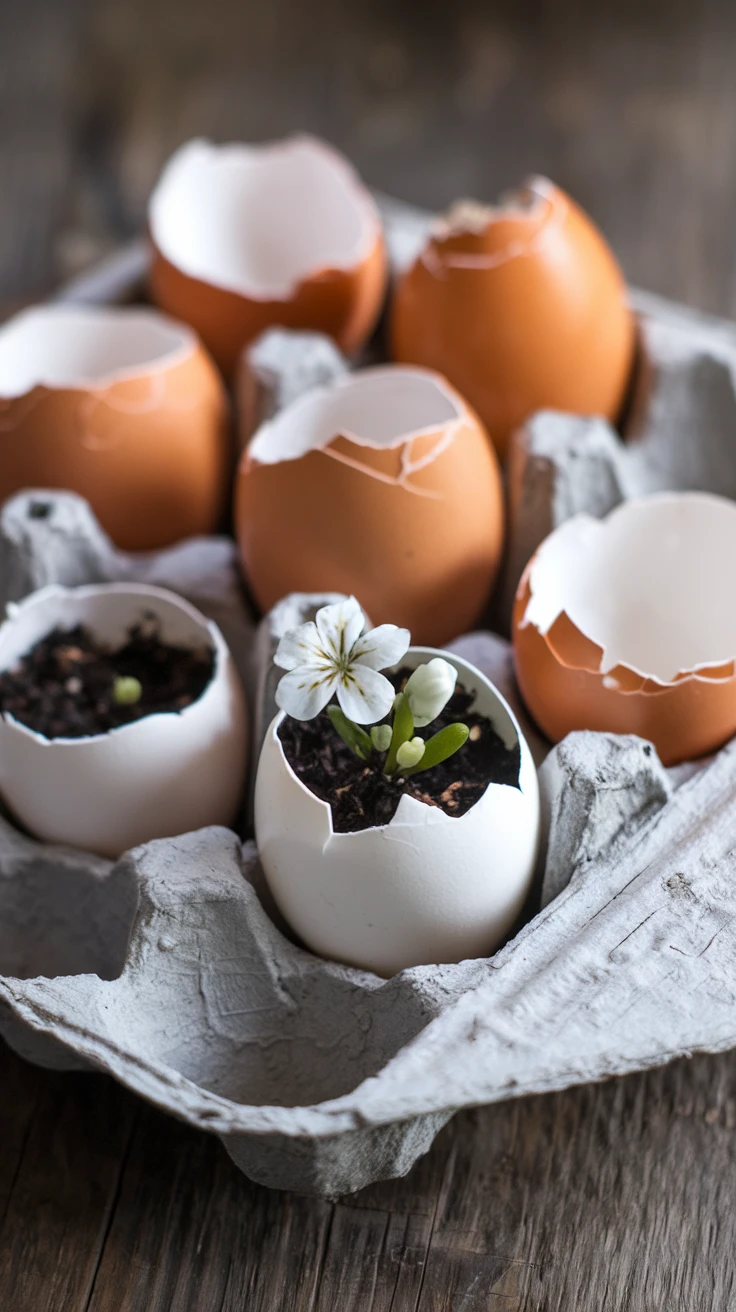
Why not combine Easter eggs with flowers in the most literal way? These living decorations use eggshells as tiny planters for spring seedlings or small blooms, creating decorations that continue growing throughout the season.
- Creates a sustainable decoration that transforms into garden plants
- Offers an educational opportunity about plant growth for children
- Eggshells provide nutrients to the plants as they decompose
To create these, carefully crack the top third of an egg and empty the contents (save for baking!). Rinse the shells and fill with a small amount of potting soil. Plant small seeds like grass, herbs, or flower seeds that germinate quickly. Water gently and place in egg cups or a carton until sprouted.
Pro Tip: When your sprouts outgrow their shells, crack the bottom slightly and plant the entire shell in your garden – the shell will provide calcium to the soil as it breaks down.
6. Floral Pattern Hand-Painted Eggs
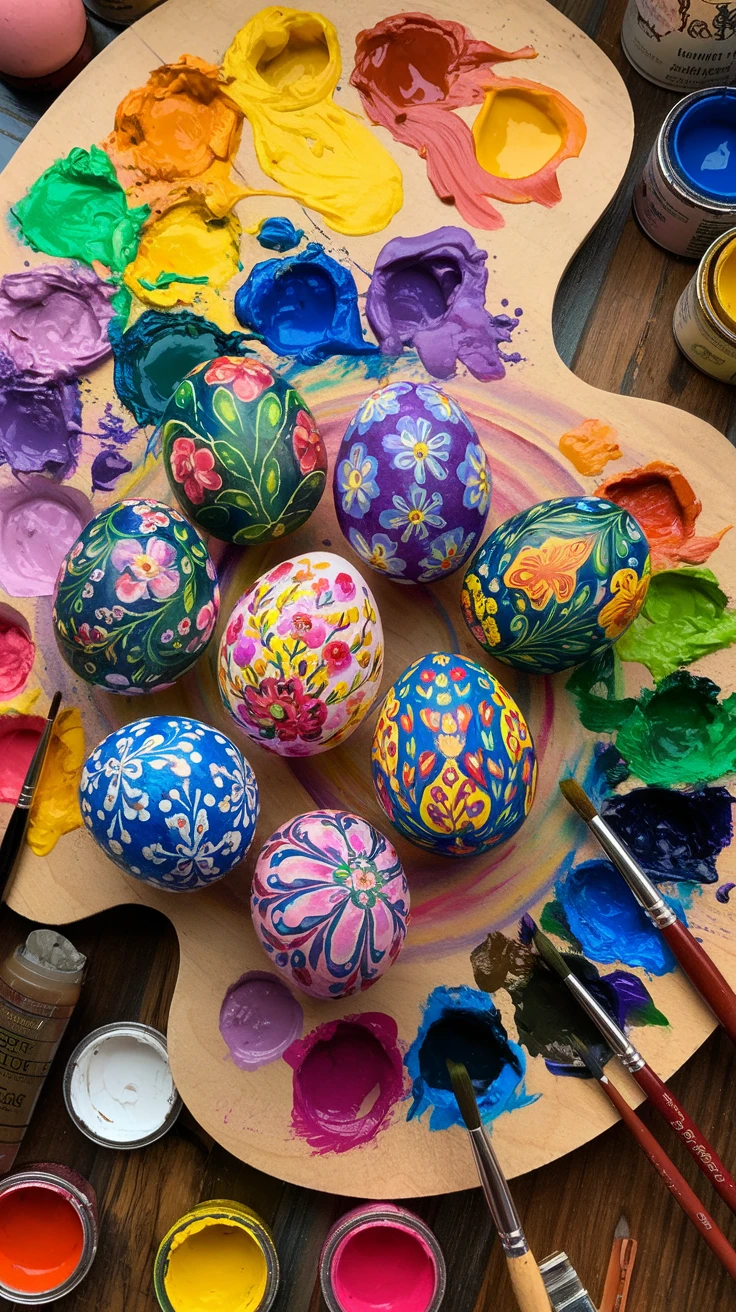
Channel your inner artist with hand-painted floral designs that transform eggs into miniature canvases. Don’t worry if you’re not a professional painter – simple techniques can create stunning results.
- Allows for personalized designs and color schemes
- Can range from simple dot flowers to elaborate botanical illustrations
- Creates heirloom-quality decorations with practice
Start with white or lightly colored hard-boiled eggs as your canvas. Use acrylic craft paints and fine brushes to create your floral designs. For beginners, try simple techniques like using the end of a paintbrush to create perfect dots for flower centers, then adding petals with small brush strokes. Build complexity by adding leaves, stems, and details.

View on AmazonAs an Amazon Associate, I earn from qualifying purchases.

View on AmazonAs an Amazon Associate, I earn from qualifying purchases.
Pro Tip: Create a “sampler” egg with different flower designs around the surface – it’s perfect practice and creates an interesting visual collection on one egg.
7. Dried Flower Confetti Eggs
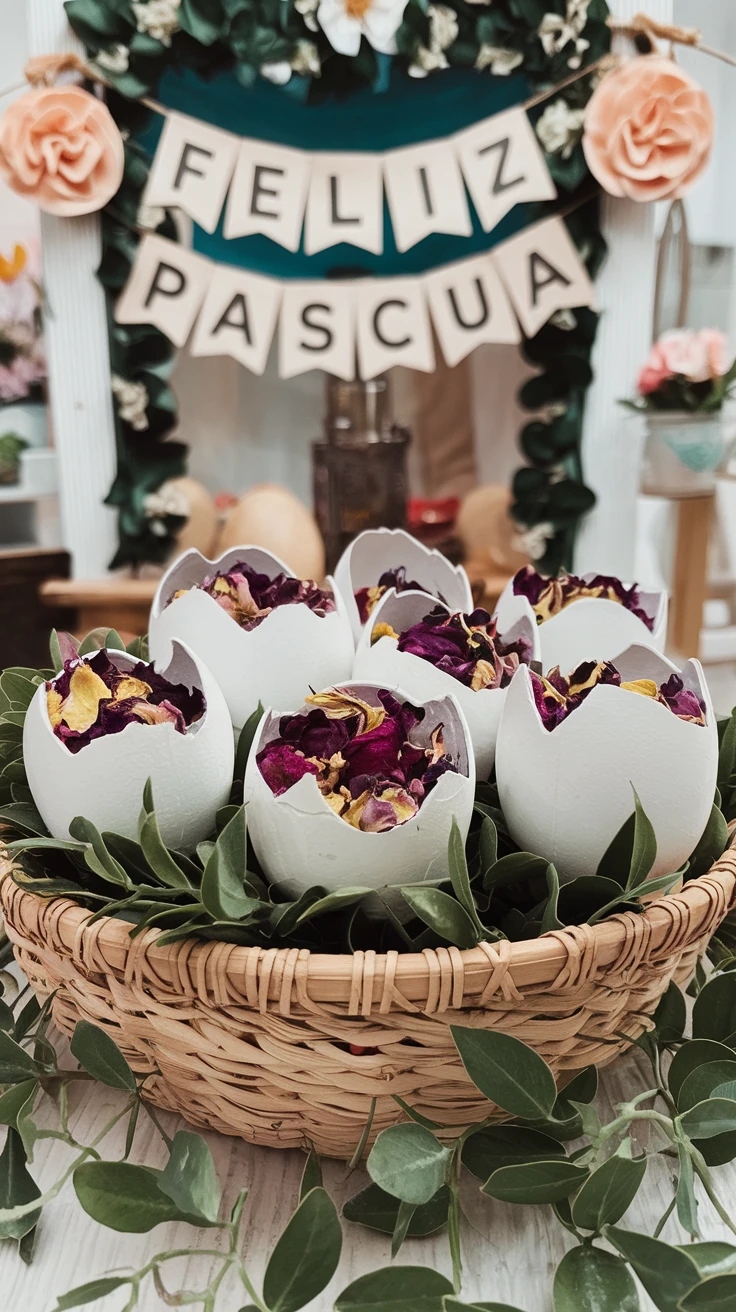
These cheerful eggs combine the Mexican tradition of cascarones (confetti eggs) with a floral twist. Instead of paper confetti, these eggs contain dried flower petals that create a beautiful scatter when cracked open.
- Creates an interactive element for Easter egg hunts
- Offers an eco-friendly alternative to plastic confetti
- Makes a memorable activity for Easter celebrations
To make these, carefully tap the top of an egg to create a small opening. Empty the contents, rinse, and allow to dry completely. Fill about halfway with dried flower petals (roses, lavender, calendula, and cornflowers work beautifully). Cover the opening with colorful tissue paper secured with craft glue. Decorate the outside with paint or dye if desired.
Pro Tip: For outdoor use, these eggs can be gently cracked over people’s heads as a blessing (following the Mexican tradition) or opened to scatter petals across tables as natural decoration.
8. Flower-Shaped Egg Stamps
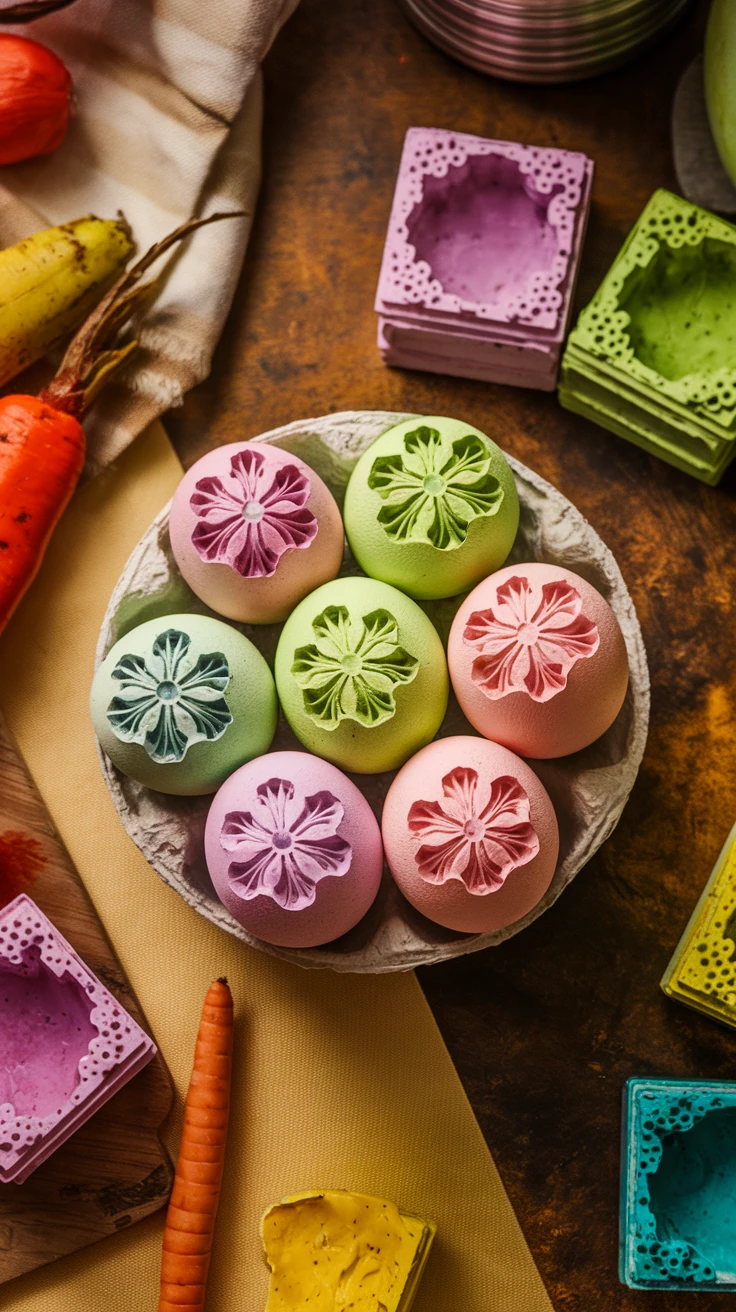
Don’t have fresh flowers on hand? No problem! Create beautiful Easter eggs with flowers using simple vegetable stamps that mimic floral shapes. This technique is especially great for crafting with young children.
- Accessible technique requiring minimal materials
- Perfect for all-ages crafting sessions
- Creates consistently beautiful results even with limited artistic skills
To make flower stamps, cut vegetables like celery stalks (which naturally form flower shapes when cut crosswise), carrots, or potatoes into simple flower shapes. Dip these vegetable stamps into craft paint or food-safe dye, then press onto hard-boiled eggs to create flower patterns. Layer different colors and stamp sizes for complex designs.
Pro Tip: Cut bell peppers crosswise for a beautiful natural flower stamp that requires no carving – the inner structure creates perfect floral patterns.
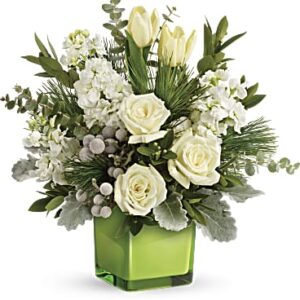
9. Egg Shell Flower Vases

These tiny vases might be the most charming way to display spring’s smallest blooms. By transforming eggshells into miniature vessels, you create delicate bud vases perfect for tiny flowers or single blooms.
- Creates a stunning miniature display for tiny spring flowers
- Offers a way to showcase small blooms that might get lost in larger arrangements
- Makes perfect place settings for Easter brunch
Carefully crack the top third of an egg and empty the contents. Rinse thoroughly and allow to dry. You can leave the shells natural or dye them in spring colors. Fill each shell about halfway with water and place tiny blooms like lily of the valley, violets, or small sprigs of forget-me-nots inside. Display in egg cups or a carton lined with moss.
Pro Tip: For longer-lasting arrangements, place a small piece of floral foam soaked in water inside the shell instead of just water.
10. Flower-Dyed Natural Eggs
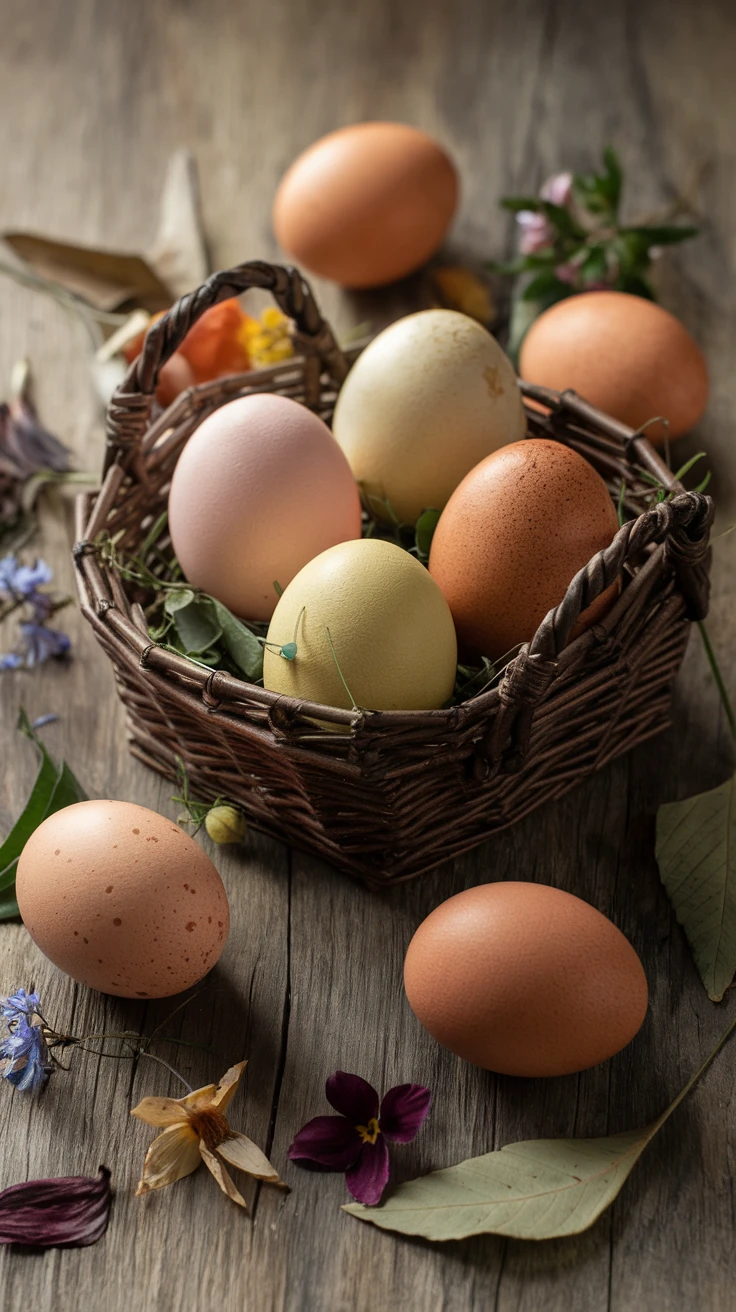
Long before commercial Easter egg dyes existed, people colored eggs using natural materials including flowers and plants. This traditional technique creates subtle, earthy colors that connect us to generations of spring celebrations.
- Creates unique, non-toxic colored eggs using flowers and plants
- Produces beautiful mottled patterns and unexpected color variations
- Offers a sustainable alternative to synthetic dyes
Different flowers produce different colors: hibiscus creates deep pinks and purples, turmeric flowers yield bright yellows, red rose petals give soft pinks, and blue cornflowers can create subtle blues. To dye eggs, simmer your chosen flower petals in water with a tablespoon of vinegar for 15-30 minutes, strain, then soak hard-boiled eggs in the cooled liquid overnight in the refrigerator.
Pro Tip: For more intense colors, wrap eggs directly in flower petals, secure with string, then simmer gently in water with vinegar for 15 minutes before cooling completely.
11. Paper Flower and Egg Wreaths
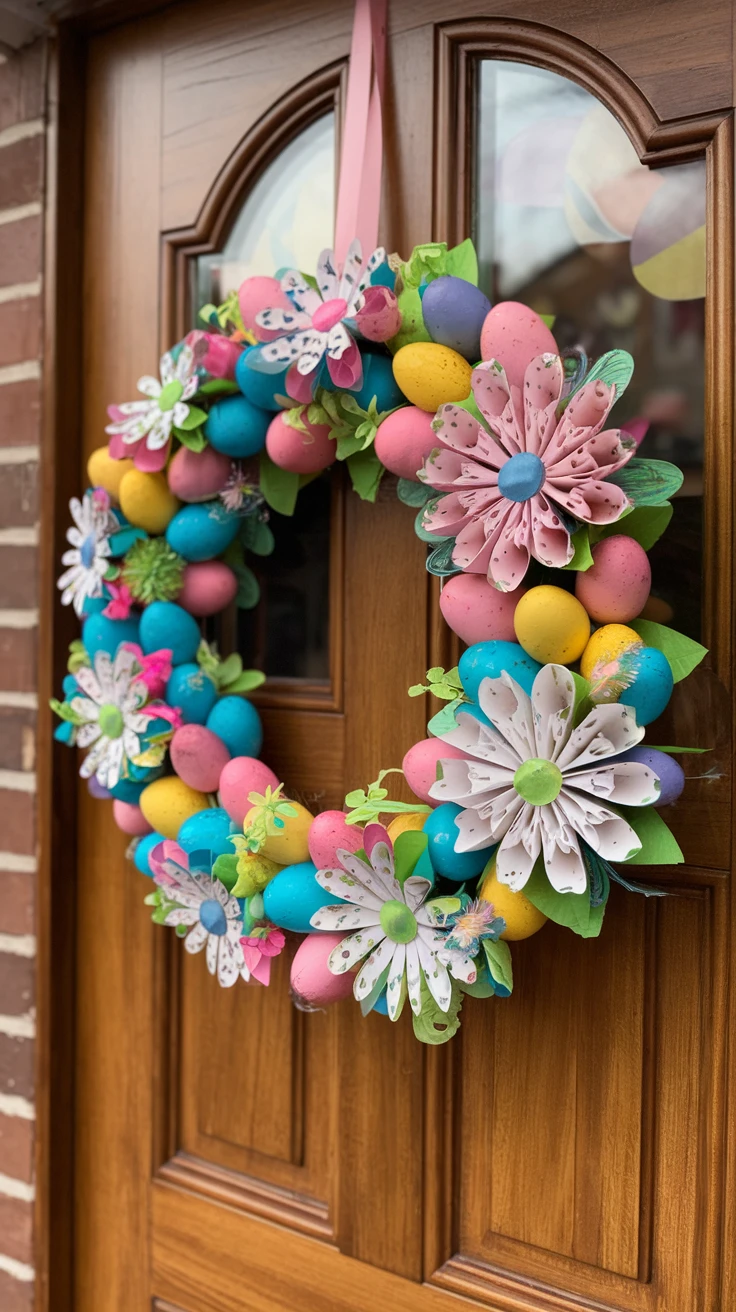
This beautiful door or wall decoration combines dyed eggs with paper flowers for a wreath that celebrates all the elements of spring. Unlike fresh arrangements, this will last throughout the season.
- Creates a stunning focal point for Easter decorations
- Can be customized to match any color scheme or style
- Makes a wonderful keepsake that can be used year after year
Start with a grapevine or straw wreath form. Attach blown-out, decorated eggs using hot glue or by threading them onto floral wire. Create paper flowers using tissue paper, crepe paper, or card stock in complementary colors. Attach these around the eggs, filling in with artificial moss or small faux greenery.
Pro Tip: Instead of attaching eggs permanently, create small “nests” of Spanish moss or raffia where eggs can sit but be removed after Easter, allowing you to transform the wreath for use throughout spring.
12. Floral Terrarium Eggs
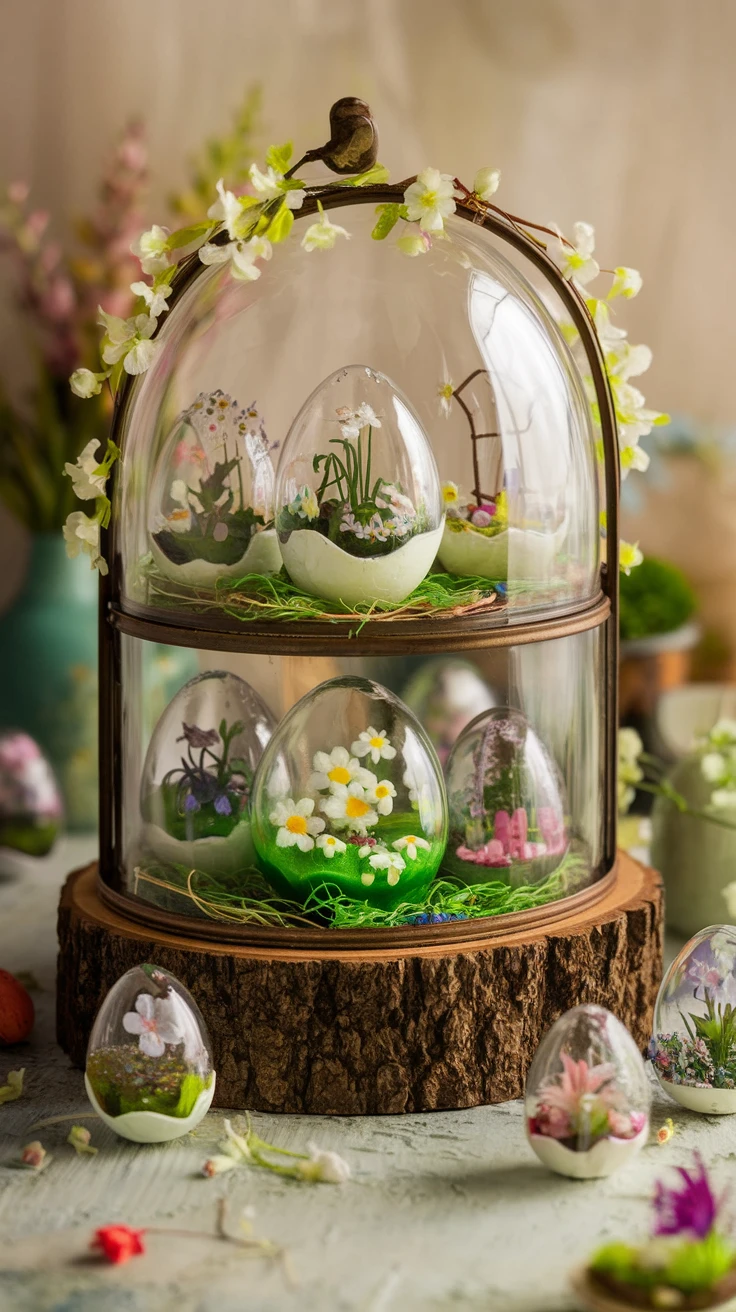
For a truly showstopping display, create miniature worlds inside larger eggs with this advanced technique that combines Easter eggs with flowers in a magical diorama format.
- Creates a magical, miniature spring scene inside an egg
- Becomes an heirloom-quality decoration to display for years
- Offers an opportunity for detailed craftsmanship and personalization
This technique requires goose or duck eggs for adequate space. Carefully cut an opening in one side, clean thoroughly, and allow to dry. Paint or decorate the outside as desired. Inside, create a miniature spring scene using small dried flowers, moss, miniature figures, or tiny paper elements. Secure everything with clear-drying craft glue. Display on small stands or nestled in moss.
Pro Tip: Add a small LED tea light behind your scene to create magical illumination through the eggshell, highlighting your miniature floral world.
Key Takeaways
- Combining flowers with Easter eggs creates decorations that celebrate spring’s natural beauty
- Many techniques work with either fresh, dried, or paper flowers, offering flexibility based on what you have available
- Consider the longevity you want – some methods create keepsakes while others are meant to be temporary celebrations
- Most of these techniques can be adapted for various skill levels, from child-friendly to advanced crafting
- Natural materials often create the most beautiful and sustainable Easter decorations
Conclusion
Easter egg decorating offers a wonderful opportunity to celebrate spring’s renewal through the combination of two perfect symbols: eggs and flowers. Whether you’re creating sophisticated botanical prints for an elegant display or making flower crown eggs with the kids, these Easter eggs with flowers bring the season’s beauty into your celebrations in a meaningful way. The techniques we’ve explored range from simple afternoon projects to detailed crafts that become family keepsakes, but they all connect us to the natural world at a time when it’s bursting with new life. As you gather your materials and prepare to decorate, remember that the beauty of these projects comes not just from the final result, but from the creative process and the moments shared while making them. Happy crafting, and may your Easter be blooming with beauty!
Frequently Asked Questions
What types of flowers work best for decorating Easter eggs?
Small, flat flowers are ideal for most egg decorating techniques. Consider using pansies, violets, forget-me-nots, small daisies, and herb flowers like thyme or lavender. For botanical prints, ferns, Queen Anne’s lace, and flat-leaf herbs like parsley work beautifully. If using fresh flowers, choose blooms that press well and don’t contain too much moisture, which can affect adhesion.
Are these flower-decorated eggs safe to eat afterward?
It depends on the decoration method. Eggs decorated using food-safe dyes and edible flowers (like naturally dyed eggs or those with botanical prints using edible flowers) are generally safe to eat if they’ve been properly refrigerated during the crafting process. However, eggs decorated with craft supplies like glue, acrylic paint, or non-edible flowers should not be consumed. When in doubt, use blown eggs for decorative projects and clearly separate any eggs intended for eating.
How can I preserve my floral Easter egg decorations?
For long-term preservation, always start with blown-out eggs rather than hard-boiled ones. After decorating, spray with a clear acrylic sealer (in a well-ventilated area). Store in egg cartons wrapped in acid-free tissue paper, and keep in a cool, dry place away from direct sunlight, which can fade both egg dyes and flower colors. For especially precious decorations, consider displaying them under glass domes to protect from dust and damage.
Can children help with these flower egg decorating ideas?
Absolutely! Many of these techniques can be adapted for children. Flower stamping, pressed flower decoupage (with supervision for the glue), flower crown eggs, and botanical print eggs are all kid-friendly with some preparation. For younger children, consider pre-cutting flowers, setting up dye baths ahead of time, and embracing imperfection as part of the charm. Natural dyes are also safer for little hands that might end up with colorful fingers.
What natural flower dyes work best for coloring Easter eggs?
For reds and pinks, try hibiscus flowers, red rose petals, or cranberries. Yellow comes beautifully from turmeric flowers or daffodil petals. Blues can be achieved with boiled red cabbage (surprisingly!) or cornflowers. Purple shades come from blackberries or purple iris petals. For green, spinach or nettle leaves work well. Always add 1 tablespoon of white vinegar per cup of dye liquid to help the color adhere to the eggshell, and remember that natural dyes generally create softer, more vintage-looking colors than commercial dyes.
