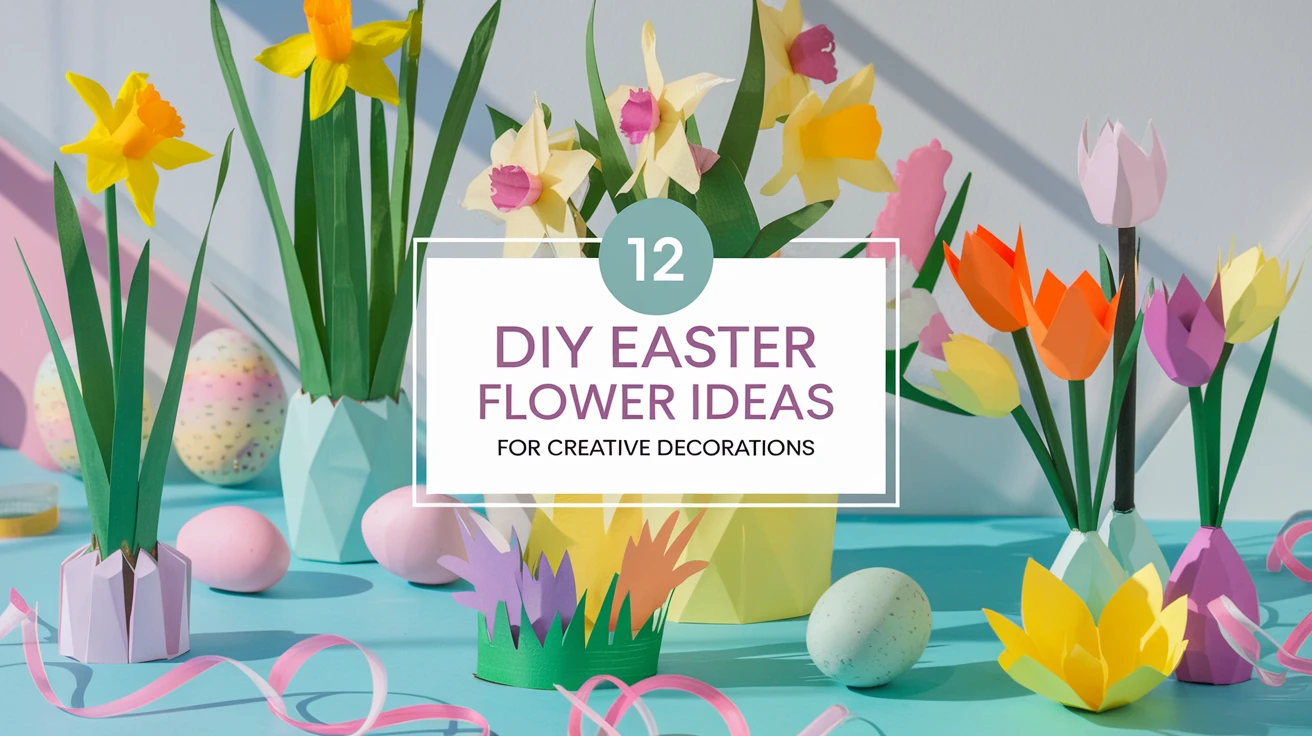
Introduction to Easter Paper Flowers
There’s something magical about bringing spring indoors with handcrafted Easter paper flowers. As someone who’s spent countless hours crafting with my family, I’ve found that paper flowers offer the perfect blend of simplicity and wow-factor for Easter decorations. They’re inexpensive, customizable, and won’t wilt like real blooms! Whether you’re a seasoned crafter or just looking for a fun weekend project, these Easter paper flowers DIY ideas will breathe fresh life into your holiday decor. Ready to transform ordinary paper into extraordinary blooms? Let’s dive into these 12 creative ideas that’ll have your home bursting with springtime cheer!
1. Simple Paper Daffodils
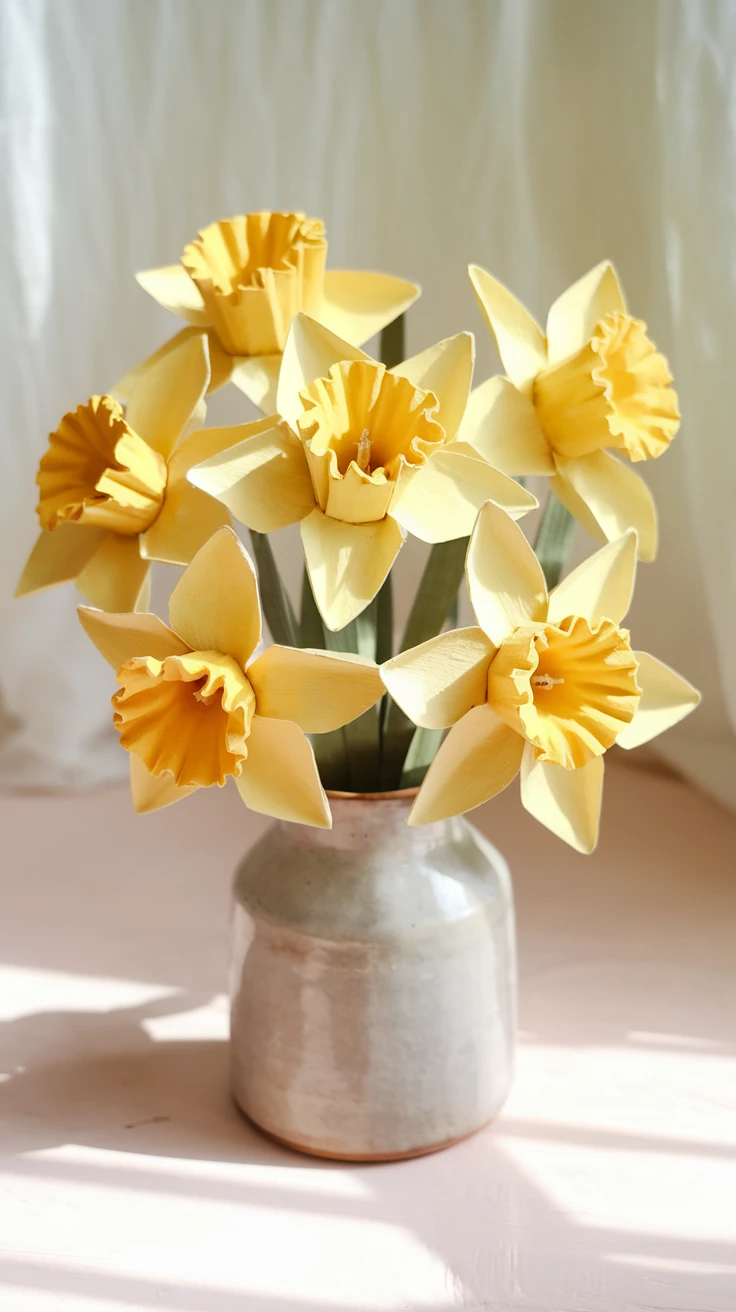
Daffodils are quintessential spring flowers, and their cheerful yellow hue makes them perfect for Easter decorations. Creating paper versions is surprisingly straightforward, even my 10-year-old niece mastered this craft on her first try!
- Use yellow and orange cardstock for a classic look, or experiment with pastel colors for an Easter twist
- A simple cup-and-petals template can be traced onto paper and cut out
- Add dimension by curling the petals slightly outward with a pencil

View on AmazonAs an Amazon Associate, I earn from qualifying purchases.

View on AmazonAs an Amazon Associate, I earn from qualifying purchases.
Pro Tip: Create a beautiful centerpiece by arranging several paper daffodils of different heights in a mason jar wrapped with twine or Easter ribbon. For extra Easter flair, add small paper eggs or bunnies among the stems.
2. Easter Lily Paper Flowers
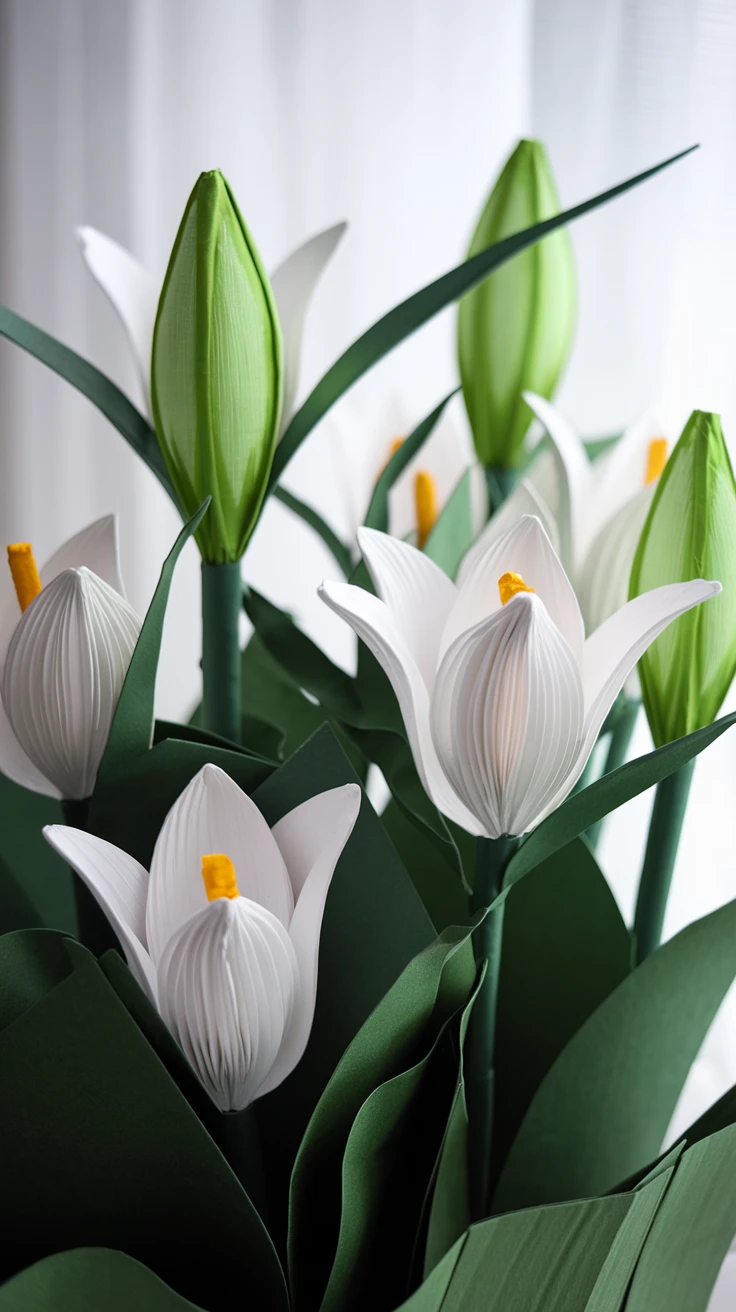
Easter lilies symbolize purity and rebirth, making them a meaningful addition to your holiday crafts. These elegant white blooms might look complicated, but they’re actually quite manageable when broken down into steps.
I’ve found that creating these lilies from white cardstock gives them the perfect structure to stand tall in arrangements. The trumpet-shaped blooms can be as large or small as you like, I typically make mine about 6 inches long for maximum impact.
- Use a template to cut out 5-6 elongated petals per flower
- Create realistic texture by gently creasing the center of each petal
- Add yellow paper stamens or use yellow pipe cleaners in the center
- Attach to green paper stems with a hot glue gun
Pro Tip: Spray your finished Easter lilies with a light floral perfume for an extra sensory element that will surprise and delight your guests.
3. Paper Tulip Bouquet
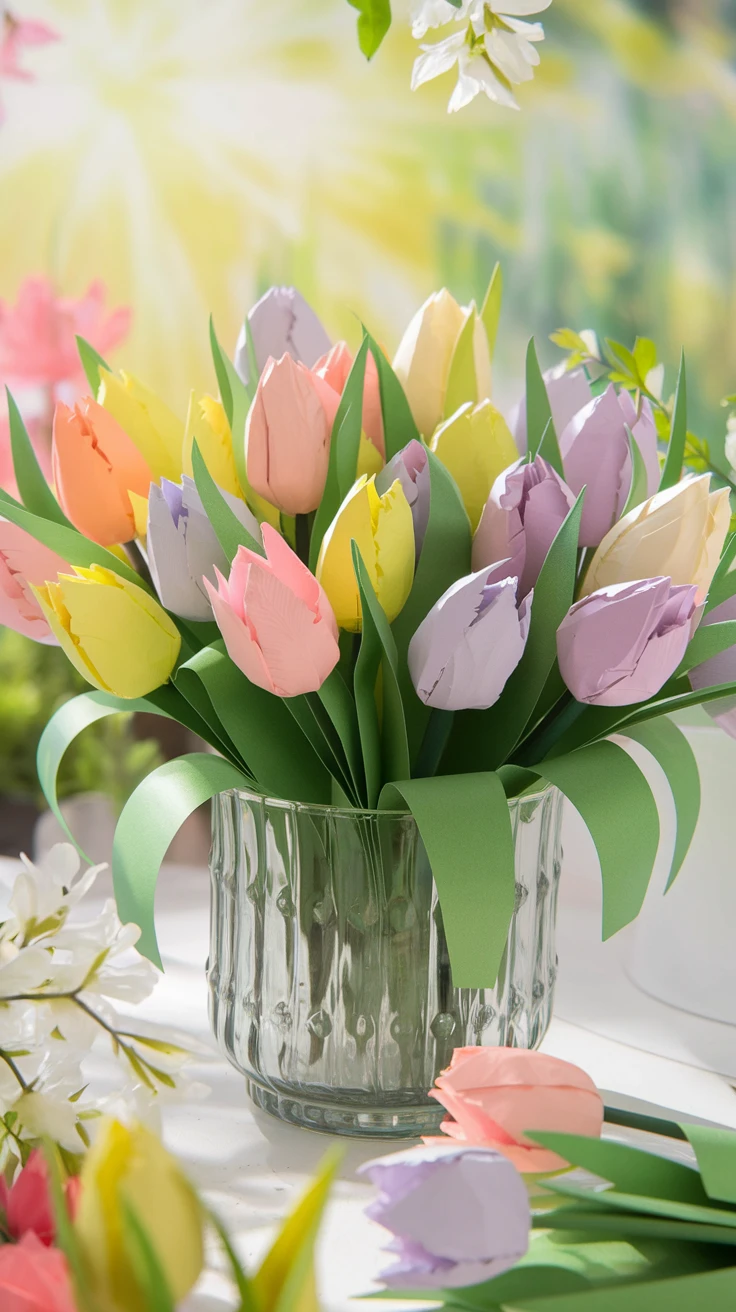
Nothing says spring quite like tulips! Creating a bouquet of paper tulips in Easter colors makes for a stunning decoration that won’t wilt before the holiday arrives. I’ve made these with my craft group, and we were all amazed at how realistic they looked when finished.
For an Easter paper flowers DIY project that really pops, try creating tulips in ombre shades, perhaps starting with deep purple at the bottom of the petal and fading to lavender at the tips.
- Cut teardrop-shaped petals and gently curl the edges inward
- Layer 6 petals together to form each bloom
- Create stems from green paper straws or rolled green construction paper
- Add green paper leaves for authenticity

View on AmazonAs an Amazon Associate, I earn from qualifying purchases.

View on AmazonAs an Amazon Associate, I earn from qualifying purchases.
Pro Tip: Display your paper tulips in a decorated egg-shaped vase by covering a small glass container with pastel paper cut in an egg shape. This doubles down on the Easter theme!
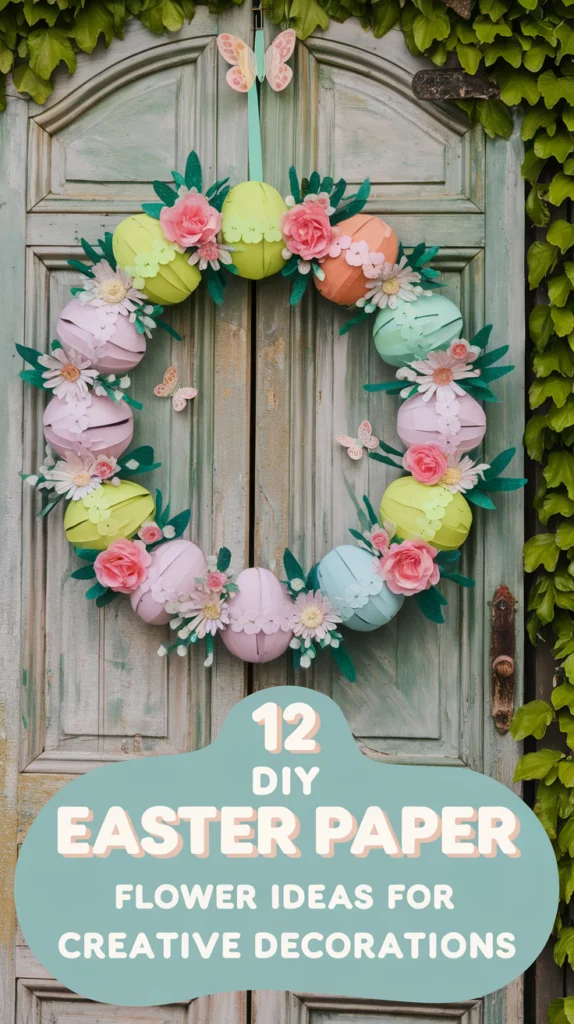
4. Easter Egg Shaped Flower Wreaths
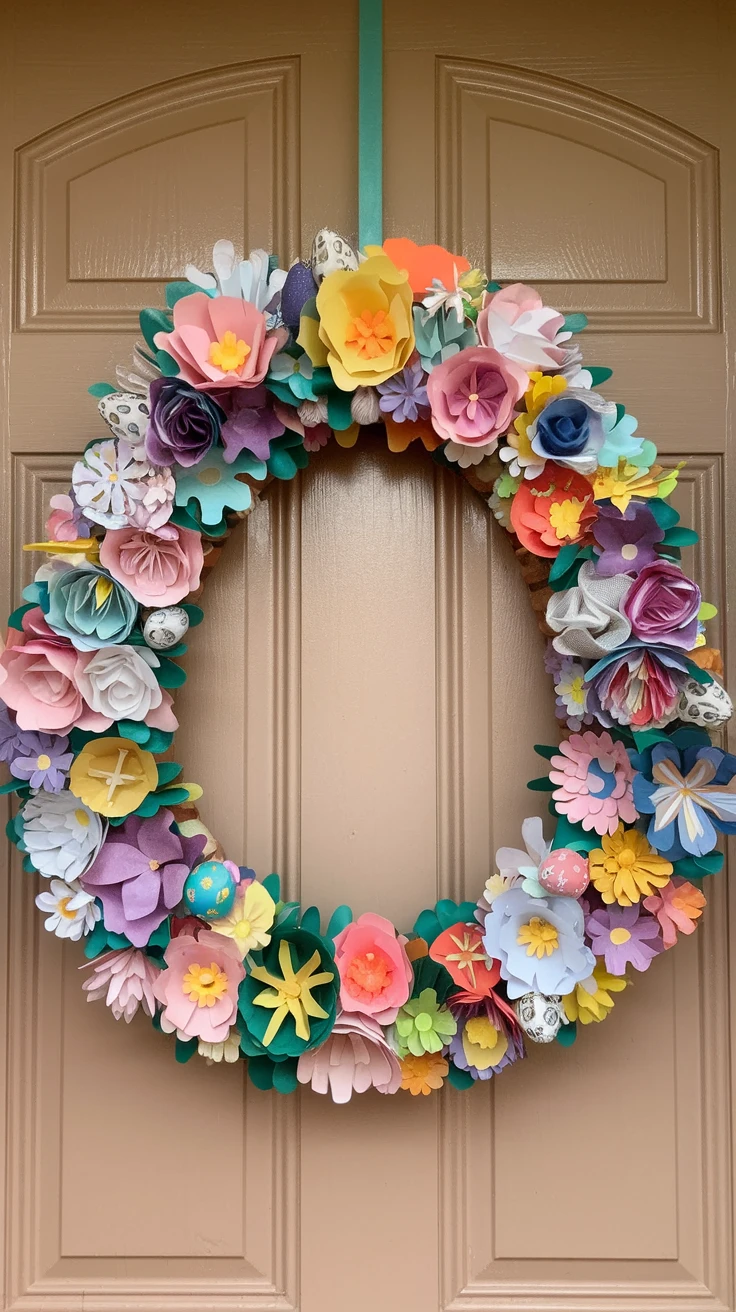
Combine two Easter classics by creating a wreath in the shape of an egg, adorned with paper flowers. This project makes a stunning door decoration that neighbors will envy, and I can attest that it’s a conversation starter at Easter gatherings!
The key to this project is starting with an egg-shaped wire frame (you can bend a coat hanger or use a floral wire) and then covering it with paper flowers of varying sizes and complementary colors.
- Choose a pastel color palette for traditional Easter vibes
- Mix different flower types for visual interest (roses, daisies, and small buds work well together)
- Add small paper butterflies or bunnies between flowers for whimsical touches
- Finish with a ribbon for hanging
Pro Tip: Create a family tradition by adding one new paper flower to your wreath each year, perhaps with the date written discreetly on the back. Over time, you’ll have a meaningful collection of memories.
5. Origami Easter Flowers

For those who enjoy precision in their crafting, origami Easter flowers offer a satisfying challenge. The Japanese art of paper folding creates remarkably realistic blooms that have the added benefit of being completely self-contained, no glue or scissors required!
I was initially intimidated by origami, but after following some simple tutorials, I was hooked. The methodical folding process is almost meditative, and the results are worth the effort.
- Start with square origami paper in Easter colors
- Follow step-by-step folding instructions for iris, lotus, or lily designs
- Create multiple blooms and arrange them in a shallow bowl
- Add origami leaves in green to complete the arrangement

View on AmazonAs an Amazon Associate, I earn from qualifying purchases.

View on AmazonAs an Amazon Associate, I earn from qualifying purchases.
Pro Tip: Use paper with different patterns on each side for two-toned flowers that reveal surprising pops of color as they’re folded.
6. Paper Flower Easter Baskets
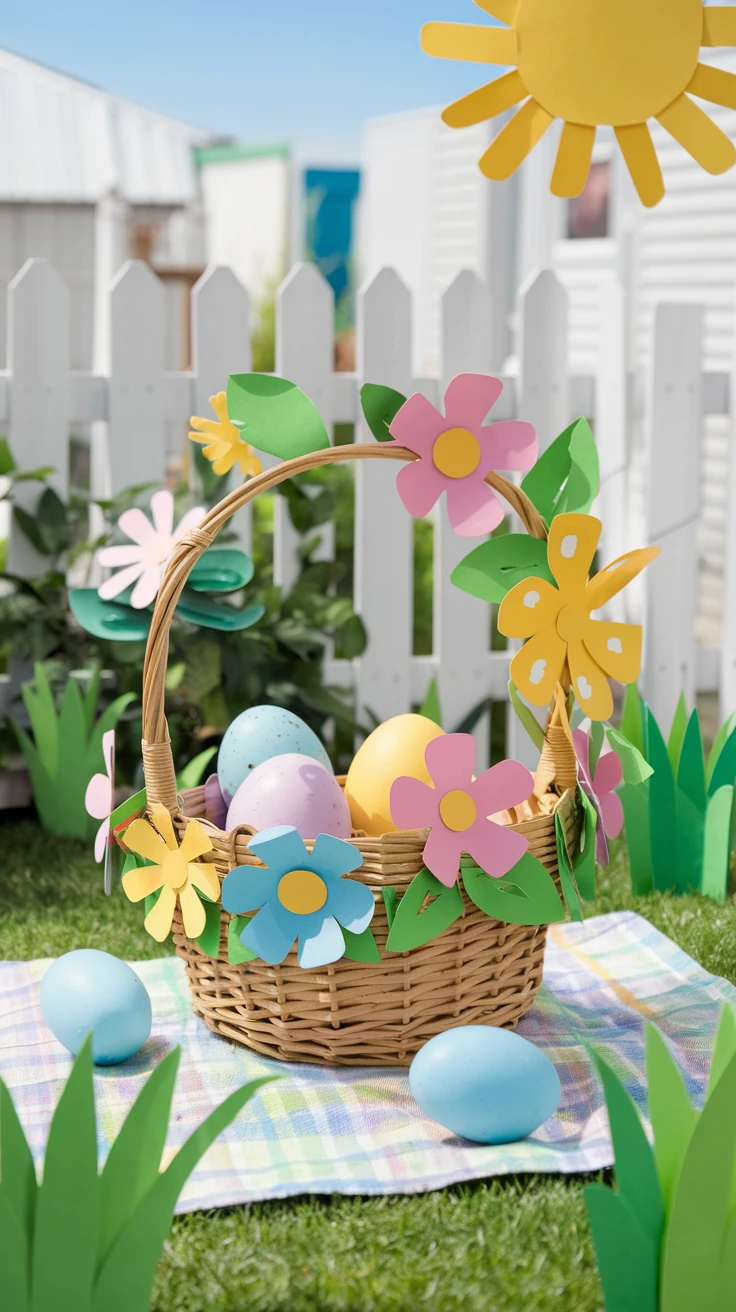
Why settle for a standard Easter basket when you can create one adorned with beautiful paper flowers? This project transforms a utilitarian object into a keepsake that can be displayed long after the Easter candy is gone.
I made these with my nieces last Easter, and they were so proud to have baskets unlike any others at the family egg hunt. The personalization possibilities are endless!
- Start with a simple basket (purchased or handmade from paper)
- Create small to medium paper flowers to attach around the rim and handle
- Use complementary colors that won’t clash with Easter eggs and treats
- Add ribbon streamers or paper grass for extra festivity
Pro Tip: Create a matching “mama” and “baby” basket set for a parent and child to use during Easter activities, a sweet way to make memories while creating beautiful Easter paper flowers DIY decorations.
7. Watercolor Paper Flowers
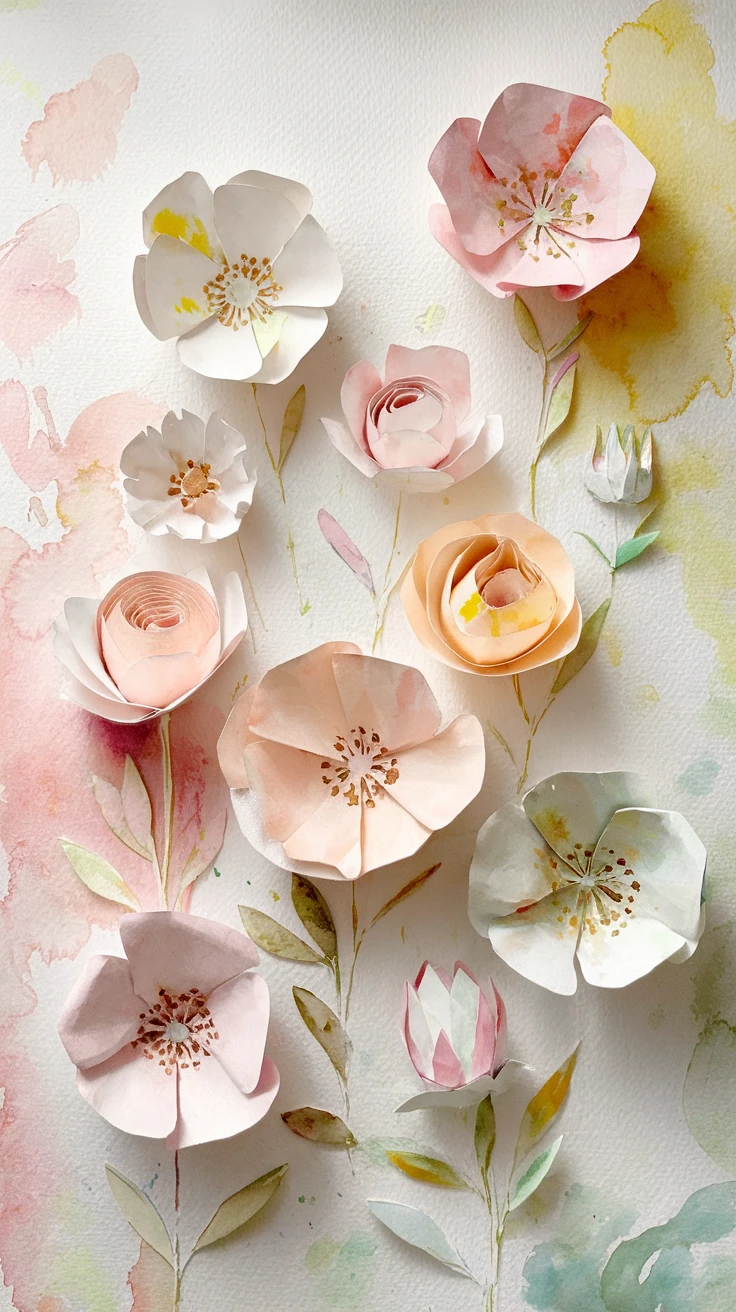
For a softer, more artistic approach to Easter paper flowers, try incorporating watercolor techniques. The gentle blending of colors creates dreamy blooms that evoke the delicate nature of spring.
This has become my favorite technique because each flower turns out unique, with subtle variations in color that can’t be achieved with solid-colored paper. The slightly imperfect nature of watercolor makes these flowers feel more alive.
- Paint watercolor paper with Easter-inspired hues before cutting
- Allow for organic color bleeding and gradient effects
- Cut flower shapes after the paint has completely dried
- Consider adding watercolor speckles to mimic Easter egg decorations
Pro Tip: Don’t have watercolors? Create a similar effect by pressing folded paper flowers onto water-soluble markers, then spritzing them with water to blend the colors.
8. Paper Flower Easter Eggs
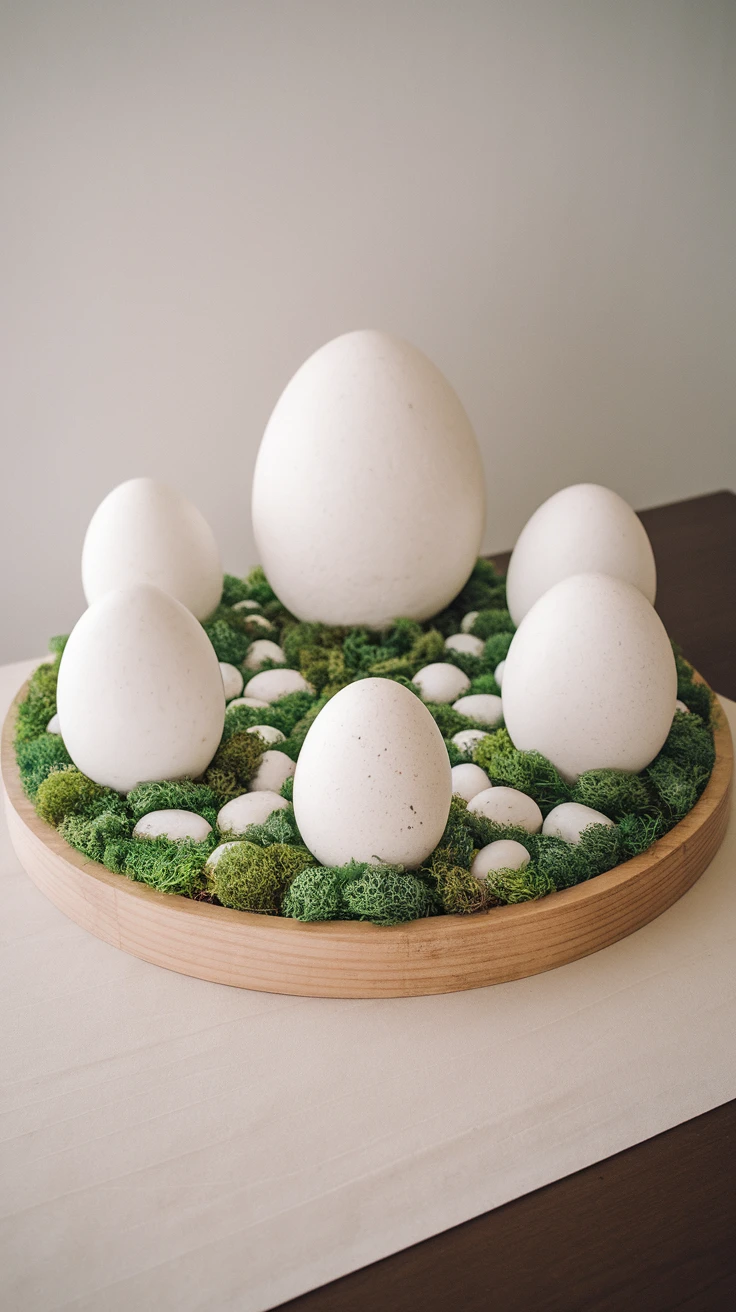
This clever idea flips the script by using egg shapes as the base for flower designs. The result is distinctly Easter-themed while showcasing beautiful floral elements, a perfect combination!
When I hosted Easter brunch last year, I scattered these around the table, and guests couldn’t stop commenting on how unique they were. Several friends asked for a crafting session to learn the technique.
- Cut egg shapes from cardstock as your base
- Create miniature paper flowers to arrange on the egg surface
- Consider a theme for each egg (all roses, mixed spring flowers, or color-coordinated blooms)
- Add ribbon or string to hang them as ornaments
Pro Tip: Create a family tree display by hanging these floral eggs from branches arranged in a vase. Label each egg with a family member’s name for a personalized Easter decoration.
9. Tissue Paper Blooms
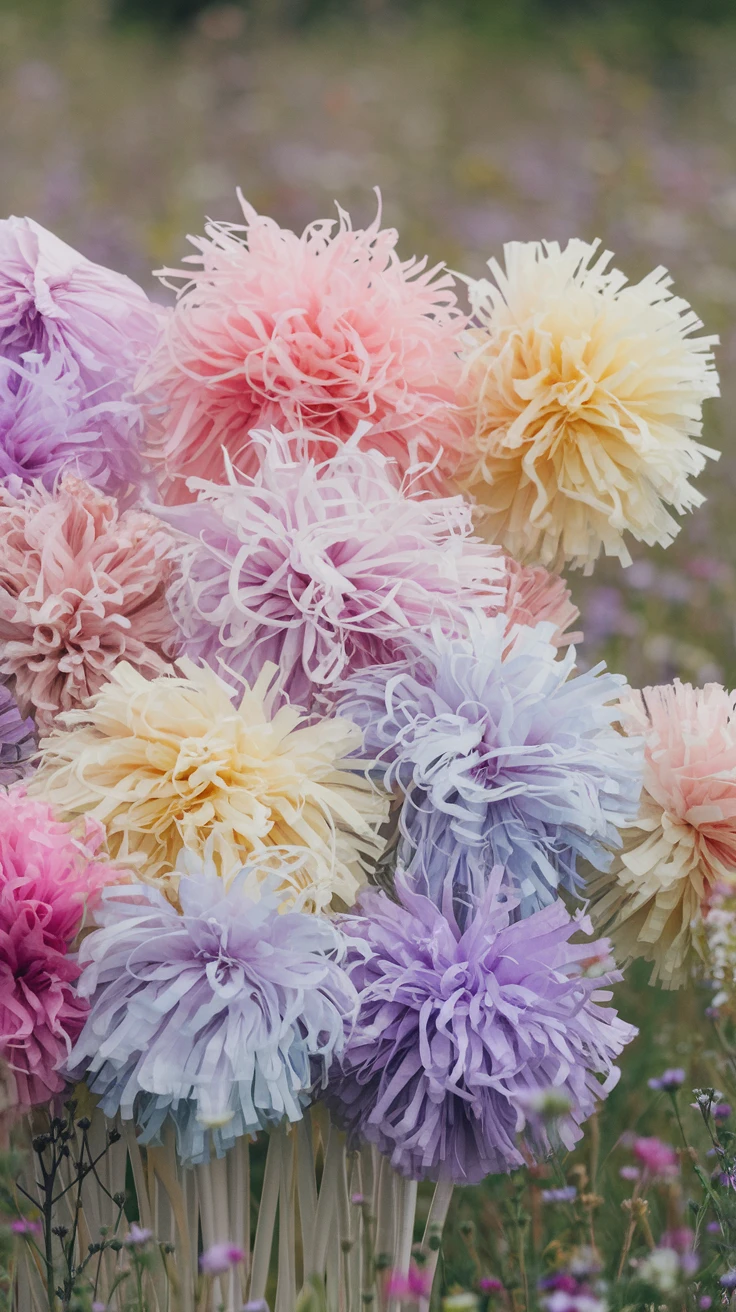
Don’t underestimate the humble tissue paper! This inexpensive material creates fluffy, voluminous flowers that add a soft touch to Easter decorations. The translucent quality of tissue paper also catches light beautifully, adding dimension to your creations.
I’ve found tissue paper flowers to be particularly forgiving for beginners and perfect for crafting with children, my 5-year-old nephew was able to help with almost every step.
- Layer 6-8 sheets of tissue paper in complementary Easter colors
- Accordion-fold the stack, then secure in the middle with wire
- Gently separate and fluff the layers to create full blooms
- Hang as decorations or arrange in vases for centerpieces
Pro Tip: Create giant statement flowers by using full sheets of tissue paper, or make tiny blooms with small squares for delicate arrangements. The technique works at any scale!
10. Recycled Paper Easter Flowers
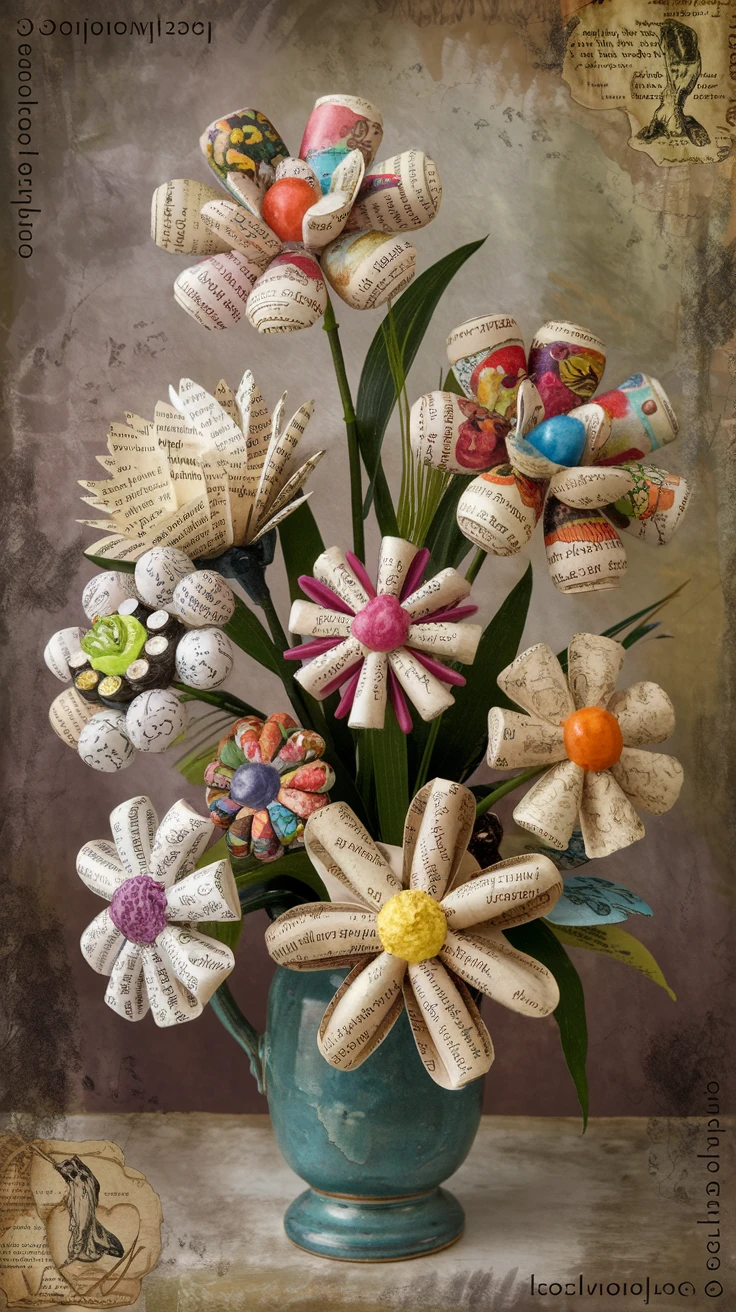
Embrace eco-friendly crafting by creating Easter flowers from recycled papers. Old book pages, sheet music, maps, or even colorful magazines can be transformed into unique blooms that tell a story.
This approach resonates with my commitment to reducing waste, and the results have a vintage, heirloom quality that mass-produced decorations simply can’t match. Plus, there’s something poetic about giving new life to old papers during a season that celebrates renewal.
- Collect interesting papers with sentimental value when possible
- Use tea or coffee to stain white papers for an antique look
- Combine with small touches of colored paper for Easter accents
- Display in vintage containers for a cohesive aesthetic
Pro Tip: Create meaningful flowers by using photocopies of family recipes, letters, or children’s artwork as your paper source. These become not just decorations but treasured keepsakes.
11. Paper Flower Easter Garland
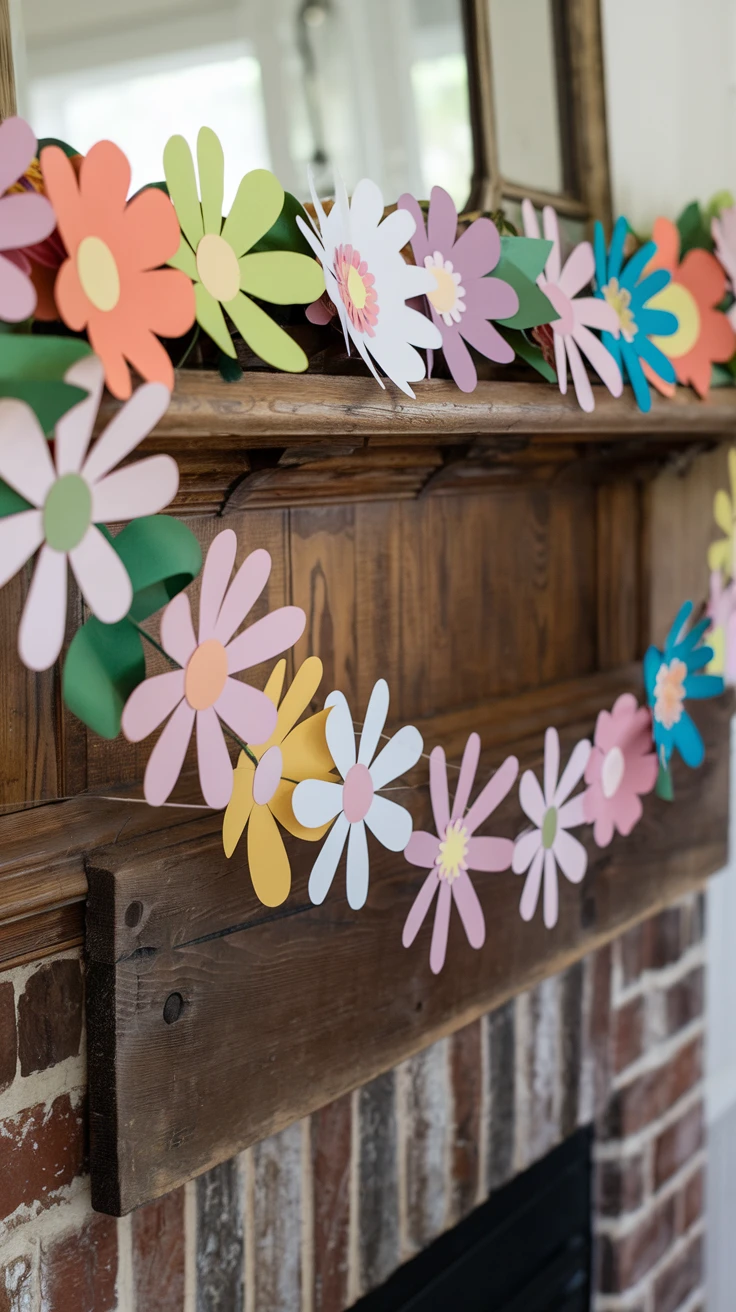
String together a series of paper flowers to create a festive garland that can dress up mantels, doorways, or stair railings. This versatile decoration adapts to any space and makes a big impact with relatively little effort.
I strung a paper flower garland across my dining room last Easter, and it transformed the space into a spring garden. The best part? I stored it carefully and was able to reuse it the following year.
- Create flowers in graduating sizes or alternating colors
- Use a paper punch for consistent flower shapes if making many
- Connect flowers with twine, ribbon, or invisible fishing line
- Add paper leaves between blooms for a fuller garland
Pro Tip: Design your garland in small, connectable sections rather than one long strand. This makes it easier to store and allows you to adjust the length for different display areas.
12. 3D Paper Flower Shadow Box
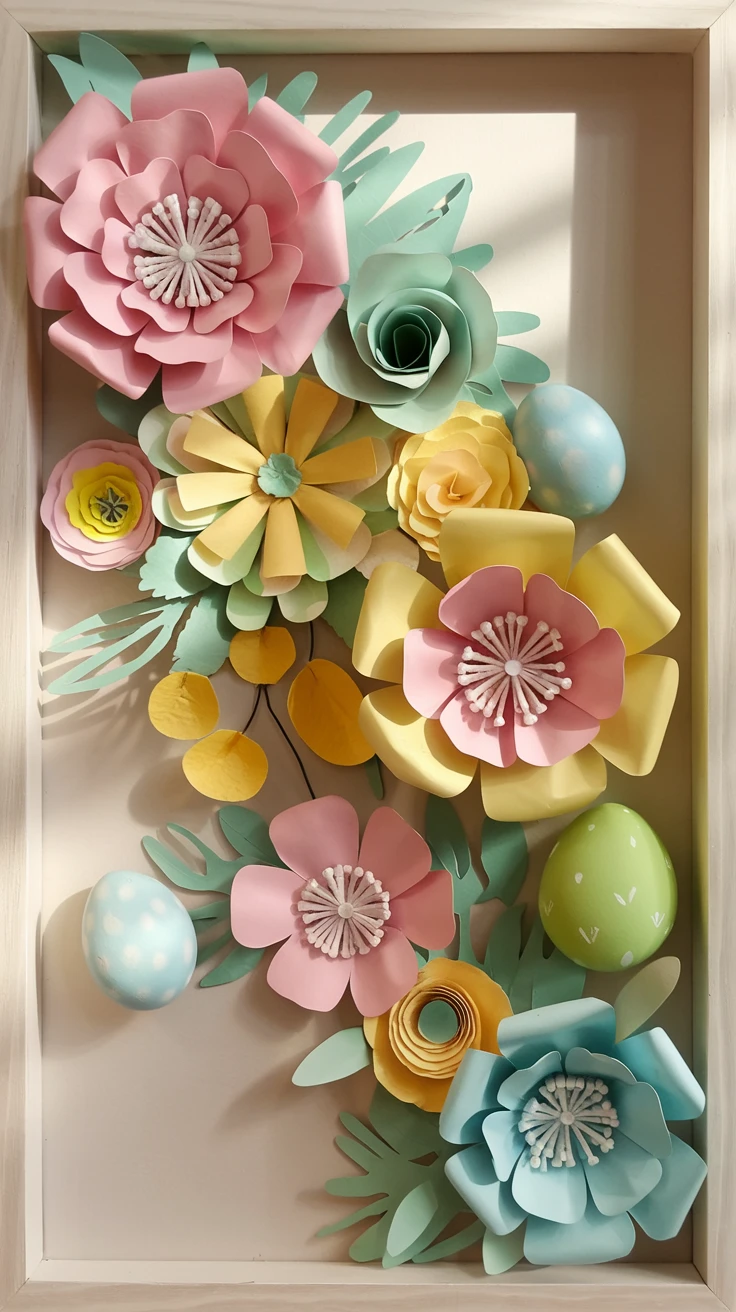
Create a dimensional Easter scene by arranging paper flowers in a shadow box frame. This project results in wall art that preserves your Easter paper flowers DIY creations behind glass, protecting them for years to come.
The depth of a shadow box allows you to create a layered garden effect, with some flowers appearing to float in front of others. I made one featuring a paper bunny surrounded by spring blooms, and it’s become a cherished Easter decoration that I display as soon as March arrives.
- Use foam mounting squares to create different depths within the frame
- Incorporate Easter elements like eggs, bunnies, or chicks among the flowers
- Consider a miniature scene with a paper grass base and flower “garden”
- Add a meaningful Easter quote or scripture printed on decorative paper
Pro Tip: Create a series of smaller shadow boxes in coordinating designs to group together on a wall or shelf for greater impact.
Key Takeaways for Easter Paper Flower Success
- Choose papers with appropriate weight for your project, cardstock for structure, tissue for volume, origami paper for precision folds
- Invest in a good pair of scissors and a reliable glue that dries clear
- Create templates for repeated elements to ensure consistency
- Incorporate Easter-specific colors: pastels, whites, and spring greens
- Don’t be afraid to mix different flower types and sizes for natural-looking arrangements
Conclusion
Easter paper flowers offer endless creative possibilities for holiday decorating, from simple afternoon projects to elaborate displays. What makes these crafts so special is their ability to capture the essence of spring without the ephemeral nature of real blooms. As you create these Easter paper flowers DIY projects, remember that imperfections add character, just like in nature, no two flowers need to be identical. The time spent crafting becomes part of the Easter celebration itself, creating memories while making beautiful decorations. Whether you’re crafting solo for some creative me-time or gathering the family for a fun activity, these paper flower ideas will add a personal touch to your Easter traditions. Which project will you try first? Whatever you choose, I’d love to see what blooms in your creative garden this Easter season!
Frequently Asked Questions
How long do paper Easter flowers typically last?
With proper care, paper Easter flowers can last for many years! Store them in a cool, dry place away from direct sunlight to prevent fading. Place them in a box with tissue paper between layers to maintain their shape. Many crafters reuse their paper flowers for several Easter seasons, making them much more economical than fresh flowers.
What paper works best for Easter flower crafts?
The best paper depends on your specific project. Cardstock (65-110 lb) works well for structured flowers that need to hold their shape. Tissue paper creates soft, voluminous blooms. Origami or specialty papers are ideal for precise folding techniques. For watercolor flowers, use watercolor paper (90-140 lb). Don’t be afraid to experiment with different papers to achieve various effects!
Can I make these paper Easter flowers waterproof for outdoor displays?
Yes, you can make paper flowers more resistant to moisture by spraying them with clear acrylic sealer or Mod Podge Clear Acrylic Sealer. Apply several light coats rather than one heavy coat, allowing drying time between applications. While this won’t make them completely waterproof for heavy rain, it will protect against light moisture and humidity, making them suitable for covered porches or brief outdoor displays.
How can I involve young children in making paper Easter flowers?
Adapt projects based on age: toddlers can help with tissue paper flowers by scrunching tissue for centers; preschoolers can tear paper for collage-style flowers; elementary-aged children can cut simple petal shapes and assist with assembly. Pre-cut complicated shapes for younger children, use child-safe scissors, and opt for glue sticks rather than hot glue when kids are involved. Remember that perfect results matter less than the experience, embrace creative interpretations!
What tools do I need for these paper flower projects?
Basic supplies include: good-quality scissors (both regular and detail scissors for intricate cuts), paper in various weights and colors, adhesives (glue sticks, white glue, and possibly a low-temp hot glue gun), pencil and ruler, templates (either purchased or self-created), and wire or pipe cleaners for stems. Optional but helpful tools include: paper punches in various shapes, bone folder for crisp folds, tweezers for small pieces, and a cutting mat with a craft knife for precision cuts.
Can I use these paper flowers for purposes other than Easter decorations?
Absolutely! These paper flower techniques are versatile beyond Easter. Use the same methods with different color schemes for other holidays (white for weddings, red/pink for Valentine’s Day, autumnal colors for fall). Paper flowers make excellent gift toppers, home decor accents, party decorations, and even fashion accessories like corsages or hairpieces. The skills you learn creating Easter paper flowers transfer beautifully to year-round crafting projects.
How do I store paper flowers for next year?
Store paper flowers in sturdy containers with lids to keep out dust and pests. Line the container with acid-free tissue paper and place flowers carefully inside, avoiding crushing. For delicate arrangements, consider placing them in shallow boxes with the stems removed (with notes about reassembly). Keep storage containers in climate-controlled areas, attics and basements can have humidity issues that damage paper. Label boxes clearly with contents and any special handling instructions.
